
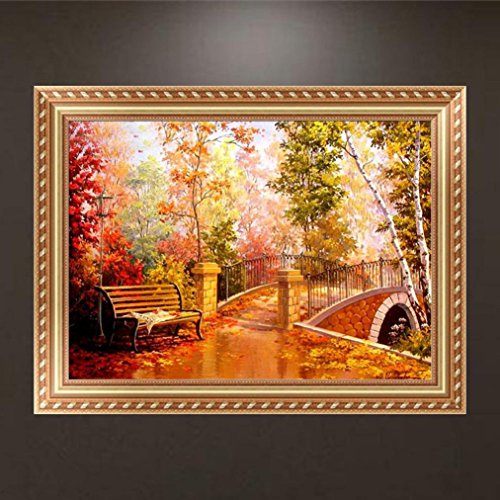
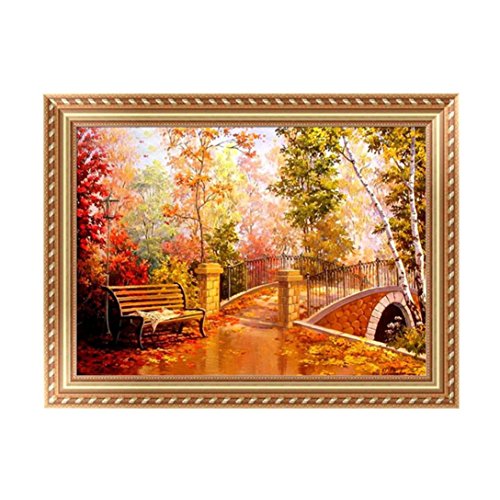
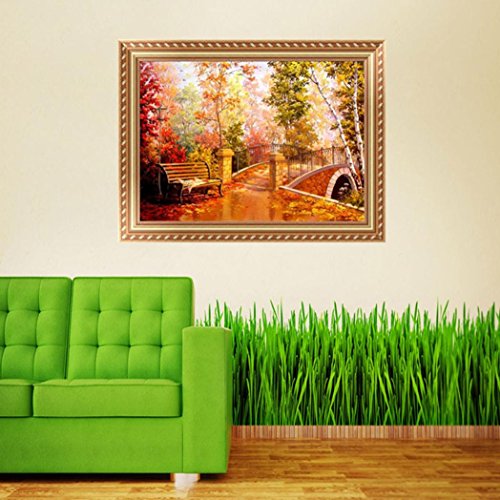
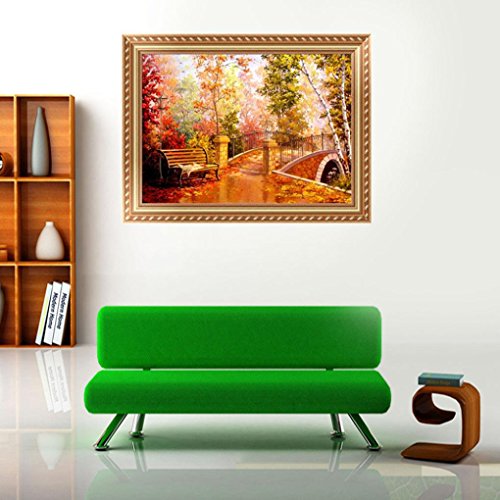
🌹DIY Diamond painting production steps 🌹1. Open the package and check the diamond draw special tools. 🌹. View the resin diamond color,arranged in order of coding. 🌹3. Uncover tape drawing above, you will see a lot of symbols corresponding to the color coding. 🌹4. According to the corresponding color coded clamp the corresponding the resin inlaid diamonds. 🌹5. Suggested that one type of the resin diamond one set completed faster. 🌹6. In order to create a perfect diamond painting,drawings put together in one place every row symbols do not have to stay stuck diamonds. 🌹7. To cut a good figure on the drawings hold sorted array mounted to the plane of the material above. 🌹8. Splices need flat against the neat,do not have cracks. 🌹9. After a good fight,the rest of the gap at the glue corresponding symbols of diamonds. 🌹10. To complete a good diamond drawing,put it in your selection of a suitable framework (This product is not provide a framework). 🌹Note: 🌹1.This is diy diamond painting,not finished picture,need you finish it by yourself.All the size are measured by hand ,so please allow1-2cm differ. 🌹2.Due to the light and screen difference, the item's color may be slightly different from the pictures. Please understand. 🌹Package includes:1*oil painting canvas+1*drills plate+1* pen tool+1*glue+1 Set of diamond beads full drill diamond painting kits, full drill painting, full drill painting with diamonds kits, full paint with diamonds kit, full square diamond painting, gem by number, paint by diamond cat kits, paint by diamond cats, paint by diamond kits, paint by diamond kits cat, paint by diamond square drill, paint by diamonds, paint by diamonds, cat, paint by gem, paint diamonds cat, paint it diamonds, paint pens for glass, paint with diamond, paint with diamond full drill, paint with diamonds, paint with diamonds butterfly kit,
Trustpilot
4 days ago
3 weeks ago


