Customer Services
Copyright © 2025 Desertcart Holdings Limited


🔥 Keep your heating flawless & efficient — because your home deserves the best! 🏡
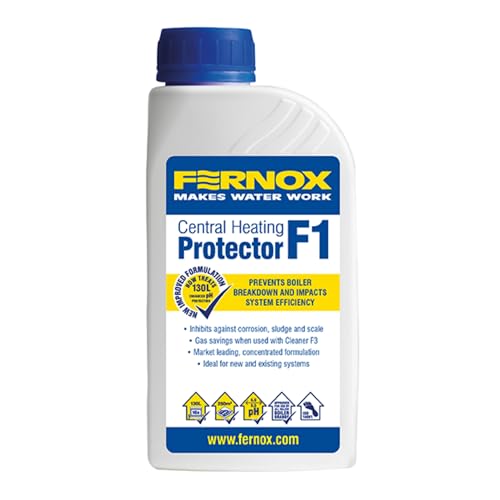
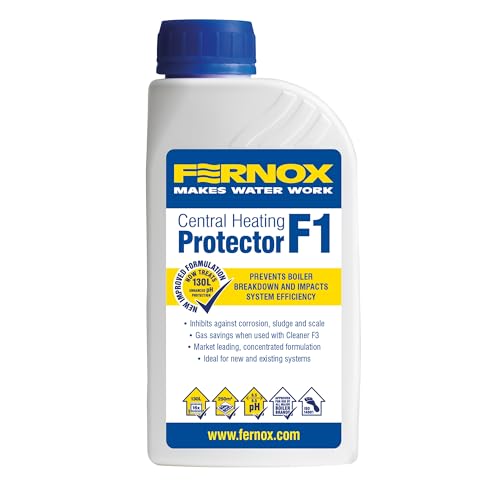
Fernox 56599 F1 Central Heating Protector is a 500ml solution designed to prevent corrosion and limescale in domestic heating systems. Compatible with all common metals, it enhances system longevity, reduces cold spots, and when paired with Fernox F3 Cleaner, can deliver up to 15% gas savings. Ideal for maintaining boiler, radiator, and pipework health, it’s a trusted choice for professional-grade heating system care.
| ASIN | B003HQ97E4 |
| Batteries Required? | No |
| Batteries included? | No |
| Best Sellers Rank | 3,344 in DIY & Tools ( See Top 100 in DIY & Tools ) 37 in Central Heating System Accessories 55 in Pumps & Plumbing Equipment |
| Customer Reviews | 4.7 4.7 out of 5 stars (2,105) |
| Date First Available | 8 Oct. 2011 |
| Included Components | 1 x Fernox 56599 F1 500 ml Protector |
| Item Package Quantity | 1 |
| Item Weight | 499 g |
| Item model number | 56599 |
| Manufacturer | Fernox |
| Number of Pieces | 1 |
| Part Number | 56599 |
| Power Source | AC |
| Product Dimensions | 18.49 x 8.99 x 5.51 cm; 498.95 g |
| Size | 500 ml (Pack of 1) |
| Special Features | Removes limescale |
| Style | Orignal Packaging |
| Usage | Indoor use only |
| Volume | 500 Millilitres |
J**N
Excellent product.
I have been using this product in my central heating system from the new installation which is now 10years ago. I use a full bottle every three years to keep the protection at the highest level for the system, to ensure that all is well within. This has proven to offer excellent protection to the boiler, pipework and radiators. Today I had my heating inspected, boiler serviced and also added an additional radiator to the system by my excellent central heating engineer, who stated that the system and boiler is in exceptional condition for its age and very clean within internally, with no water discolouration or sludge present. Before re-pressurising the system he added a bottle of this via the new radiator to top up the protection of the system.
W**N
recommended by plumber
Great product for keeping the heating system in good condition. Easy to use and gives peace of mind that everything is protected. I noticed the radiators run smoothly, with no strange noises or issues. A reliable solution that does exactly what it should. Good value for money and worth adding during maintenance. Would recommend for anyone wanting to look after their central heating.
M**N
Sealed pressurised system
I’m sure that the inhibitor does its job in the system, however, it would have been useful if it came with an adapter for filling through a radiator of a sealed pressurised system, which is more common these days.
S**N
Good price
Quick delivery
B**7
Works well on my old system
Boiler and system 37 years old and going well. Put this in after a new pump fitted. Hoping it will add more years. Who needs an air source heat pump when oil is so cheap.
M**.
Replenishment of Fernox F1 product after drain-down.
Since installation of central heating in 1985 I always added Fernox F1 to the circulating system top-up water tank. I recently purchased Fernox F1 to add to the top-up tank following drain-down of my central heating system for servicing. Purchased Fernox F1 product from on-line this supplier. Reasonably priced, carefully packaged within spacious box well padded to minimise risk of damage/leakage during transit., delivered by date stated. Good product, recent manufacturers date, excellent service. Suppler recommended.
D**N
After 2 years of use the 20+ CH system is still perfectly clean
Background: The boiler in our current house had been changed about 2 years before we moved in but the rest of the system (pipes, radiators, tanks, pump, etc) was installed about 20+ years ago. On inspecting the water in the radiators it was brown and full of magnetite and the header tank full of sludge. The downstairs radiators were slow to heat up. After some research I bought a Fernox TF1 filter and it came with Fernox F3 cleaner and Fernox F1 protector. This is the process I decided on to clean the CH system: 1. I went in to the loft and tied up the header tank stopcock and manually removed water from header tank in to a bucket and cleaned out the header tank. This is to make sure the sludge doesn't get in to the rest of the system. 2. Installed the TF1. I am comfortable with DIY and found the TF1 filter pretty easy to install. Once installed I freed up the stopcock. 3. Opened the drain valves (my CH system has 2), let the water run until it started to come out a lot cleaner 4. Closed the drain valves. 5. Tied up the Header tank stopcock to stop new water entering the system. 6. Drained some water from the TF1, the filter already had collected a lot of magnetite. 7. I now added the F3 cleaner via the TF1 filter and freed the header stopcock. 8. I left the cleaner in the system for a week with normal CH use (it was during winter so system was used everyday) 9. After a week, I opened the drain valves again and let water run through until it was perfectly clear. The water was initially very dark brown. Closed drain valves. 10. I drained water from the TF1 filter and added the F1 protector via the TF1. 11. Removed air from all radiators. The system was much quicker to heat up. Now 2 years later and the water is still perfectly clear in the system. The header tank had some sludge in it but apparently this is normal. I cleaned out the header tank again and topped up with the F1 protector. I'm not a professional just a DIY'er but this process has worked wonders for the CH system in my house.
J**L
Just works and super is easy to use
Been using it for years and haven’t had any issues. Rads and system is in great condition. Shipping was fast and secure
Trustpilot
1 month ago
2 weeks ago