Desert Online General Trading LLC
Dubai, United Arab Emirates
Desert Online General Trading LLC
Dubai, United Arab Emirates


❄️ Elevate your build with airflow and style that commands attention!
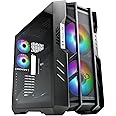
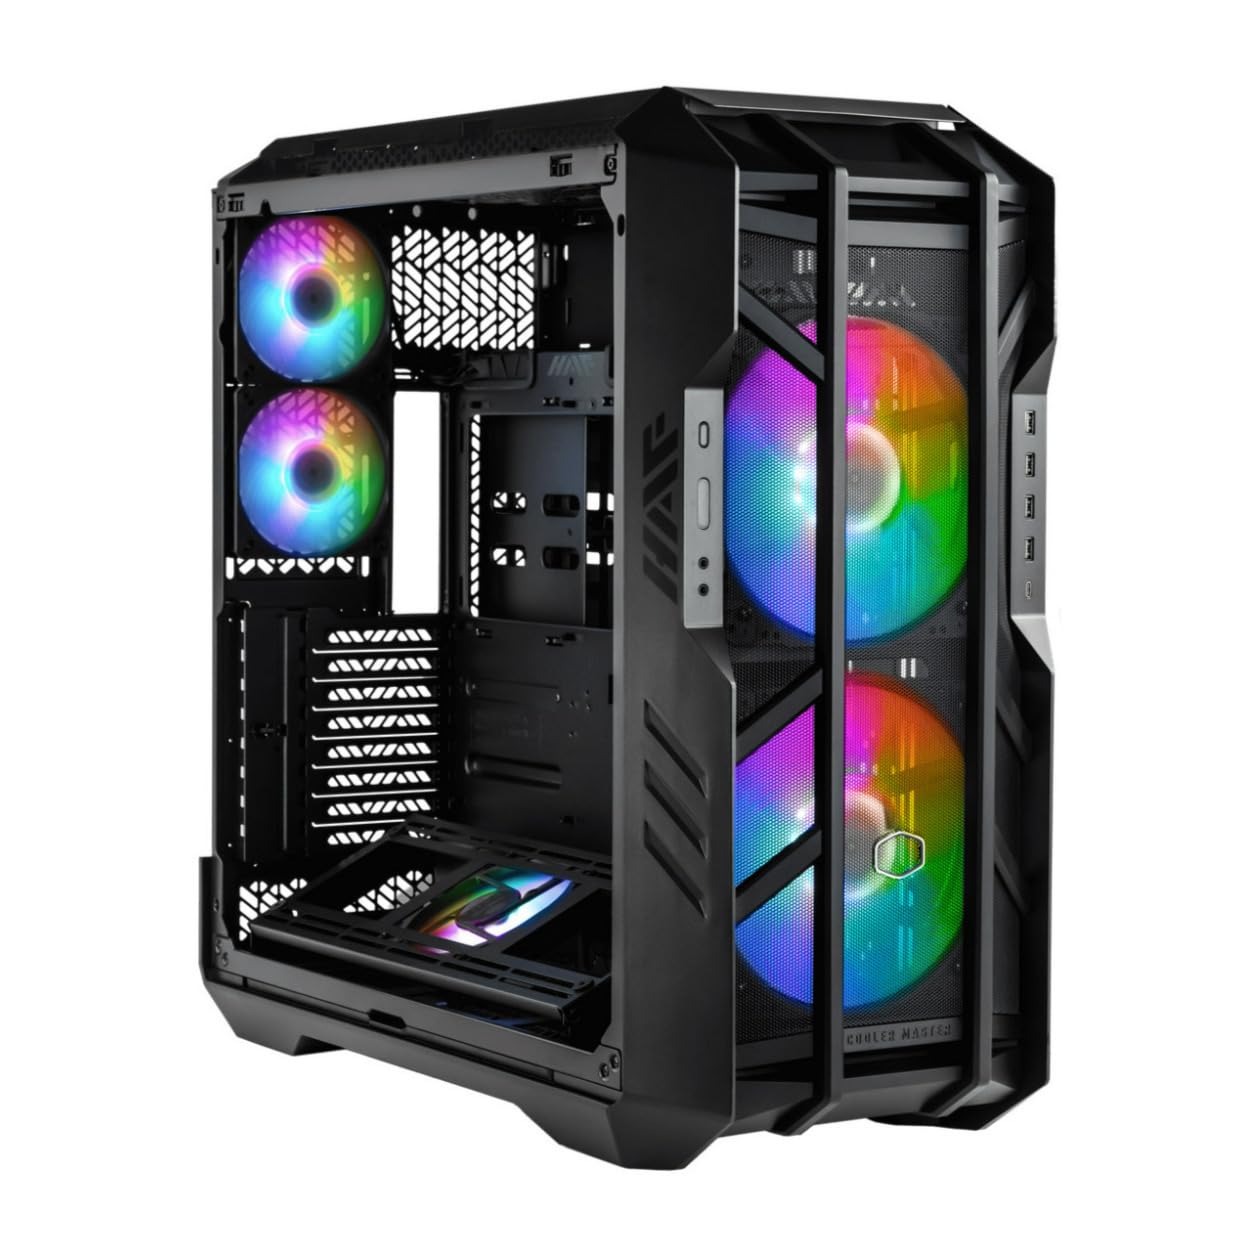
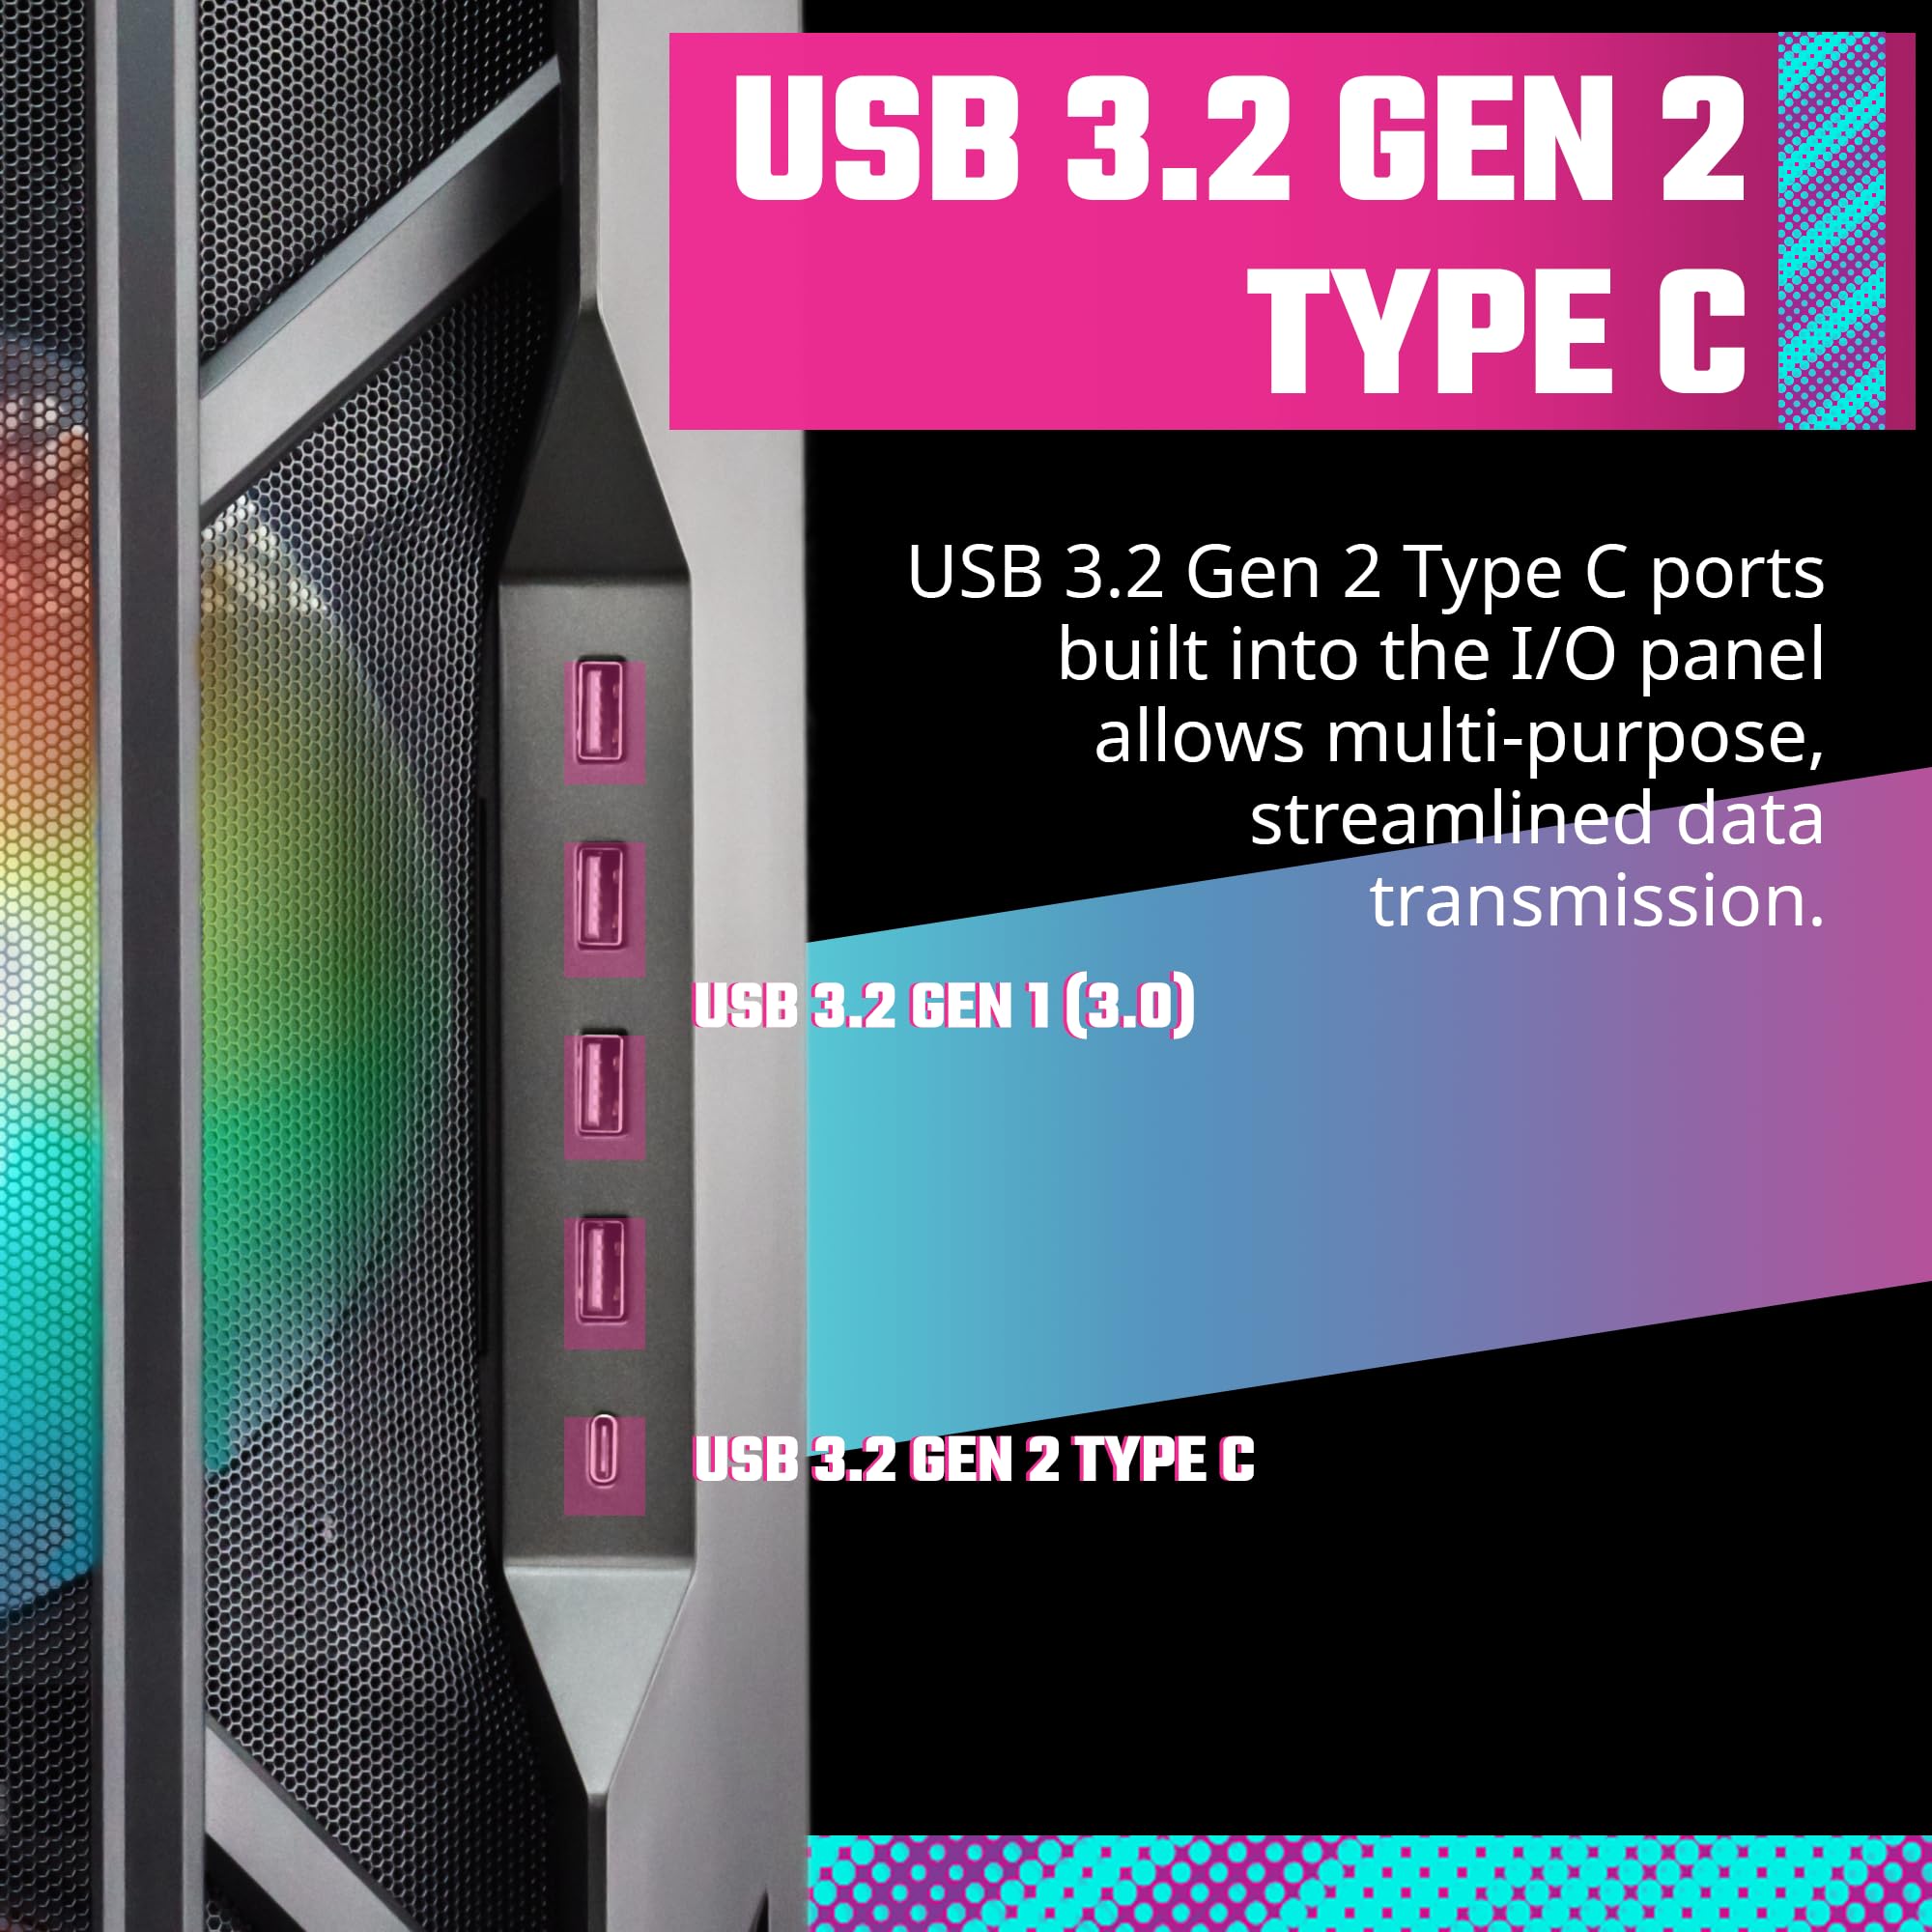
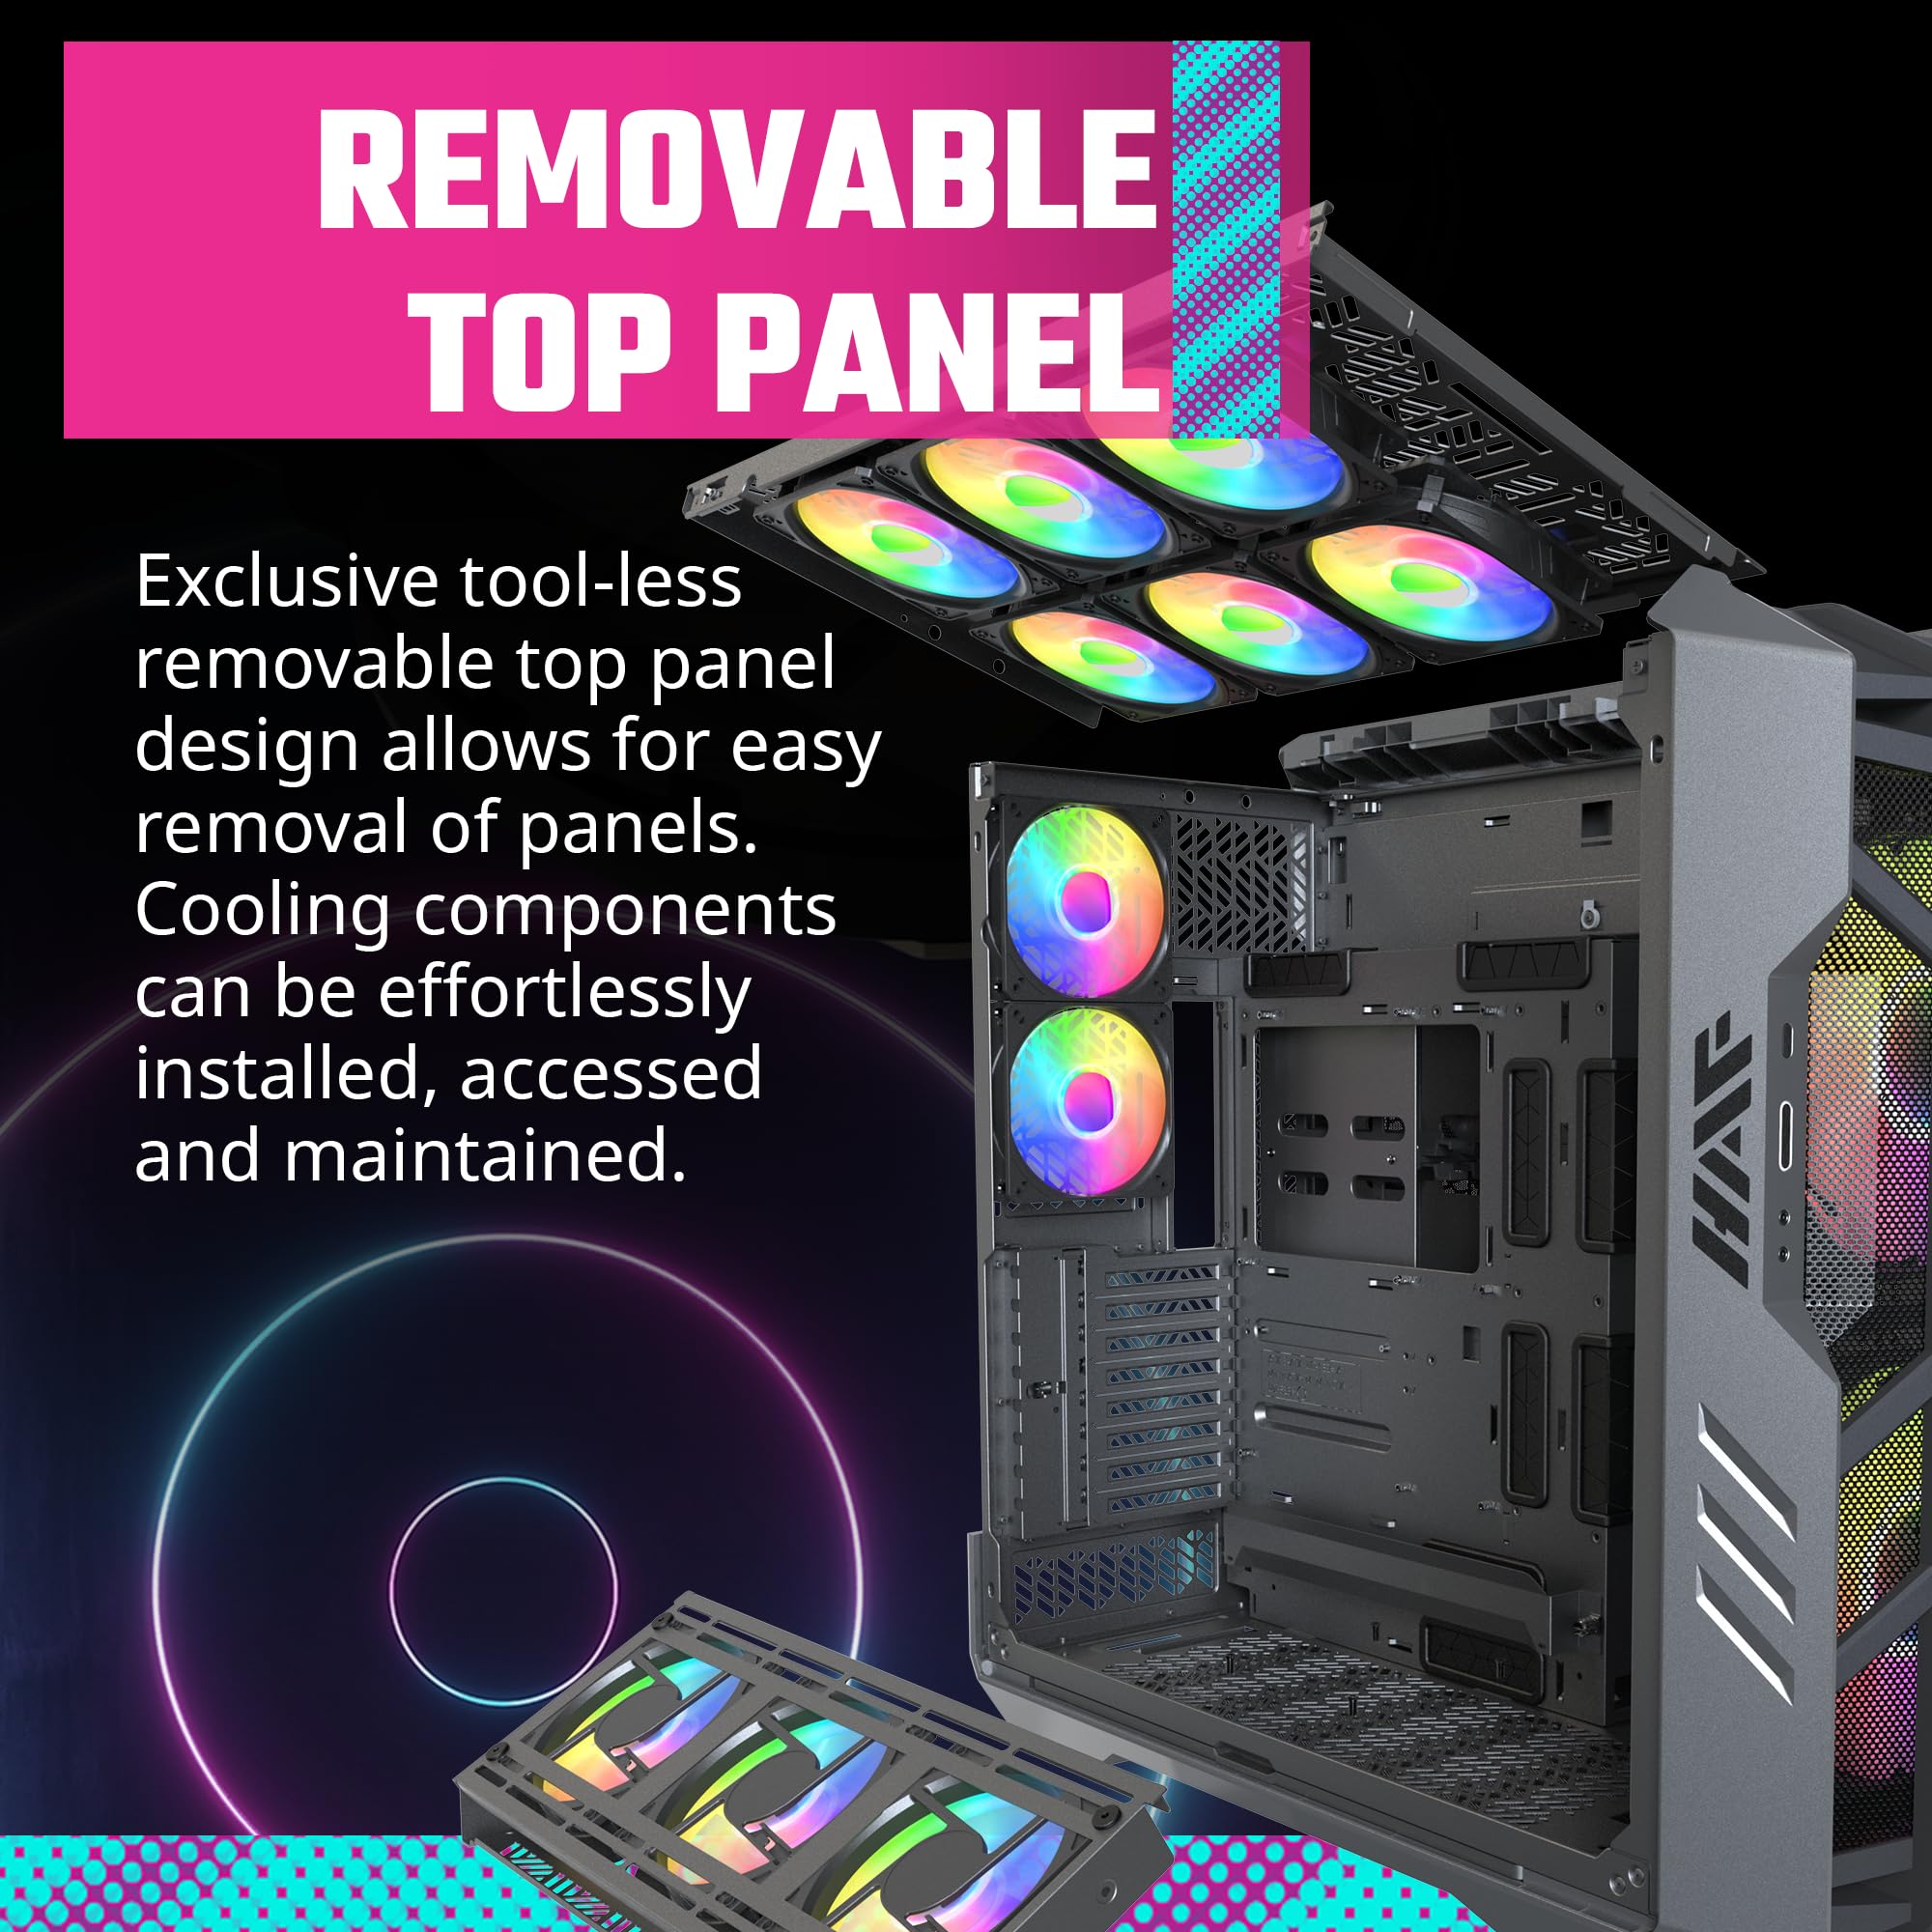
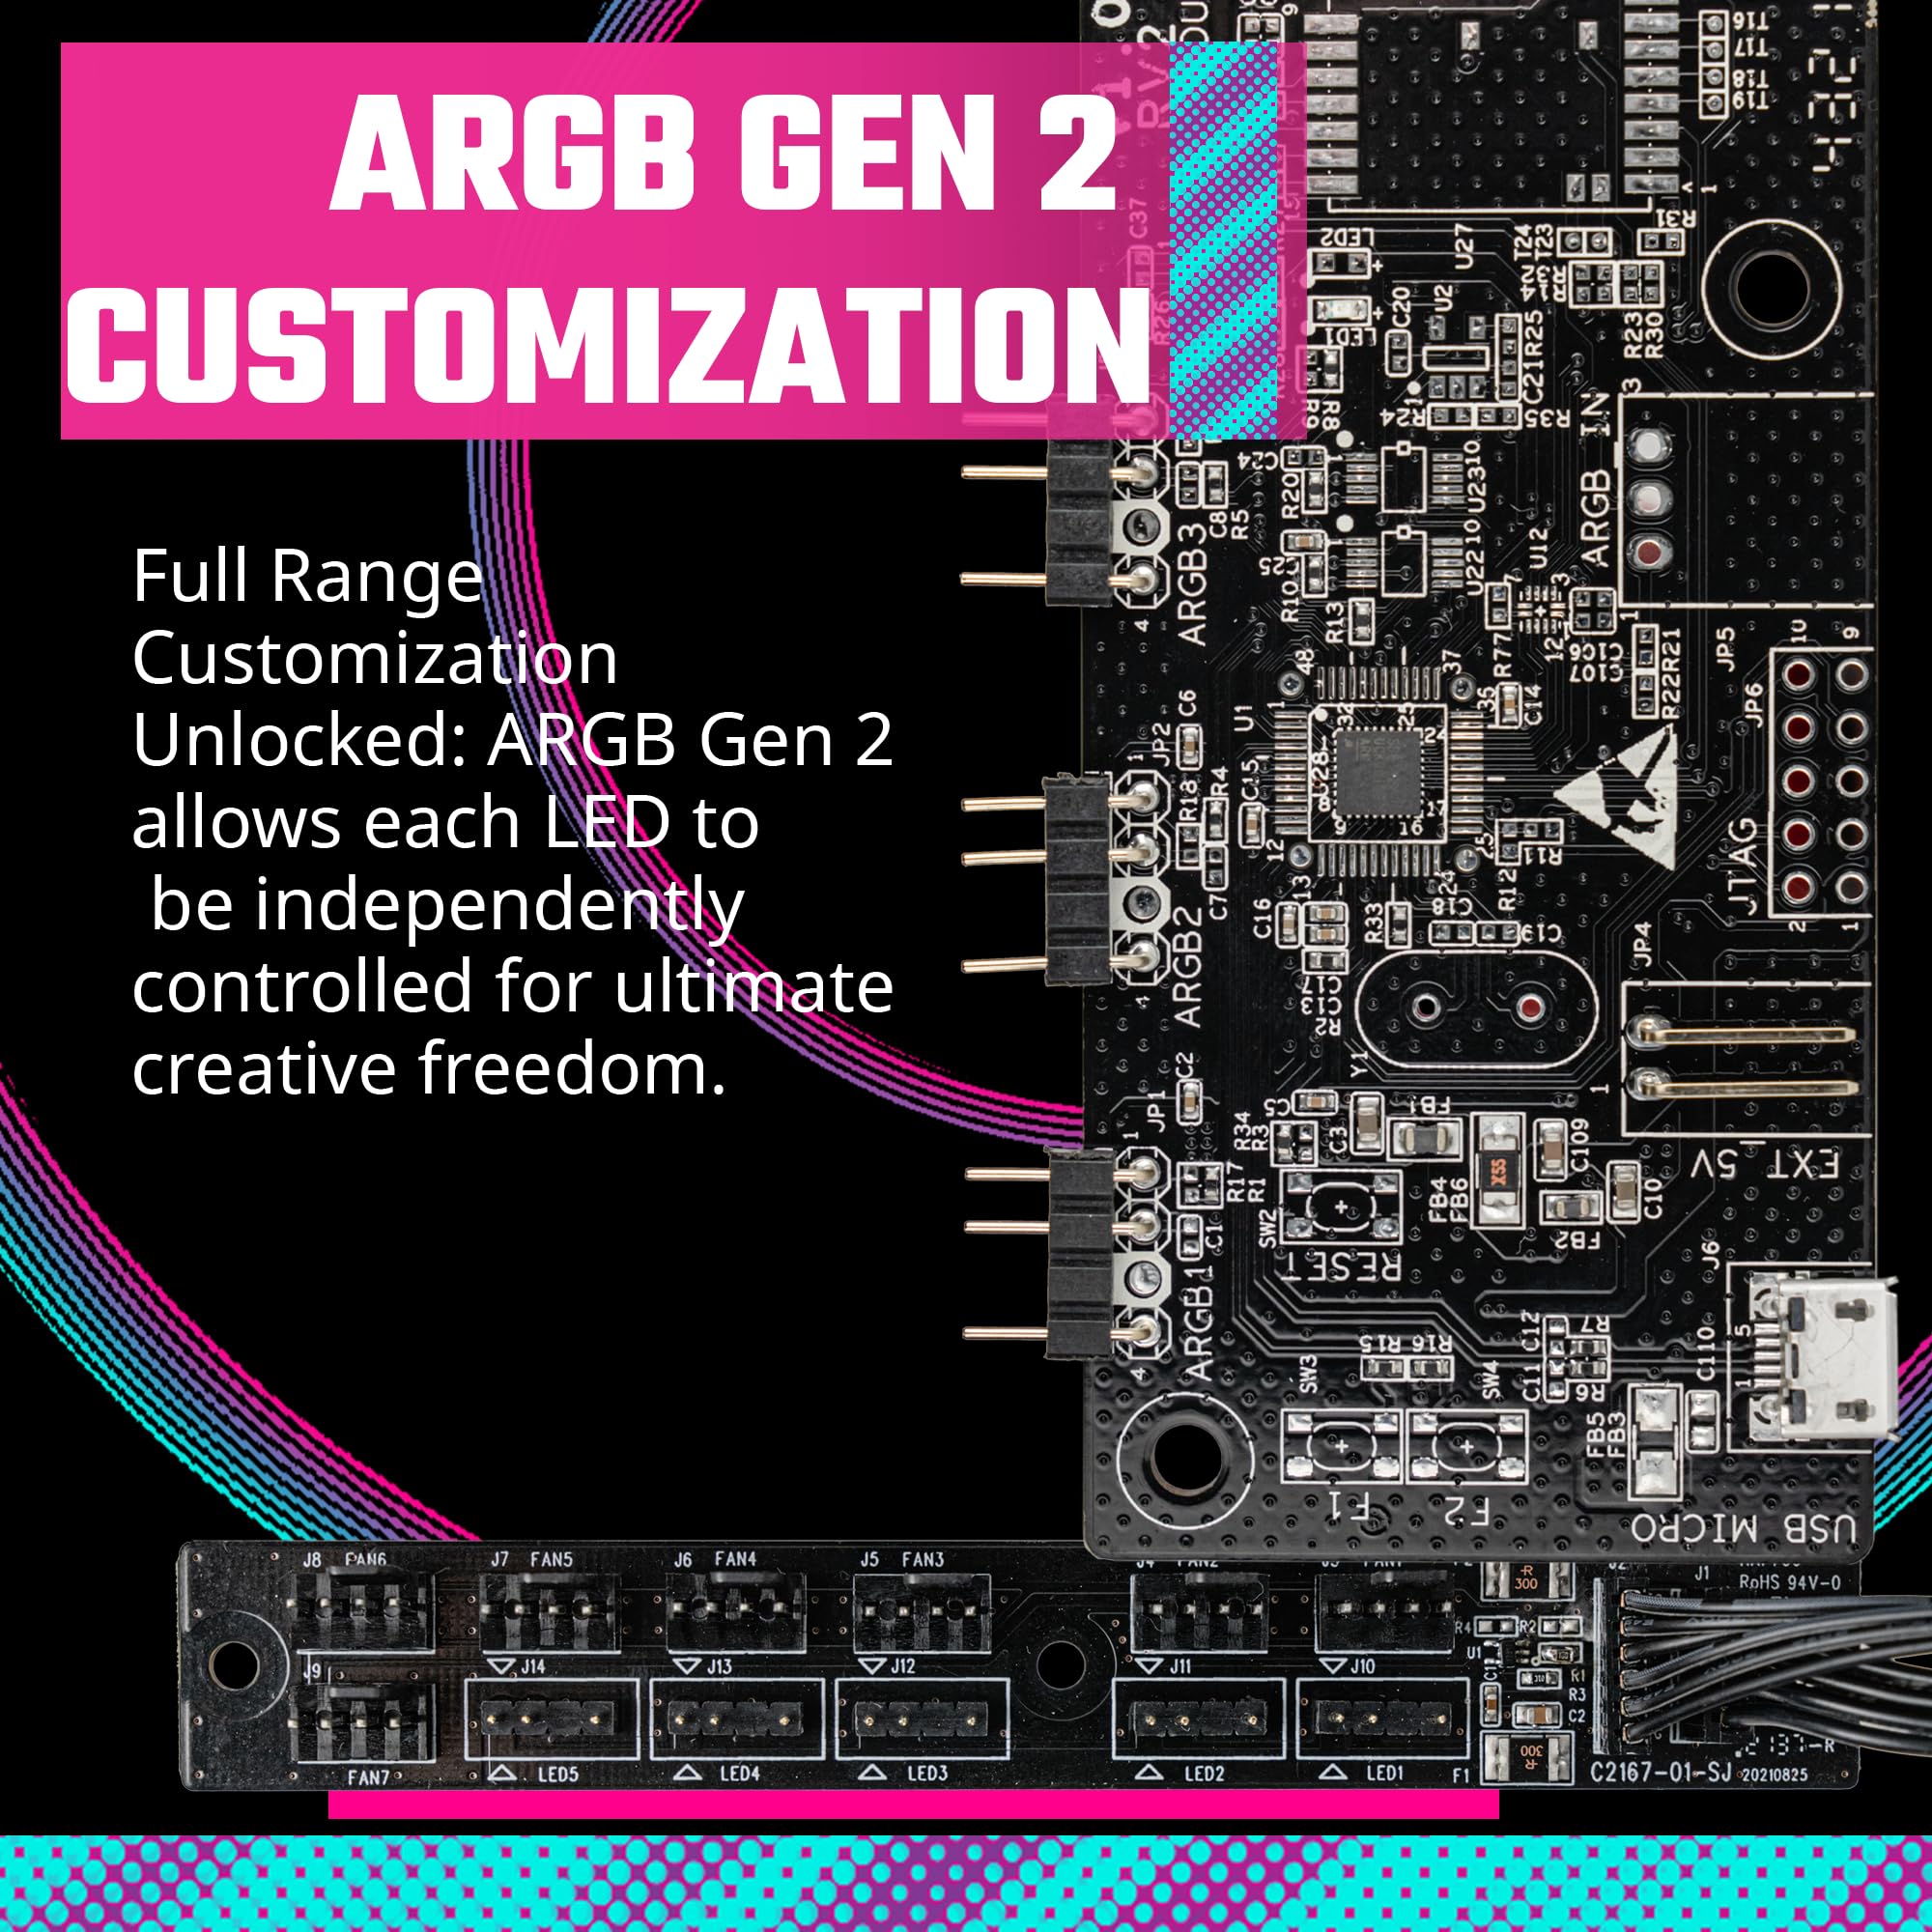
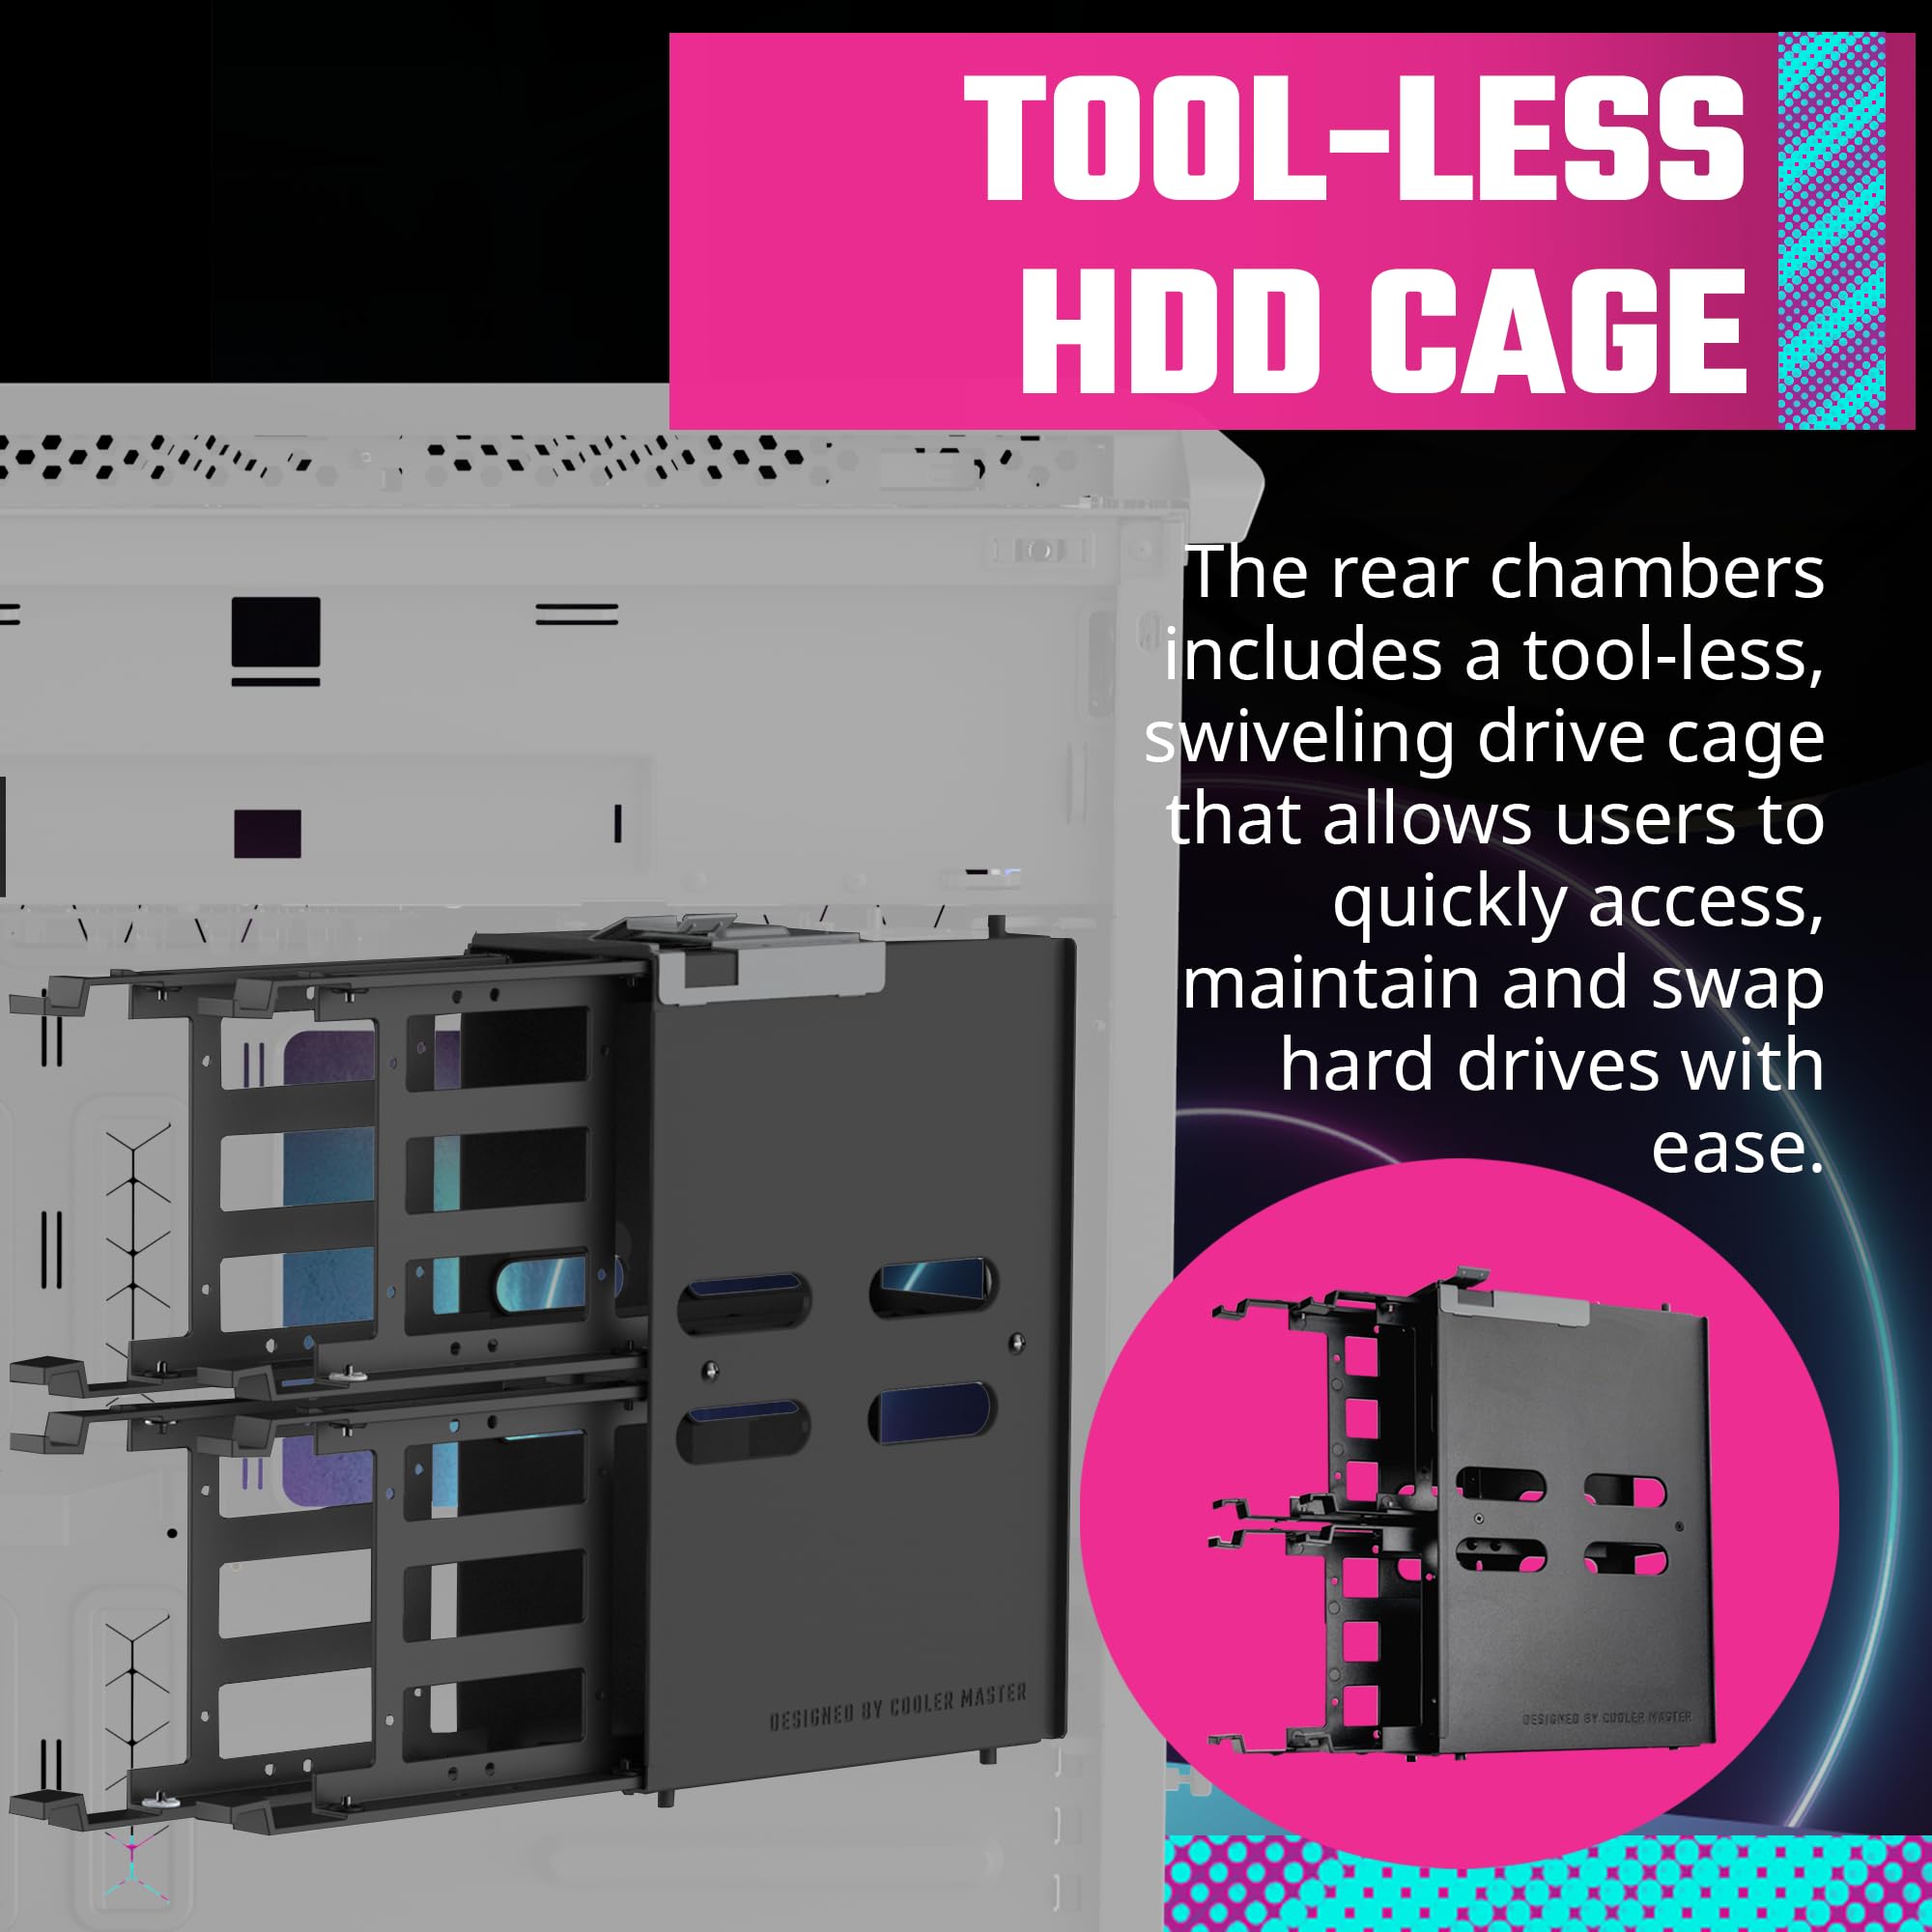
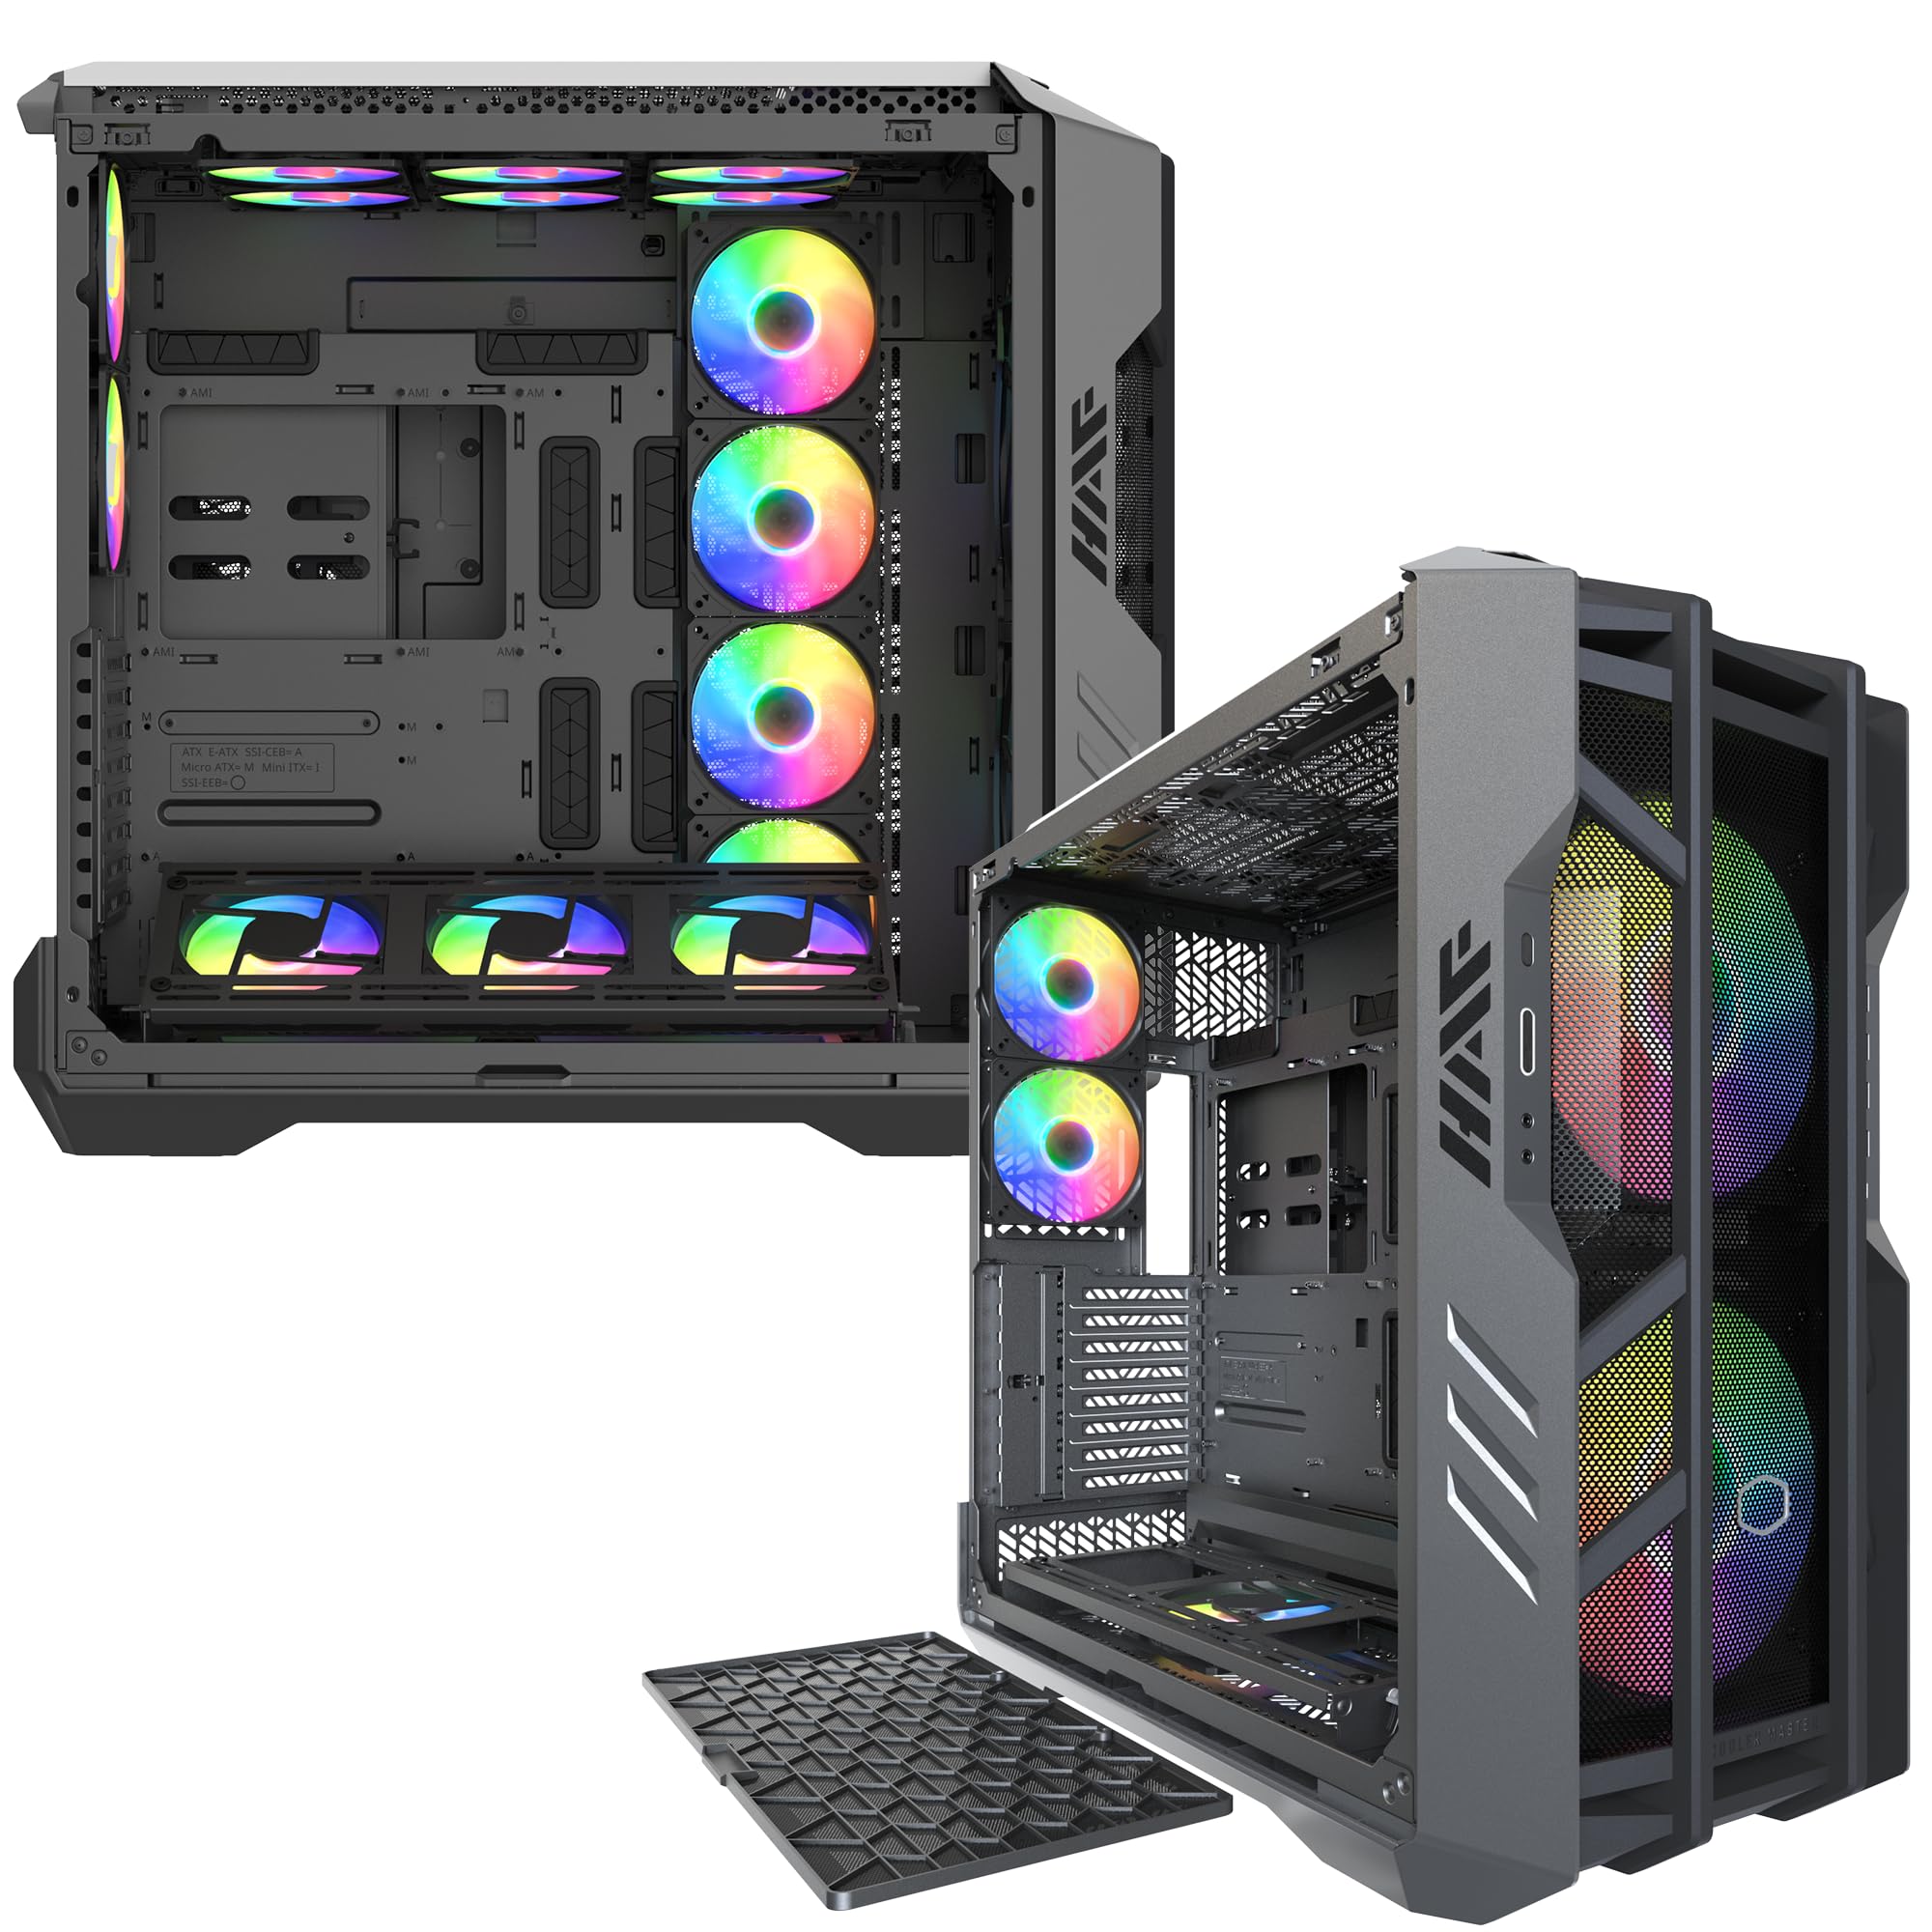
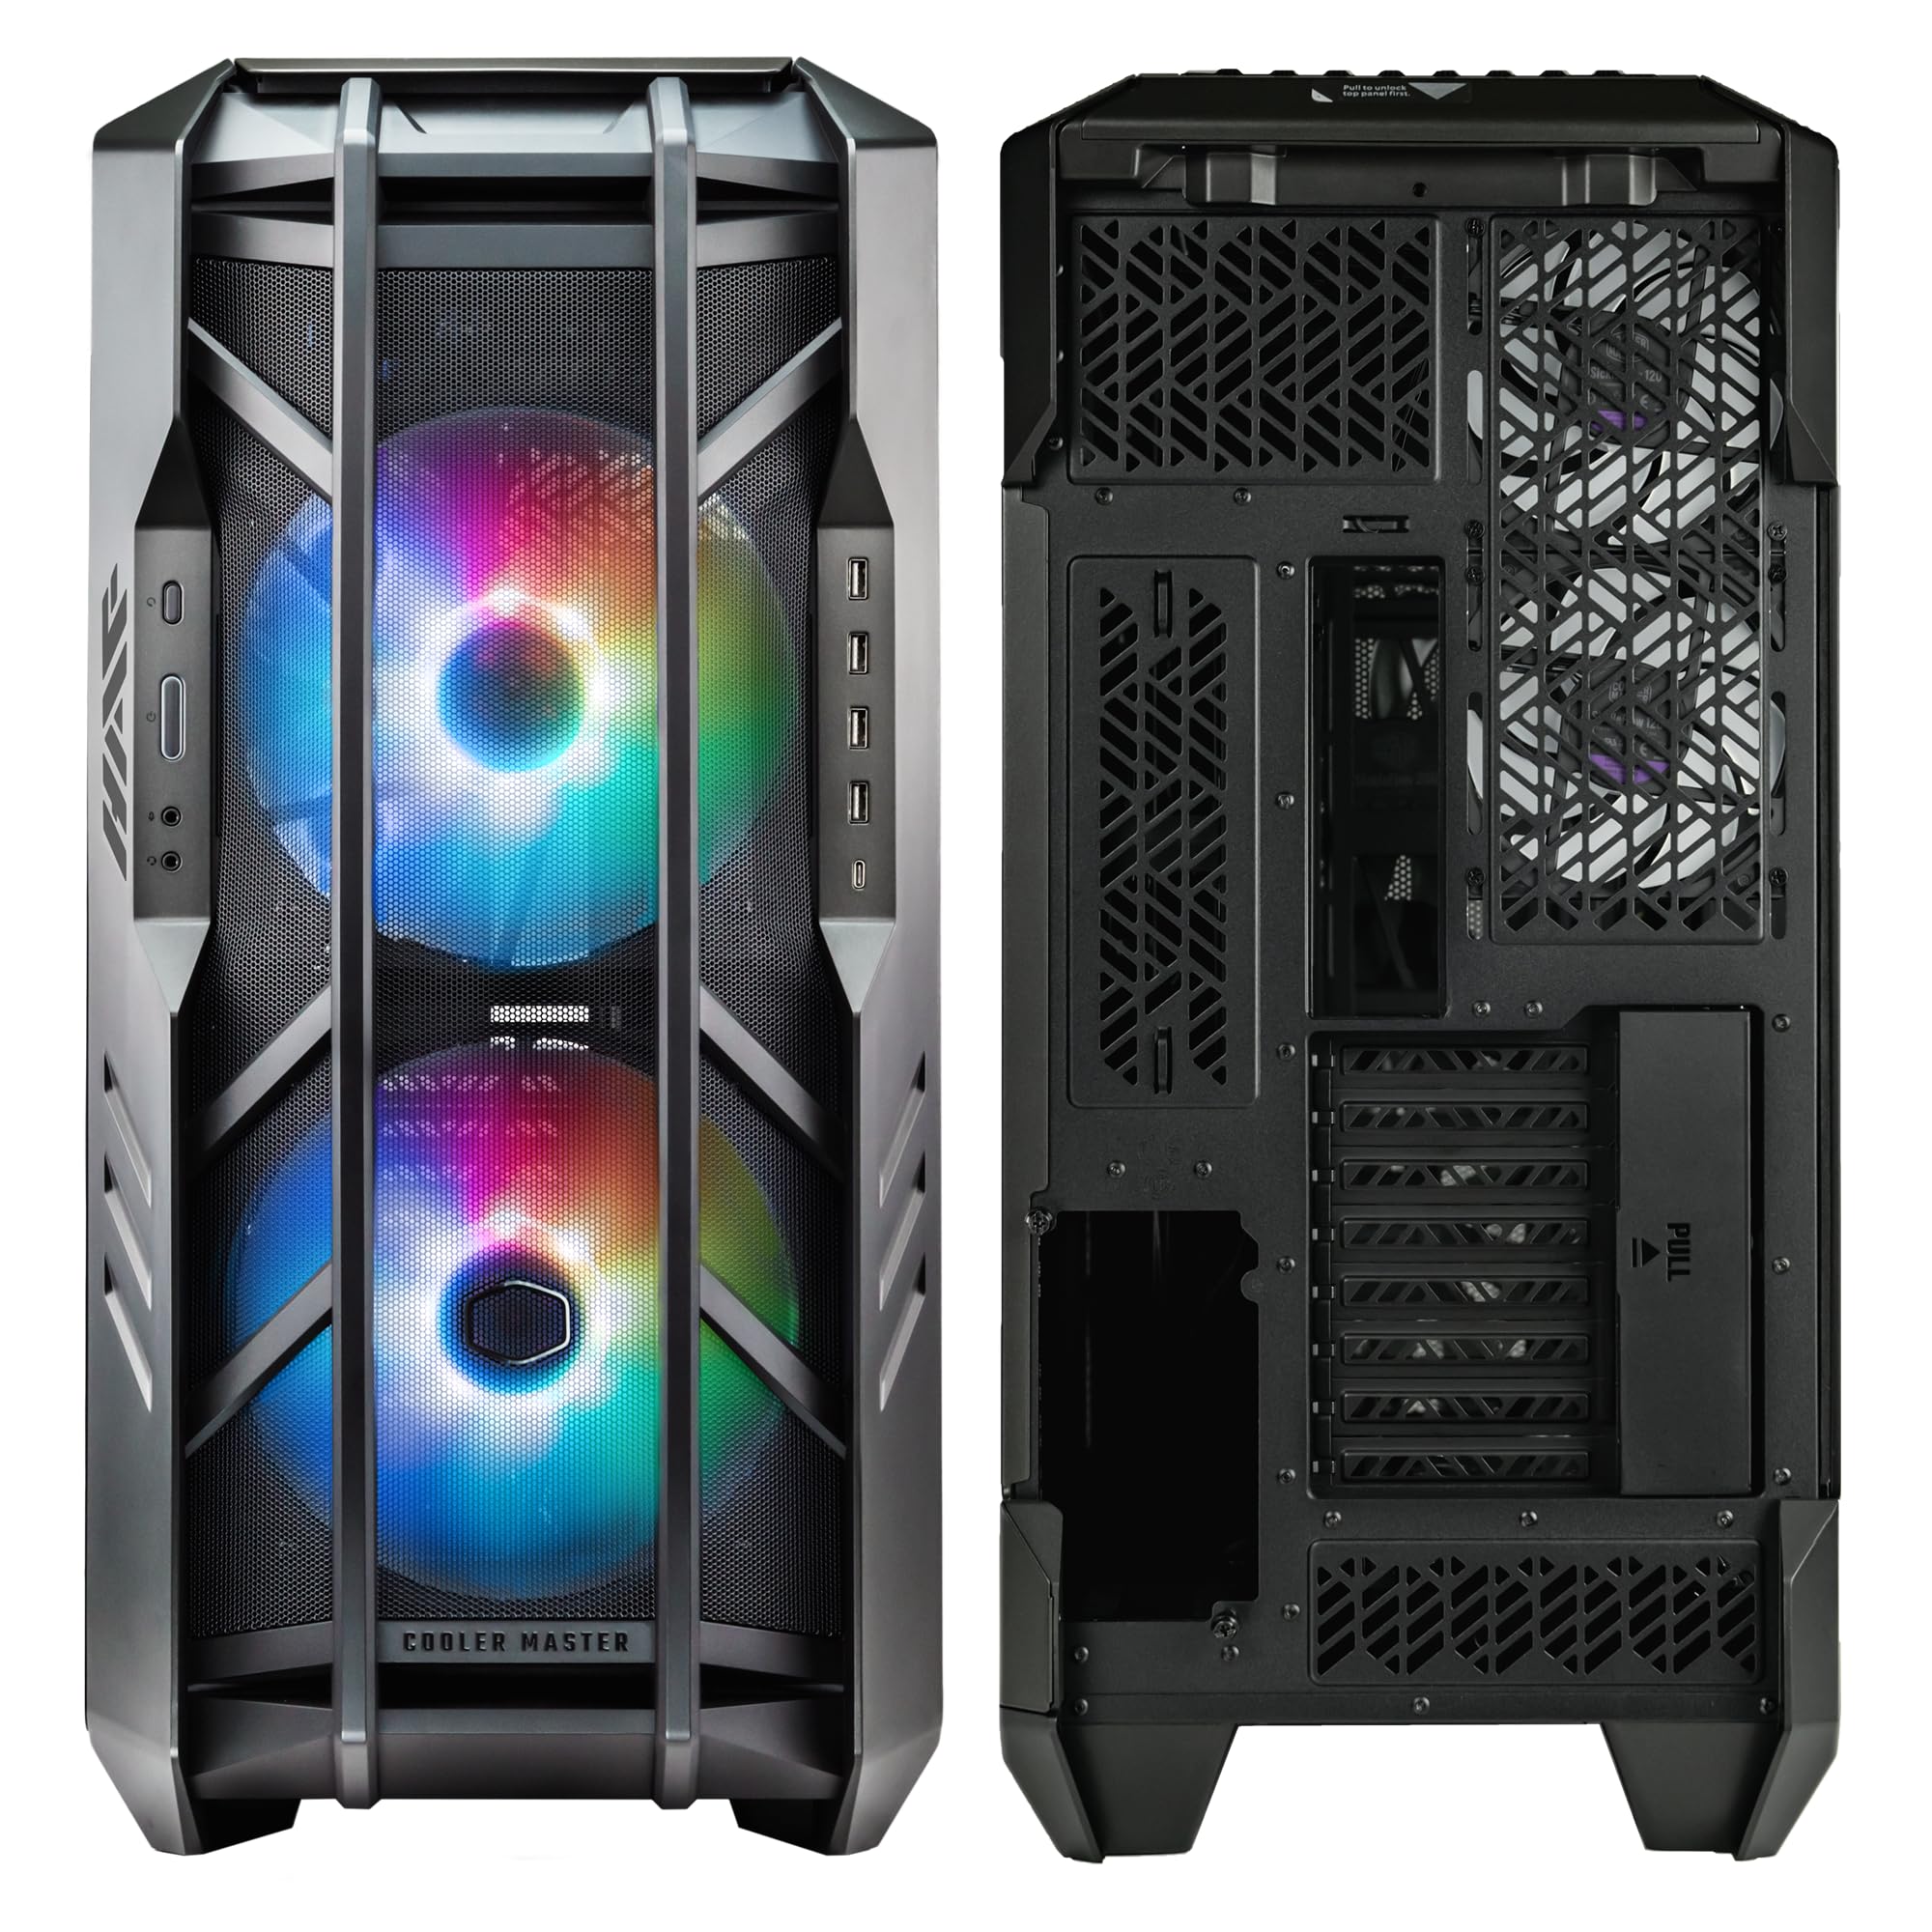
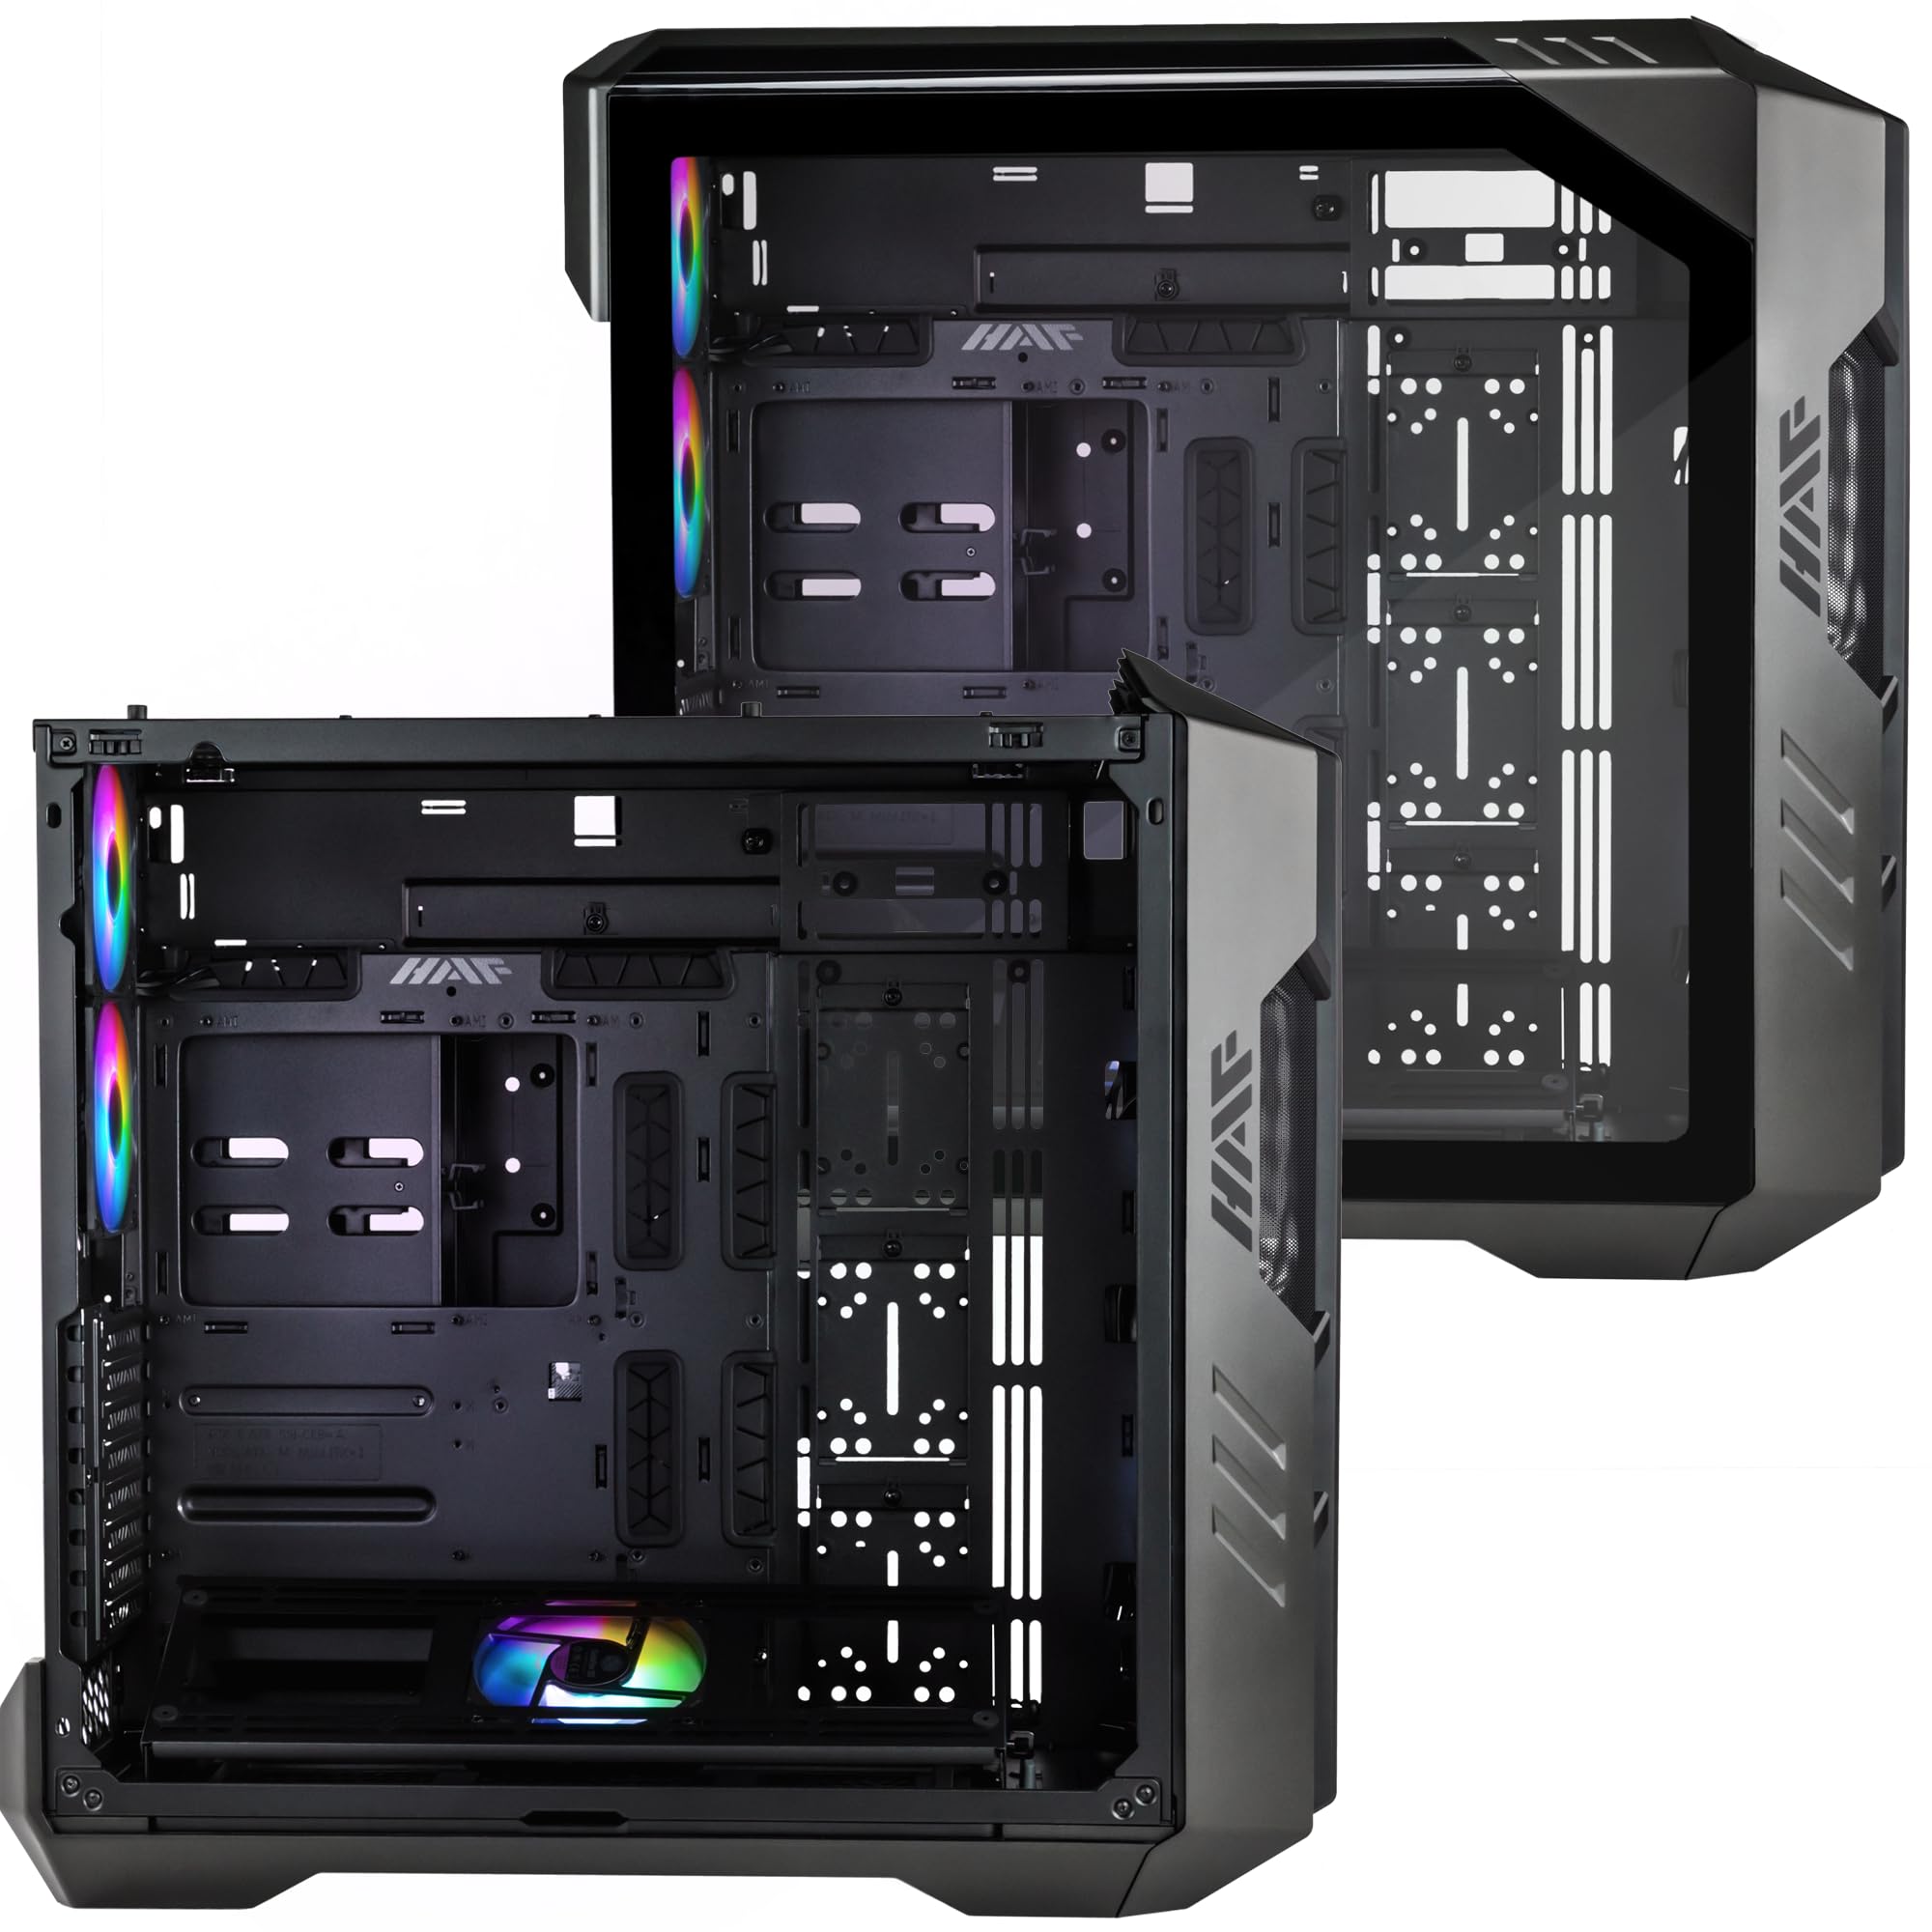
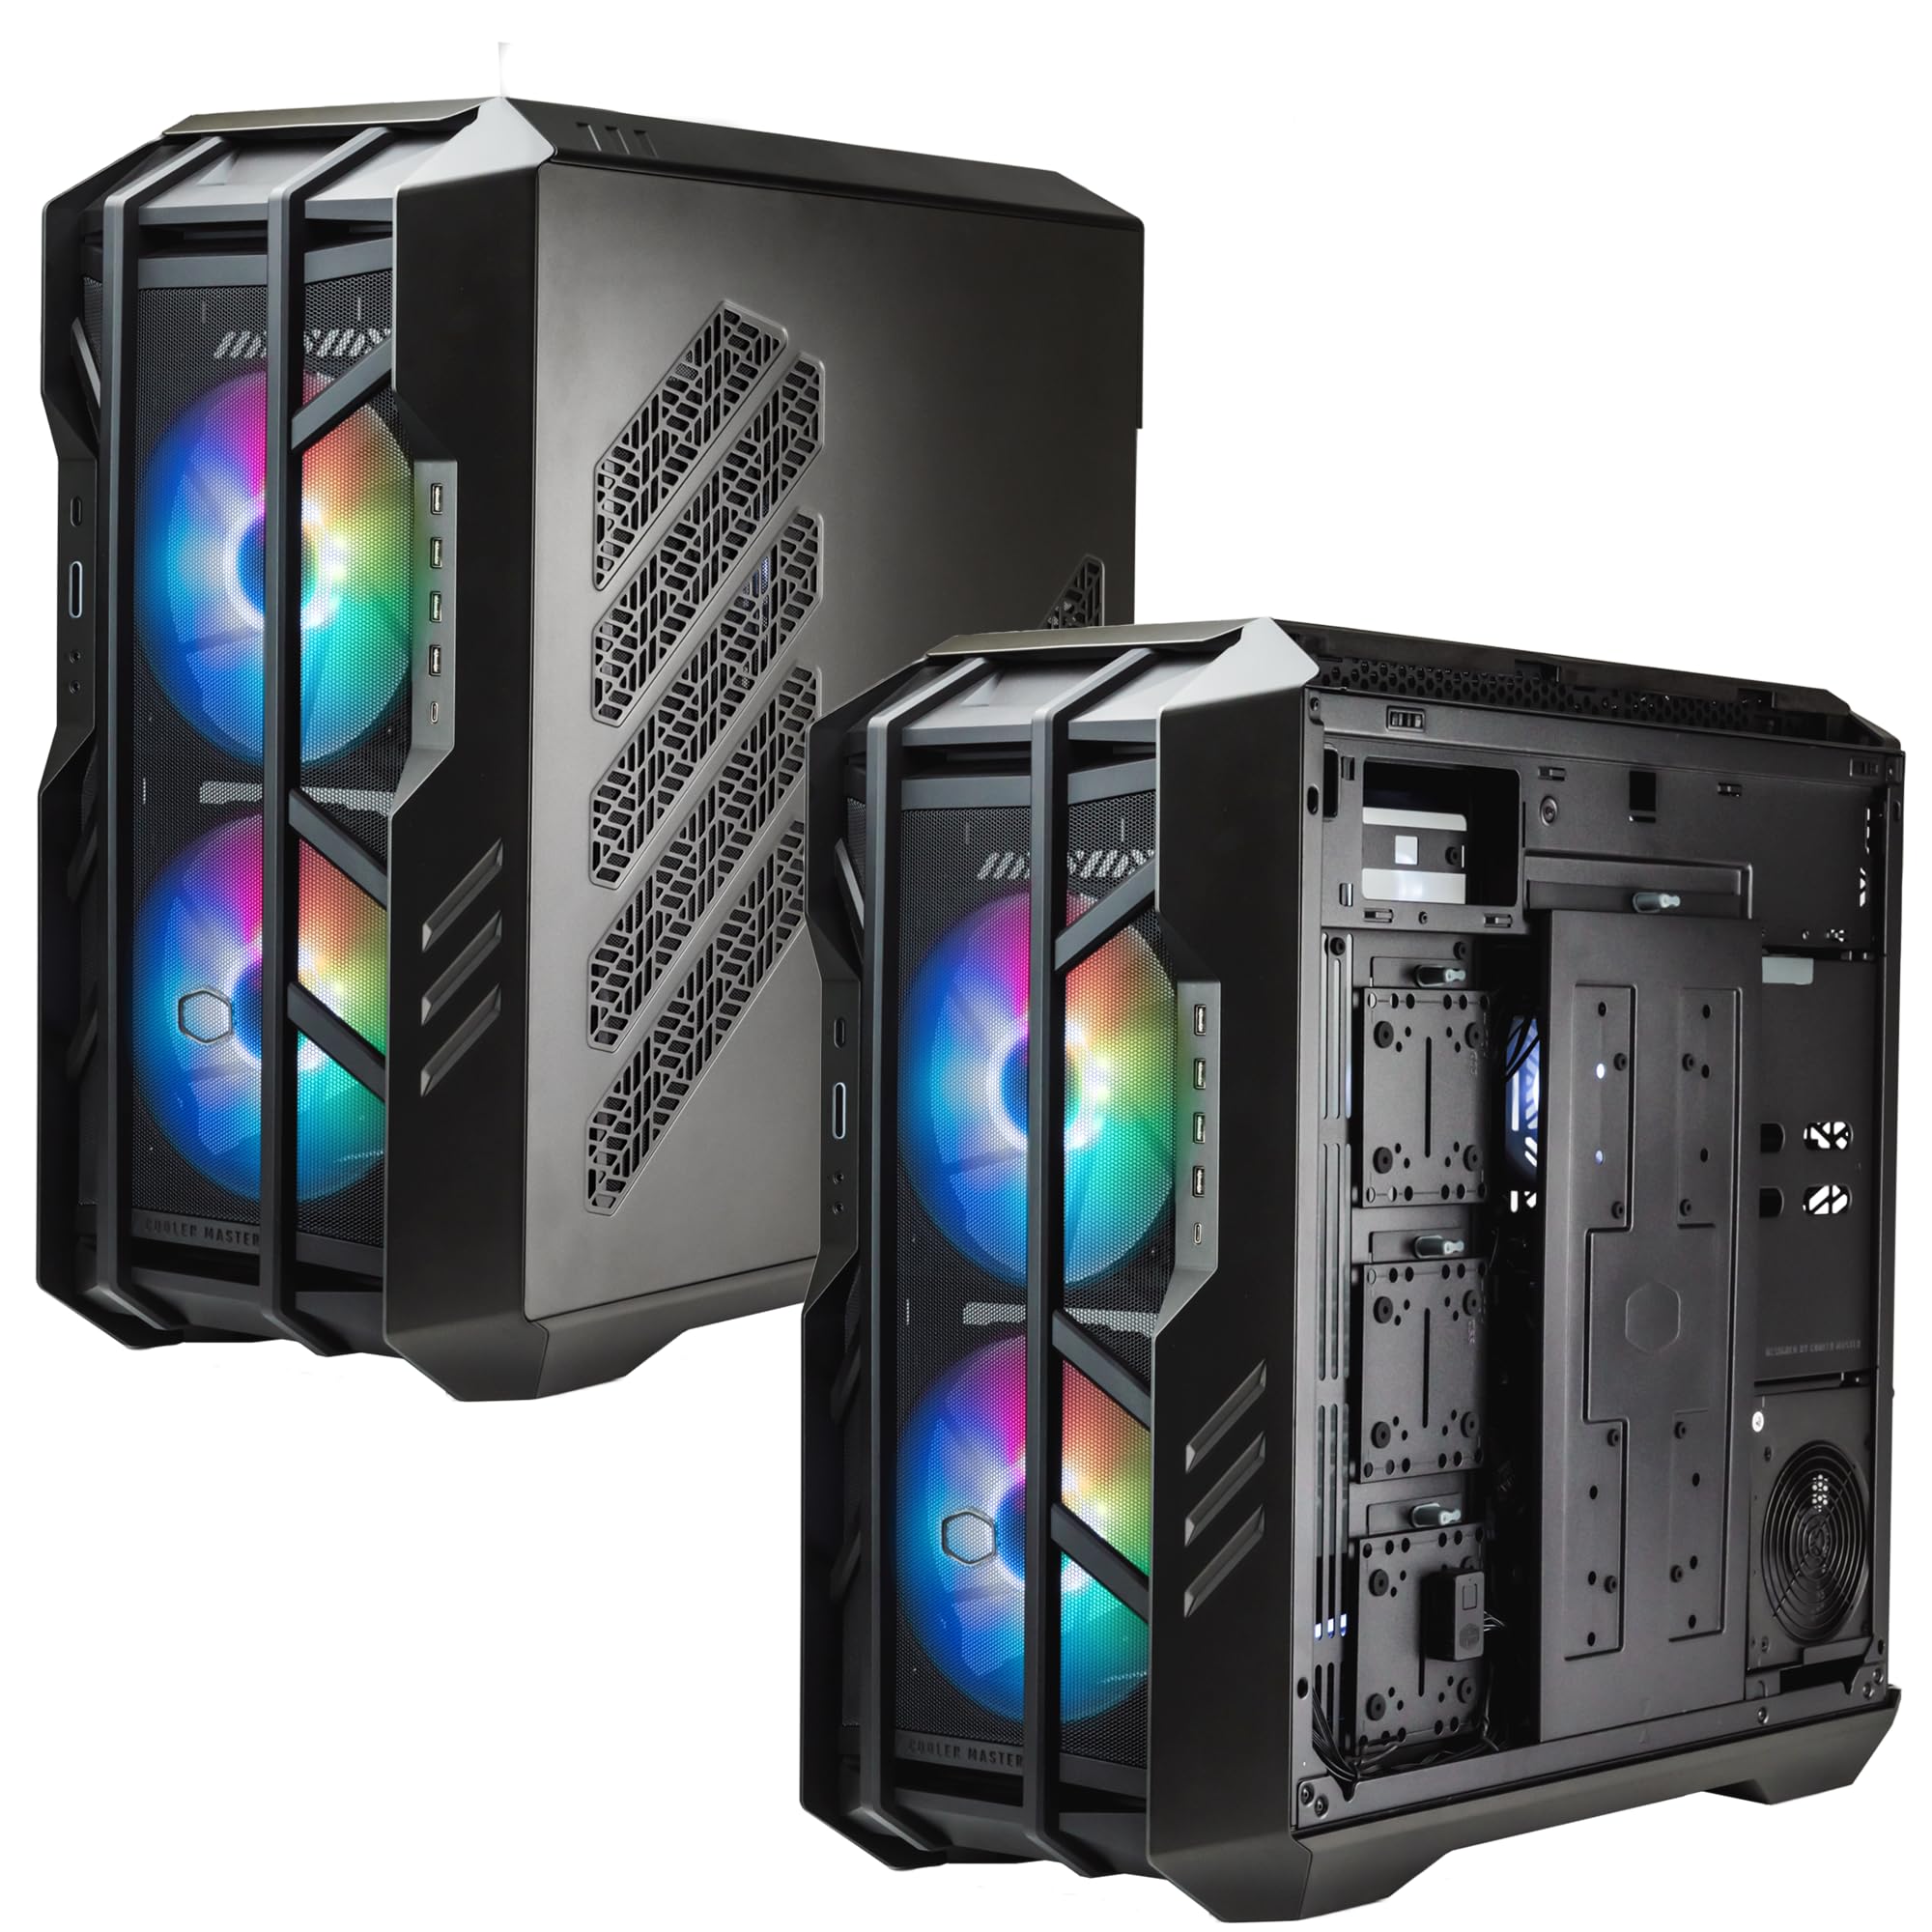
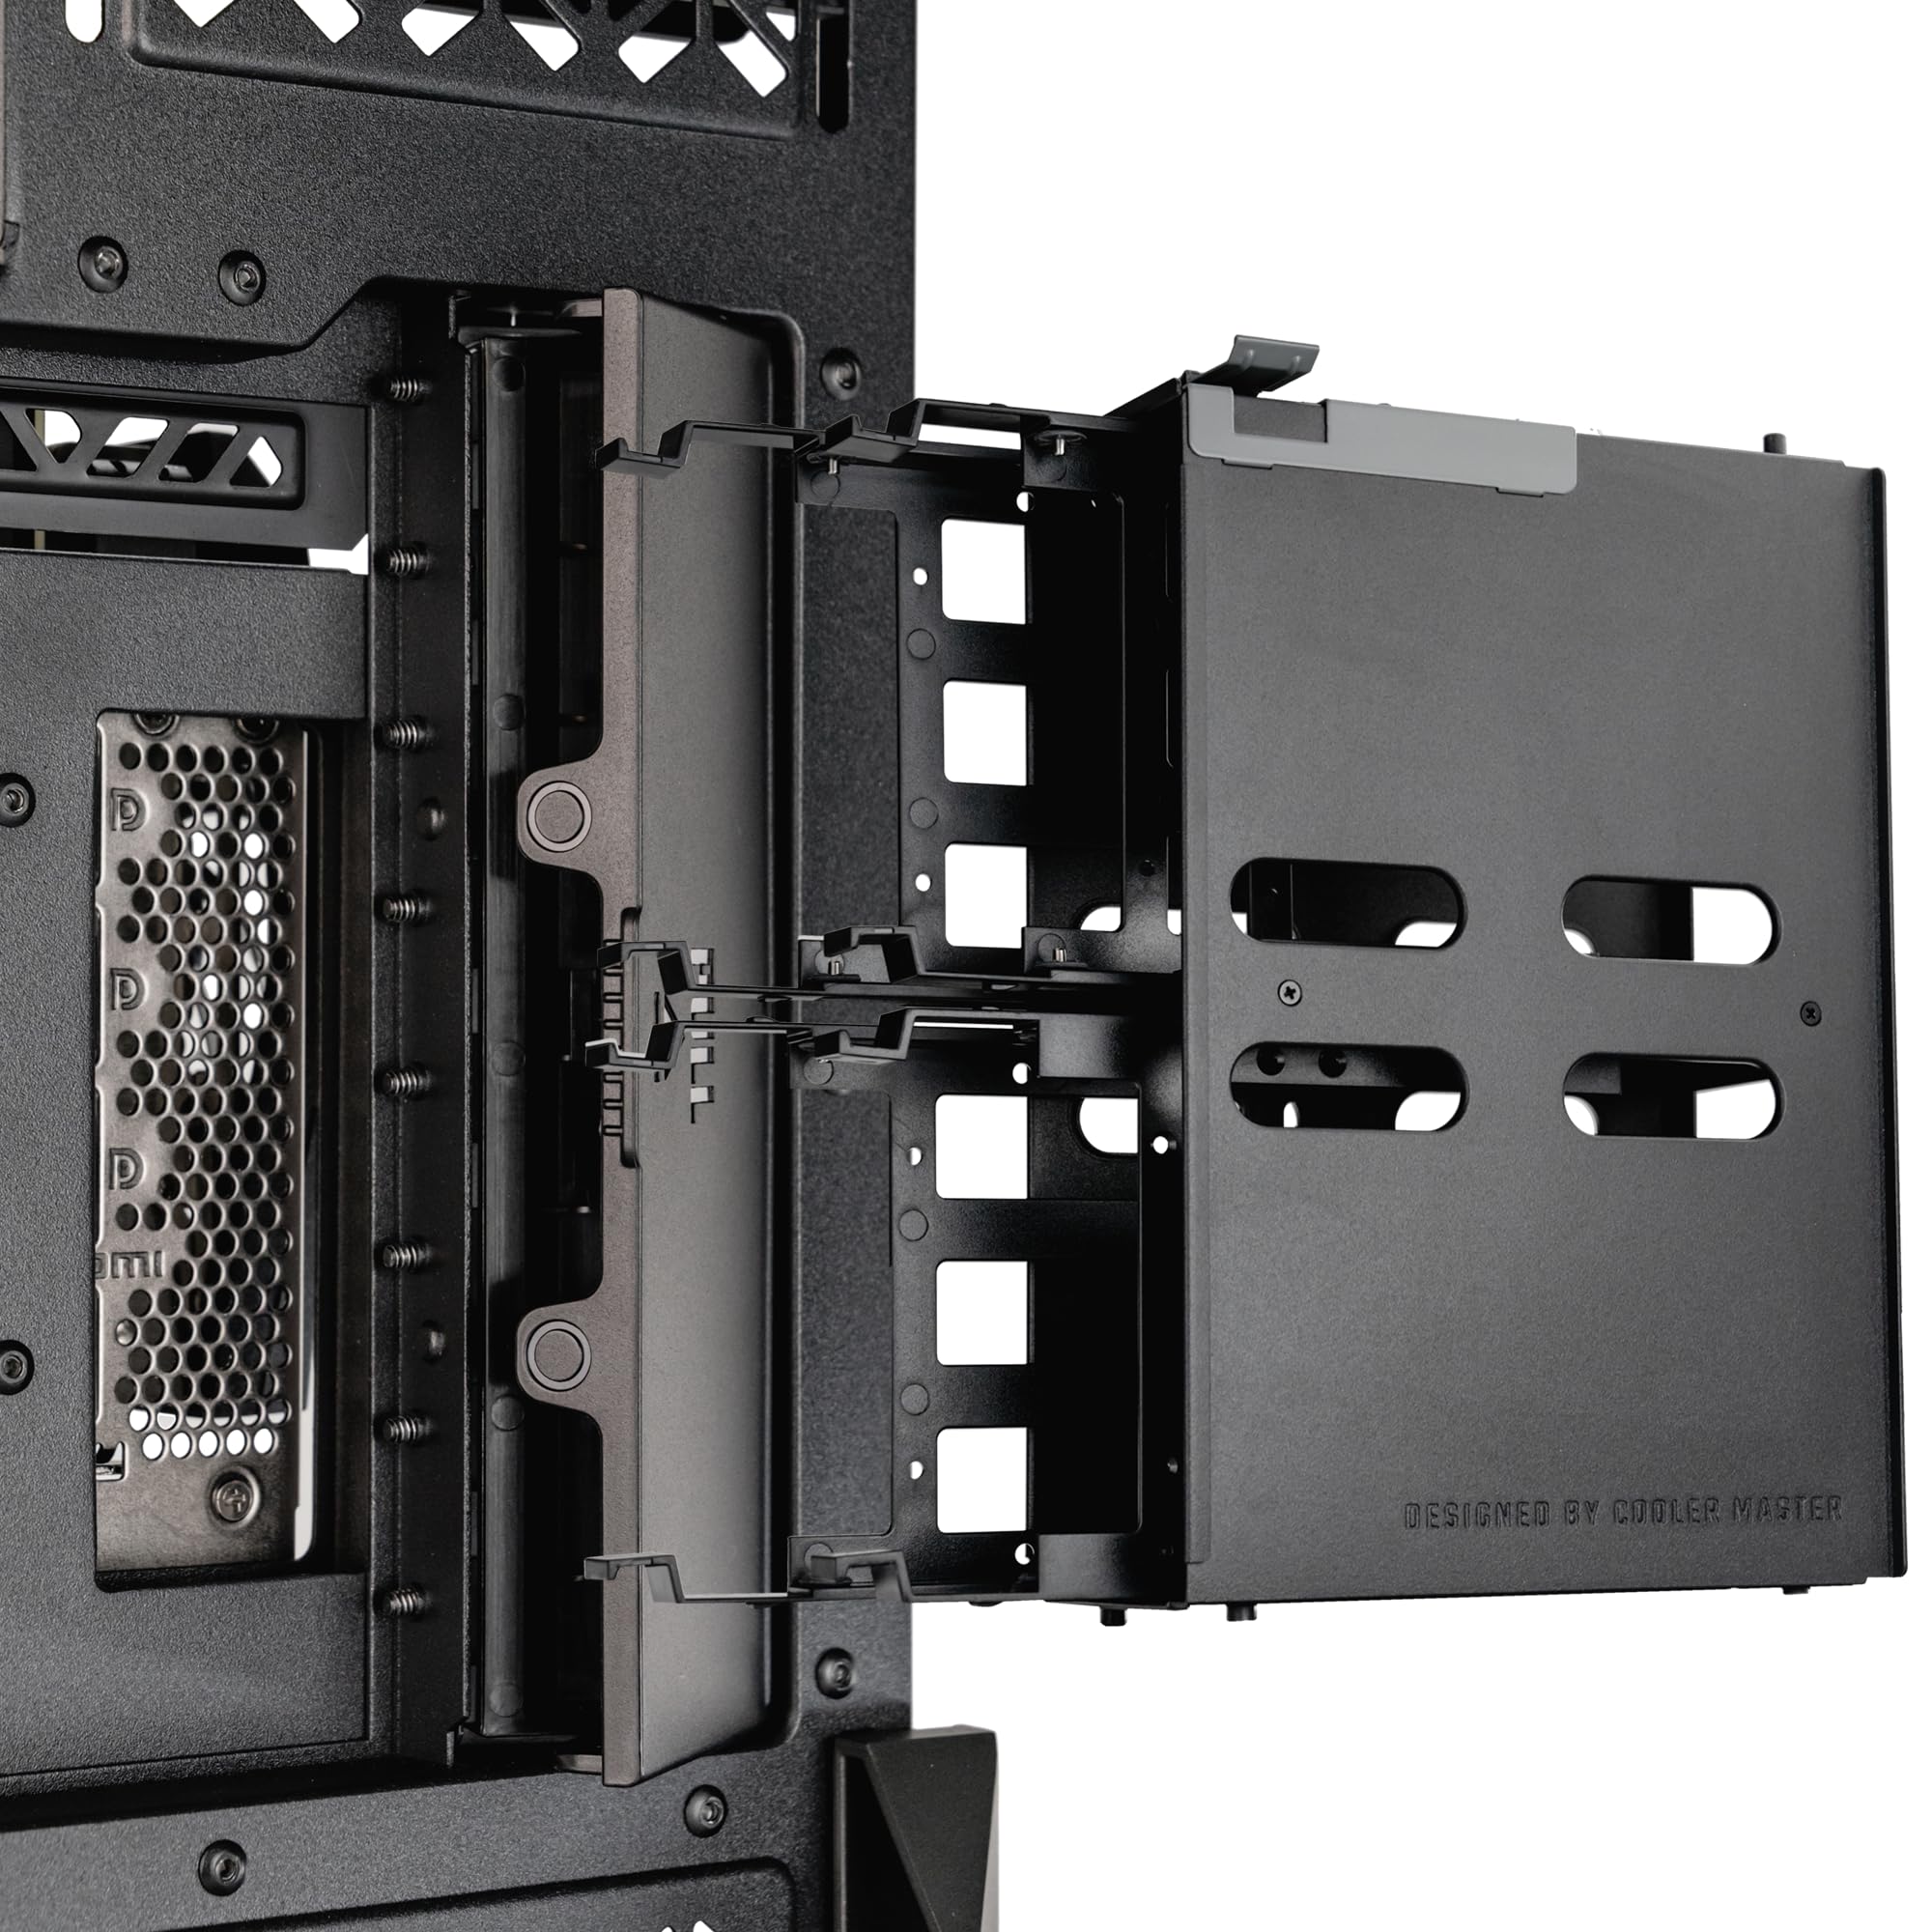
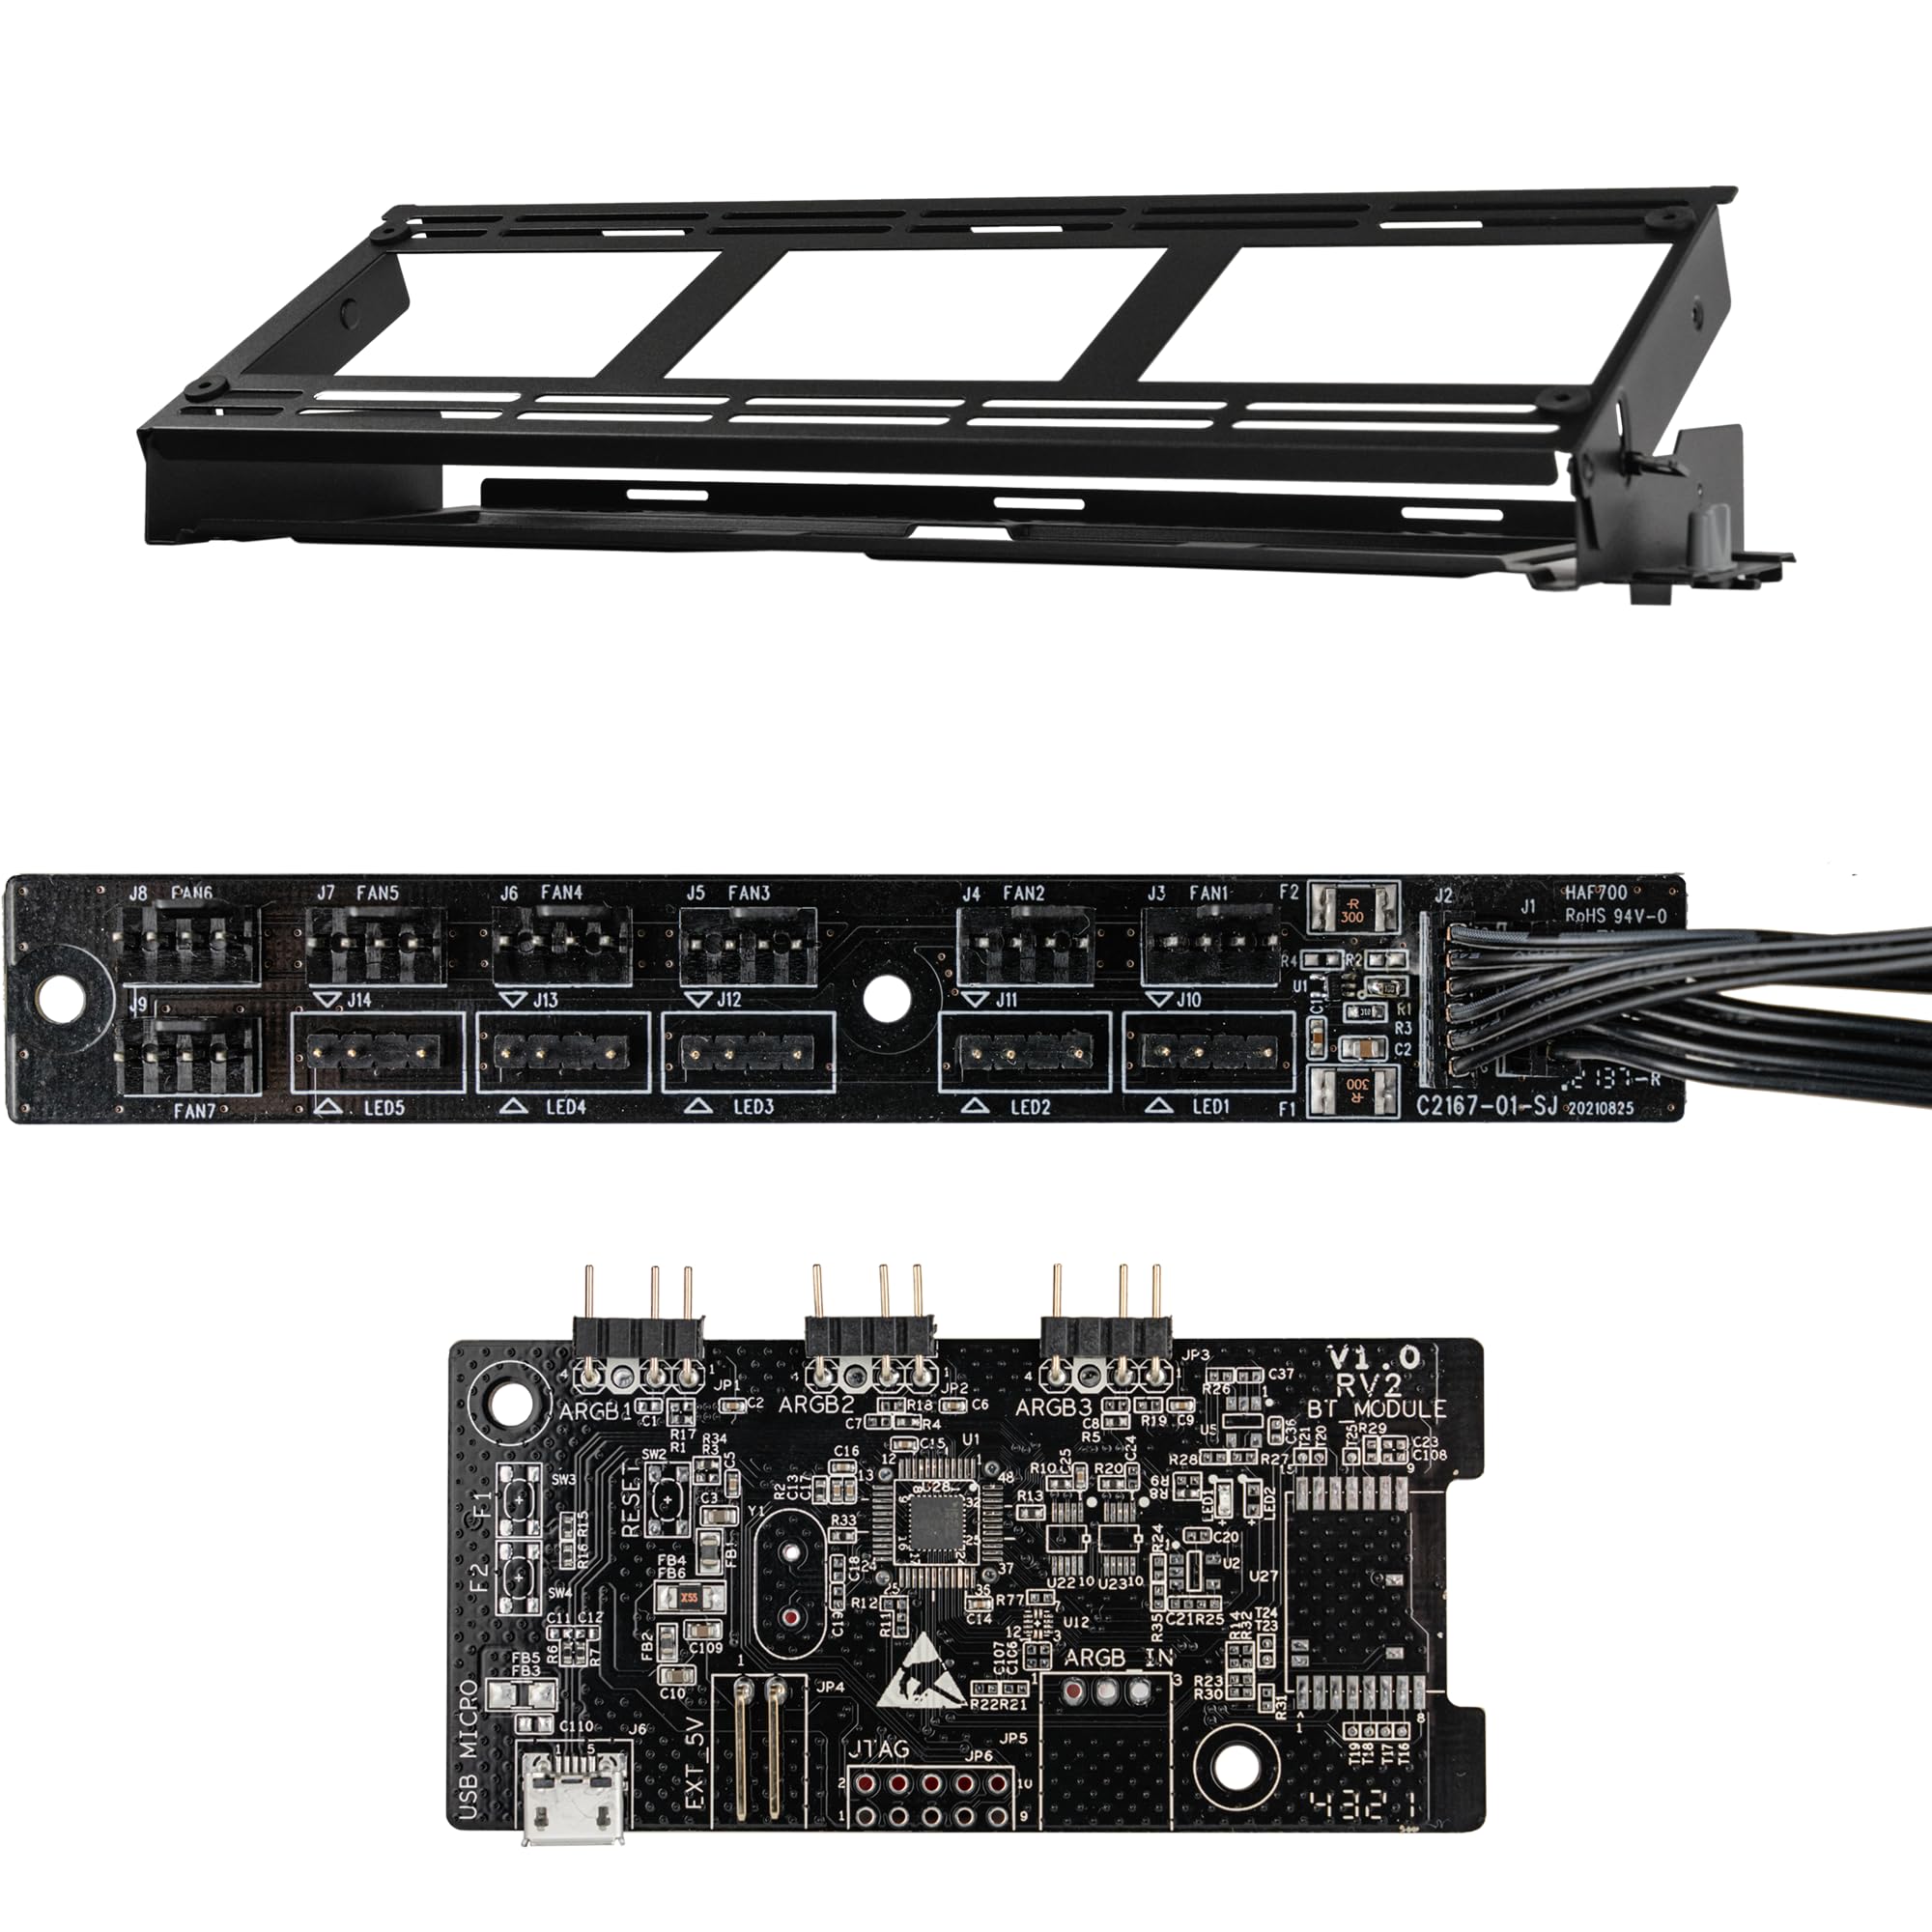
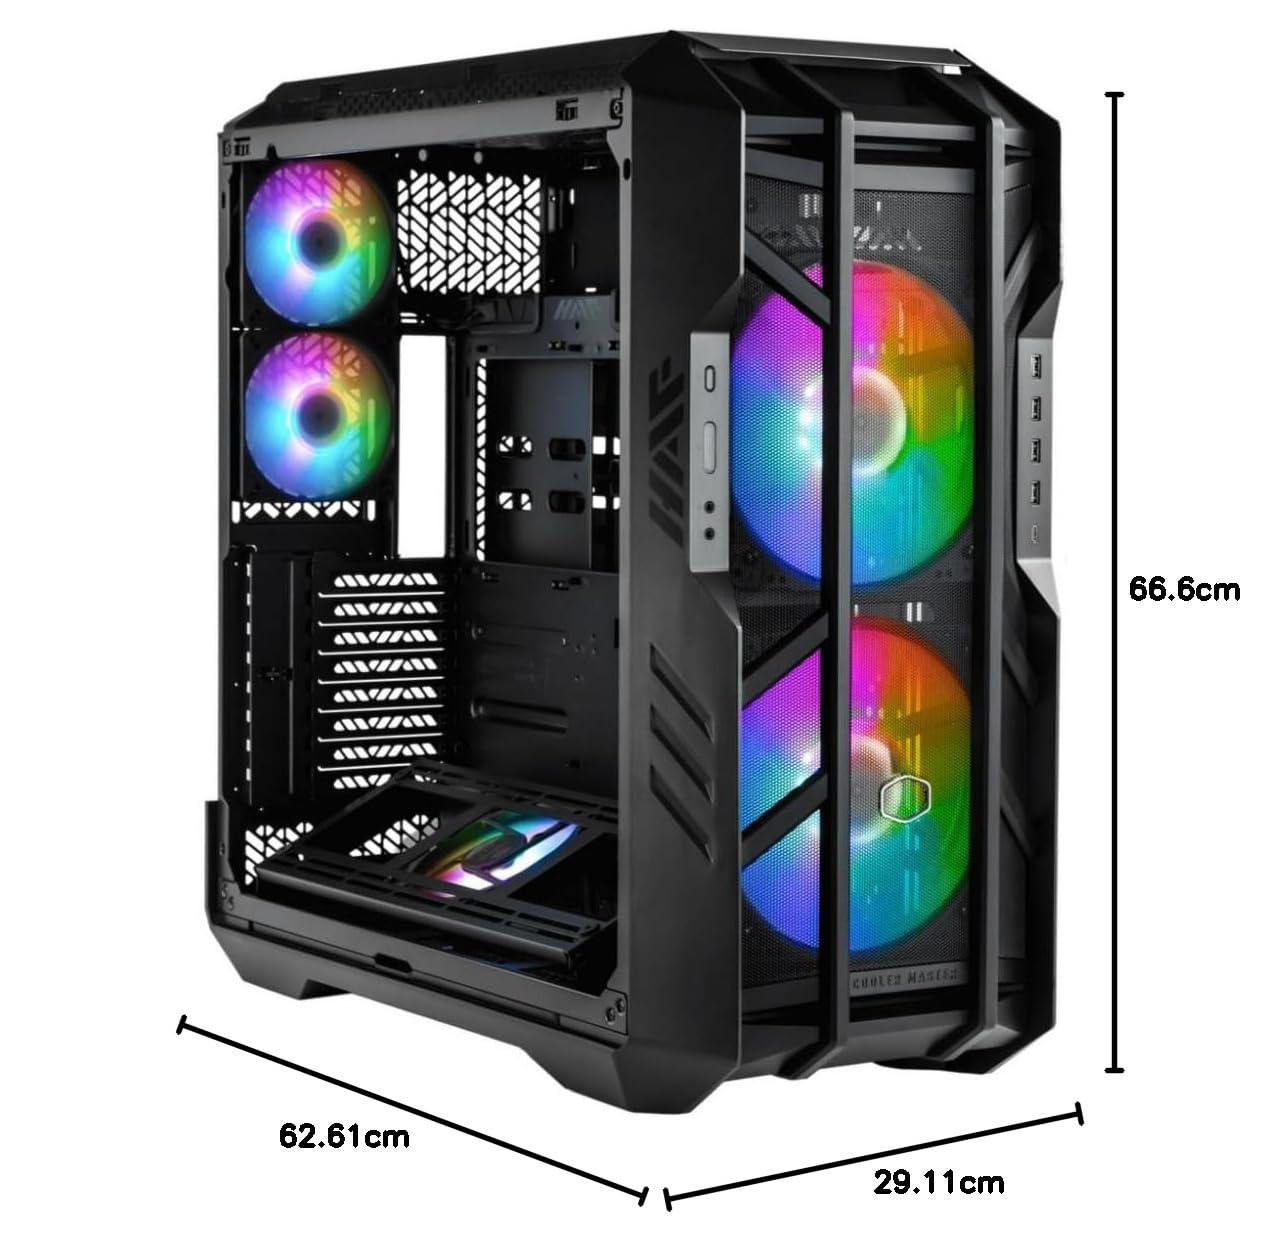
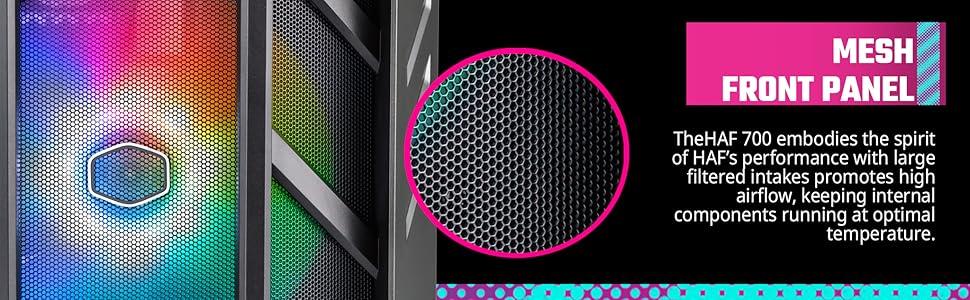
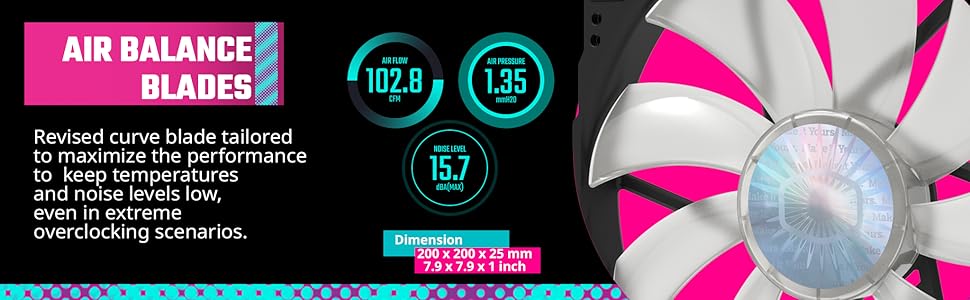
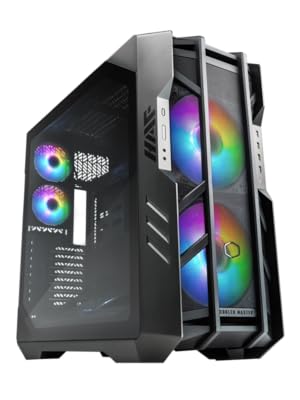
The Cooler Master HAF 700 is a high-performance E-ATX PC case designed for superior cooling with dual 200mm Sickleflow fans and support for extensive fan and radiator configurations. It features advanced ARGB Gen 2 lighting for full LED customization and offers a tool-less design for easy upgrades. Equipped with modern connectivity including USB 3.2 Gen 2 Type-C, it perfectly balances legacy airflow excellence with next-gen features for demanding professionals.


| Number of USB 2.0 Ports | 1 |
| Number of USB 3.0 Ports | 4 |
| Brand | Cooler Master |
| Series | HAF 700 |
| Item model number | 9B11-119-437 |
| Item Weight | 43.1 pounds |
| Product Dimensions | 26.22 x 11.46 x 24.65 inches |
| Item Dimensions LxWxH | 26.22 x 11.46 x 24.65 inches |
| Color | Black |
| Manufacturer | Cooler Master |
| ASIN | B0B57G9BHC |
| Date First Available | September 22, 2022 |
Trustpilot
1 month ago
1 month ago
1 month ago
3 weeks ago