
DOWNLOAD THE APP


Customer Support

Desert Online General Trading LLC
Warehouse # 7, 4th Street, Umm Ramool, Dubai, 30183, Dubai
DOWNLOAD THE APP
Customer Support
Desert Online General Trading LLC
Warehouse # 7, 4th Street, Umm Ramool, Dubai, 30183, Dubai


🏡 Elevate your space with effortless style and smart comfort!
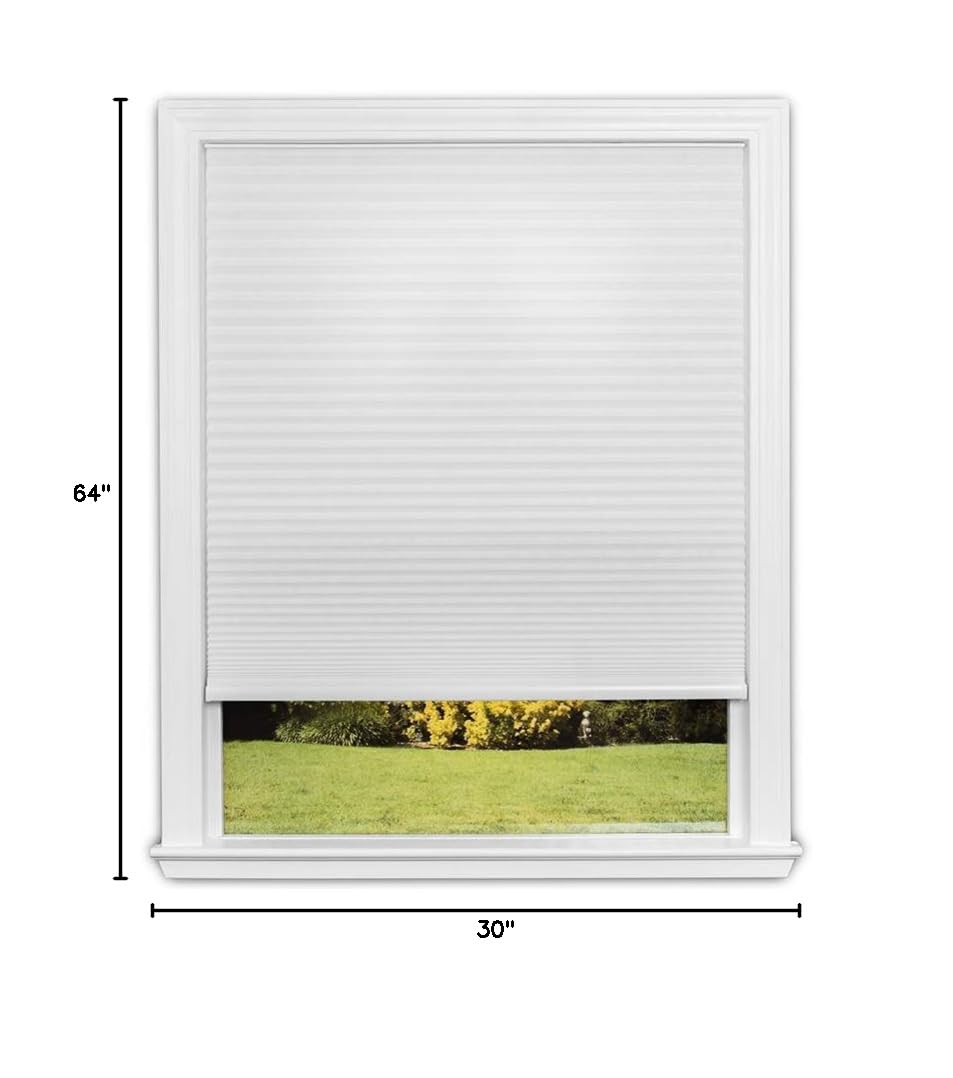
The Redi Shade No Tools Easy Lift Cordless Cellular Shade offers a customizable, cordless window covering solution that installs in seconds without tools. Featuring energy-efficient honeycomb fabric for insulation and soft light filtering for privacy, it fits windows 19" to 30" wide and is designed for safe, easy operation in any room.


| Material | Polyester |
| Product Dimensions | 64"L x 30"W |
| Brand | Redi Shade |
| Color | White |
| Opacity | Light Filtering |
| Recommended Uses For Product | Indoor |
| Specific Uses For Product | Window Shade |
| Room Type | Kids Room, Kitchen, Bedroom, Home Office, Dining Room |
| Operation Mode | Manual |
| Special Feature | No Tools Install |
| Included Components | (1) Shade, (1) Patented Trimming Scale and Guide, (1) Instructions |
| Shape | Rectangular |
| Number of Items | 1 |
| Pattern | Solid |
| Item Weight | 1.5 Pounds |
| Product Care Instructions | Spot Clean Only |
| Closure Type | Cordless |
| Size | 30 Inch x 64 Inch |
| Mounting Type | Inside Mount |
| Number Of Panels | 1 |
| Water Resistance Level | Not Water Resistant |
| Manufacturer | Redi Shade |
| Part Number | 3511052 |
| Item Weight | 1.54 pounds |
| Country of Origin | USA |
| Item model number | 3511052 |
| Is Discontinued By Manufacturer | No |
| Style | Easy Lift Trim-at-Home Cordless Cellular Light Filtering Fabric Shade White, 30 in x 64 in, (Fits windows 19"- 30") |
| Pattern | Light Filtering Fabric |
| Item Package Quantity | 1 |
| Number Of Pieces | 1 |
| Special Features | No Tools Install |
| Batteries Included? | No |
| Batteries Required? | No |
Trustpilot
2 weeks ago
1 week ago