
DOWNLOAD THE APP


Customer Services
Copyright © 2025 Desertcart Holdings Limited
DOWNLOAD THE APP

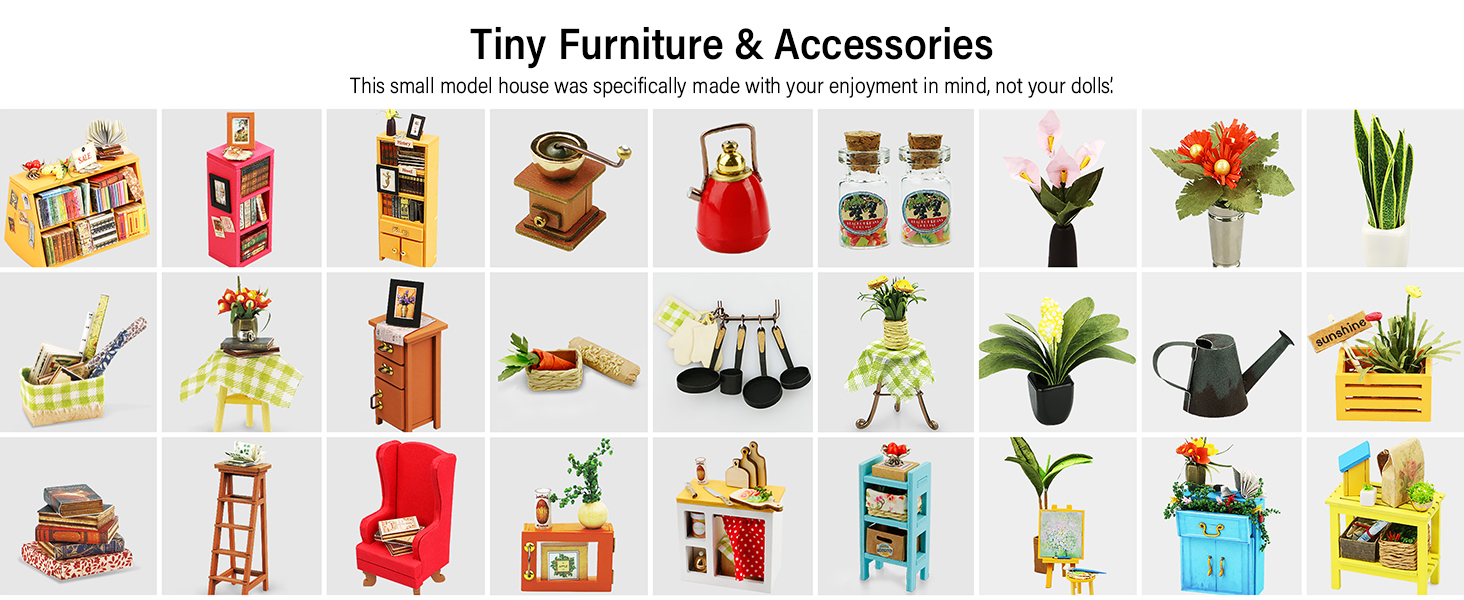
☕ Light up your creativity with Simon’s Coffee Shop! 💡
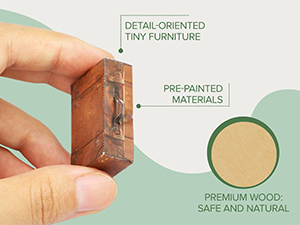
The Hands CraftDG109 DIY 3D Wooden Miniature House Kit lets you build Simon's Coffee Shop, a detailed wooden dollhouse featuring 203 pieces, real LED lights, and tiny furniture. Designed for ages 14+, this compact 8.9 x 7.6 x 7.2 inch kit includes all essential tools and materials, offering a relaxing, creative project perfect for display or gifting.


| Product Dimensions | 22.61 x 19.41 x 19 cm; 920.79 g |
| Manufacturer recommended age | 14 years and up |
| Item model number | 0 |
| Number of Puzzle Pieces | 203 |
| Assembly Required | Yes |
| Batteries Required? | No |
| Batteries Included? | No |
| Material Type(s) | Wood |
| Color | Simon's Coffee |
| ASIN | B07BYYN2ZN |
Trustpilot
5 days ago
2 days ago