
DOWNLOAD THE APP


Customer Services
Copyright © 2025 Desertcart Holdings Limited
DOWNLOAD THE APP


⚡ Print your ideas anywhere, anytime—no fuss, all flair!
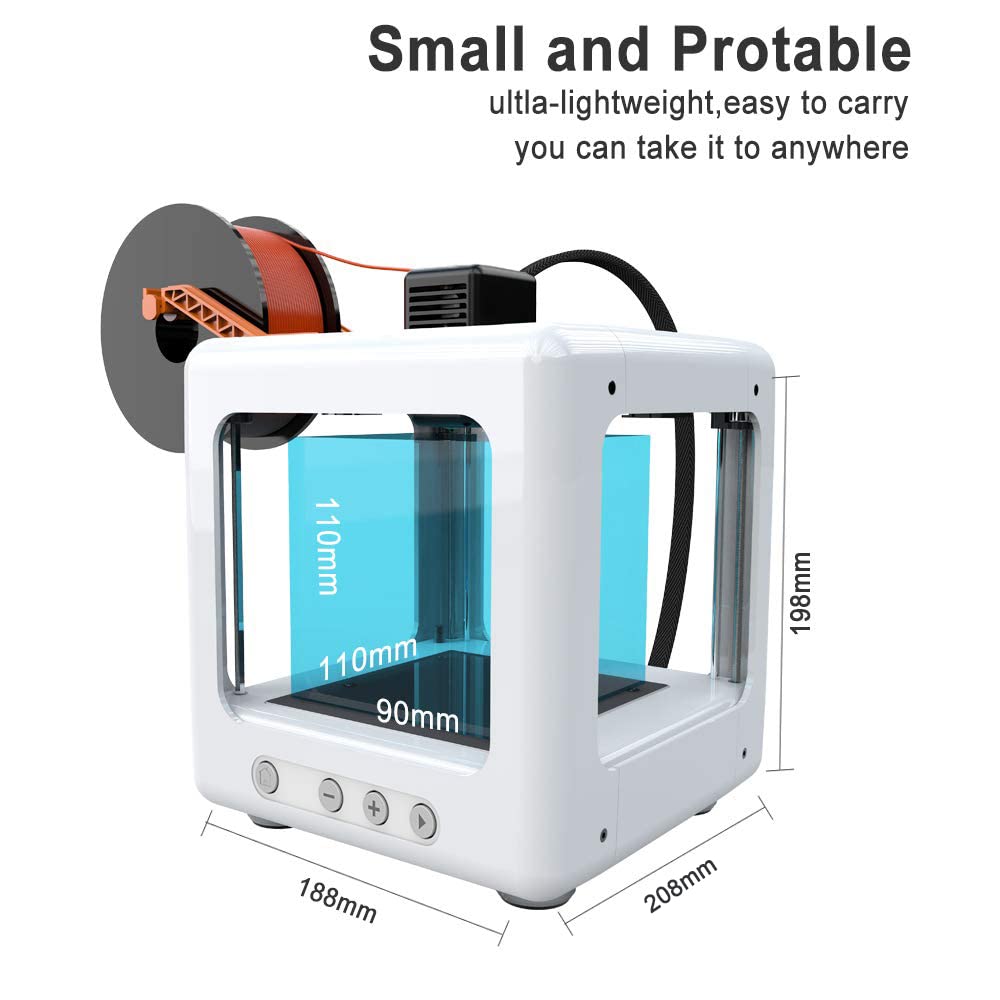
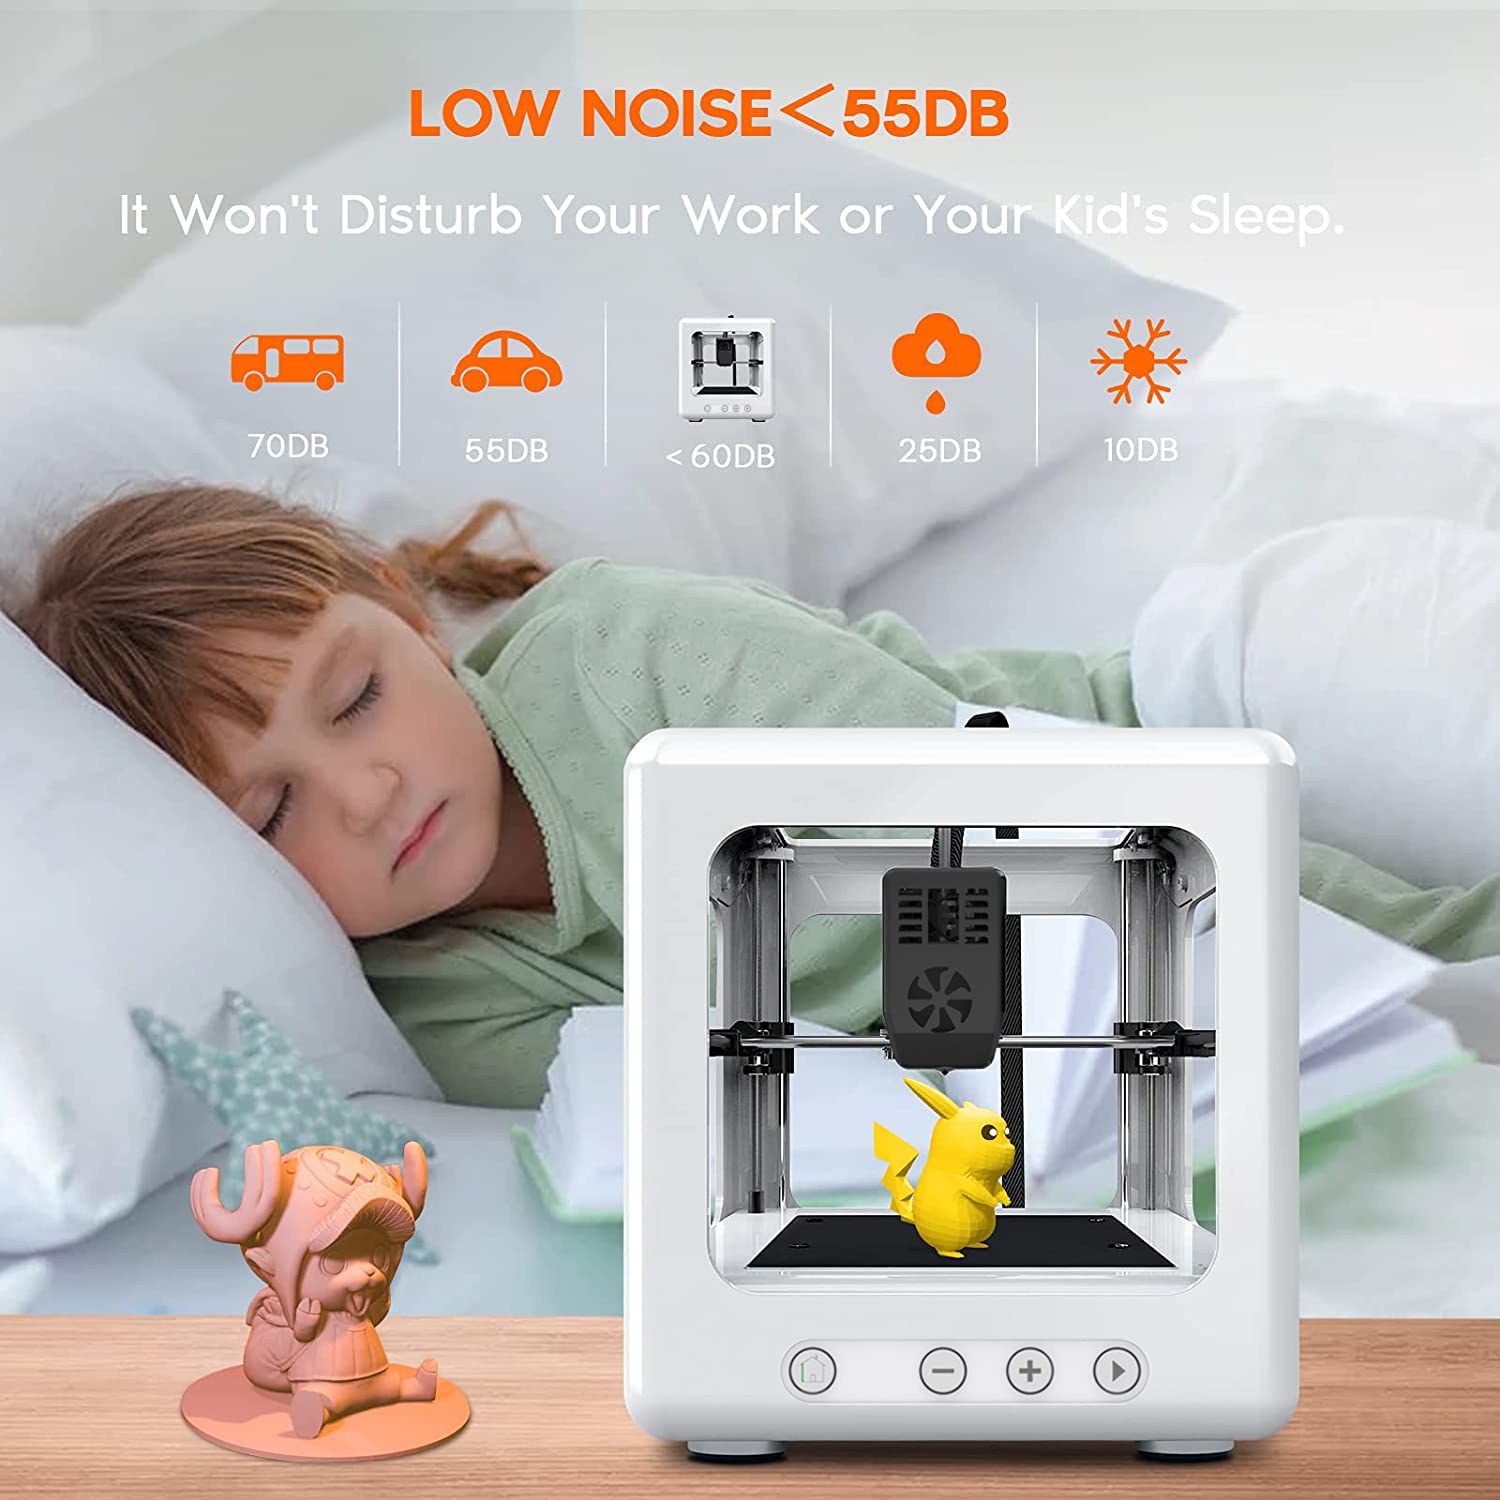
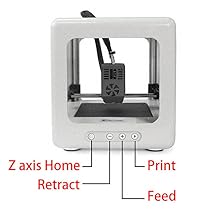
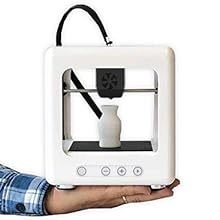
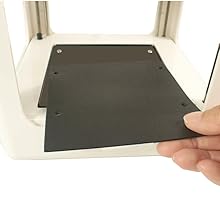
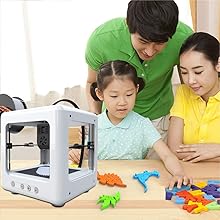
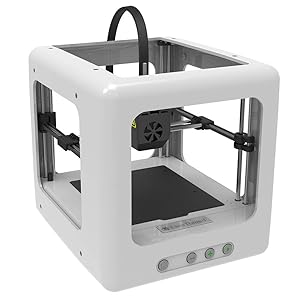
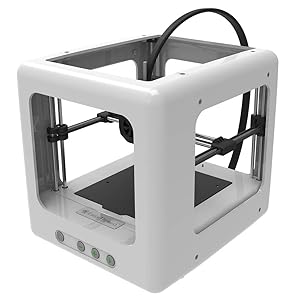
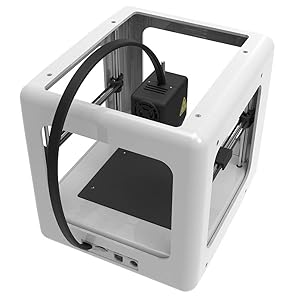
The Easythreed Nano Plus 3D Printer is a compact, lightweight device designed for beginners and kids, featuring a 90x110x110mm build volume, ultra-quiet operation, and a removable build platform for easy cleaning. Its simple one-key printing system and stable ABS construction deliver high-precision prints without complicated setup, backed by a one-year warranty and lifetime support.


| Manufacturer | Easythreed |
| Part number | NANO |
| Item Weight | 2 kg |
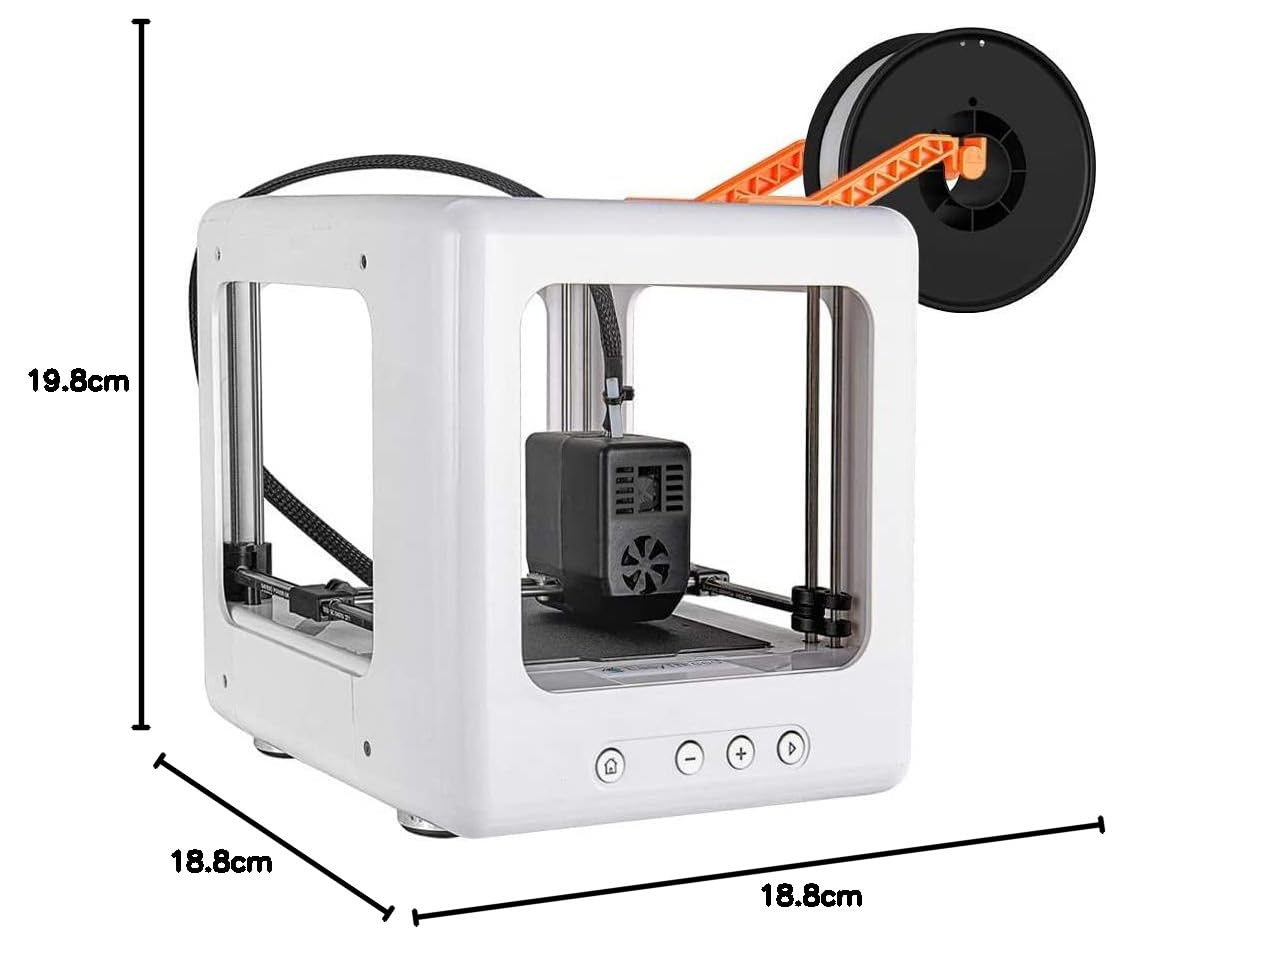
| Product Dimensions | 18.8 x 18.8 x 19.8 cm; 2 kg |
| Manufacturer reference | NANO |
| Colour | White |
| Material | plastic |
| Batteries included? | No |
| Batteries Required? | No |
R**R
Very good for what it is
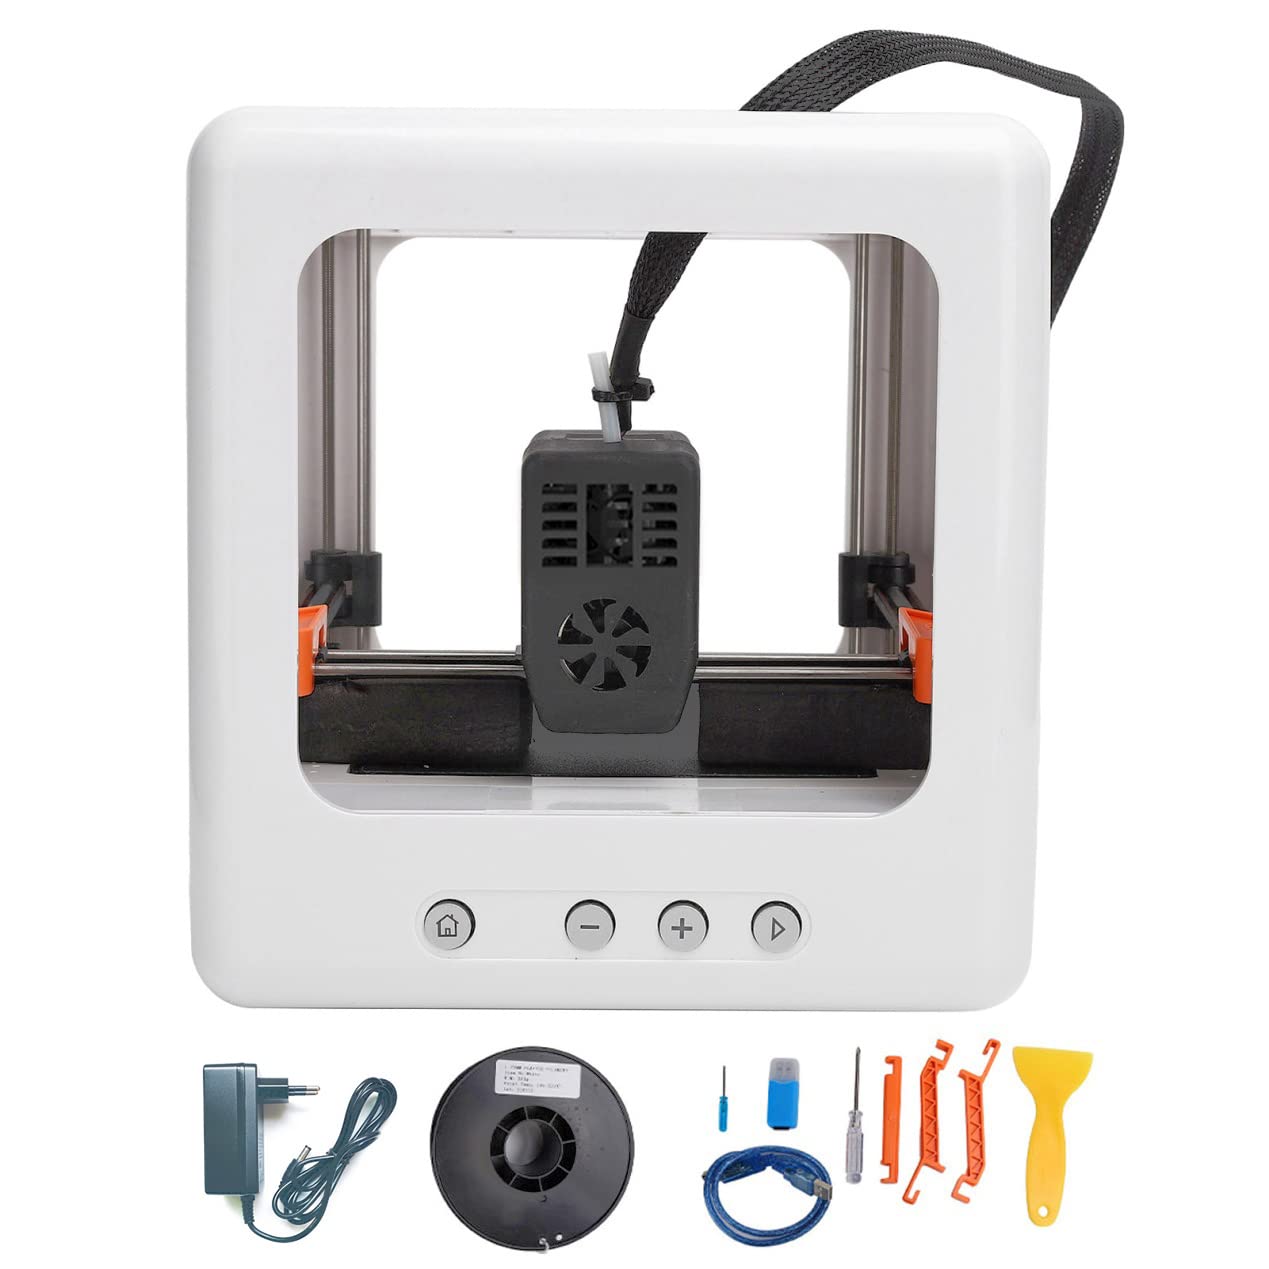
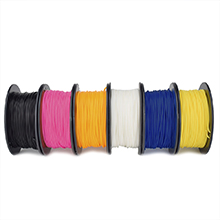
There is no doubt that this machine is getting good reviews as an entry level 3D printer because it is. I bought mine in November but have been using it since I 'received' as a Christmas present.Inside, you get everything you need to start, the machine (obviously) 250g of pla (I assume they are all the same, mine was white) screwdriver, 8Gb micro SD card and adapter, screwdriver and spatula thing. and you can play with it right out of the box as long as you plug in your computer and upload the software.The instructions included are pretty poor. Things to do absolutely first thing that they don't tell you in the paper manual1. the first thing to do is take all the software off the SD card and leave it empty2. read the electronic instructions on how to level the bed3. level the bed..4. do NOT just use a piece of paper as the height gauge as the filament absolutely will not stick hard enough if you do. you will end up with pla spaghetti as the model will debond at some point for sure. happened to me. use the piece of paper to set the height, then back all the screws off somewhere between 1/8th and 1/4 of a turn (you'll have to experiment what works for you) to raise the bed a touch so the first layer comes out a bit smooshed rather than layed like a nice cable.There are quite a few other nuggets id like to put down for this too, based on my experience. yours will of course differ. In no particular order.1. Do not believe the E3D Nano slicing software when it tells you it will take 3 hours 5 minute to print. It will always take a fair bit longer, more like 4 hours or more. I haven't timed it accurately but I rapidly got to printing overnight.2. the print size is 90mm side to side, 110mm front to back and i believe 100mm or 110mm tall. Do not quote me on that but it's definitely 90mm side to side.3. the plastic scraper supplied is useless, far too small and soft4. the bed is magnetic and completely lifts off. it is moderately flexible so removing the models is a lot easier than it first appears. lift out, bend to separate, insert decent scraper to compete separation.5. doing no 4 will mean you having to level the bed again before printing. I use a razor blade scraper to separate the models without removing the bed because im lazy.6. the bed material will get very clogged and will require cleaning or after a while your print head will ride the bumps. for this you will likely need a razor blade scraper. The material is easy to cut and your bed will look and work poorly without maintenance.7. the bed material is replaceable. its practically the same as the creality bed sticker. Peel off (hard work) clean off glue (even harder work) cut to size and stick replacement.8. did I mention levelling the bed?9. 250g of pla is a lot of material for a start up. Very good value. it's a good couple of hundred meters. Don't get fooled by these awful 16 feet of all colours deals, they're not worth it. You may not even get a whole print out of one. I have barely used anything less than 7m yet but that.s just me.10. Don't hang a kilo spool off the side. too heavy11. it's noisy. if you're doing a 3 hour print (and it lasts 4!) you'll want to get away from it. Print overnight12. in E3D nano, always choose the custom slicing option. most of it wont make sense but know a handfull of things.i) shell thickness. this is supposed to work inwards. the filament comes out of the 0.4mm nozzle so always use multiples of 0.2mm.ii) fill density starts at 10. perform a slice, then change this and see what happens to the slice and amount of filament used. there is a bar on the right of the screen where you can inspect layer by layer. The fill density is in red. obviously 100 is solid but you can save a huge bunch of time by making the shell thicker and fill density lower, even zero to reduce time, length of filament used and weight of model. it will be weaker thoughiii) Support Distance X/Y of 0.7 is too close and a bit of smooshing always makes the support a bugger to get off. I always amend this to 1.2mm minimumiv) the nozzle temperature can be changed. if a model has very poor adhesion or is gummy and stringy, you may need to up the temperature. the standard stuff that comes with the printer is good at the default setting, but other filaments may need higher temperatures.13. in E3D Nano, it may be better to print it upside down to use less filament. don't be afraid to experiment.14. the SD card goes into the slot contacts facing up. the slot position is a real Pain in the A55 behind the machine. What were they Thinking? you get used to it but it is really a pain in the hole.15. there is no off switch16. sometimes when changing filament, you need to pull quite hard. make sure you brace the print head!!The print quality is reasonable I guess. it's always going to be identifiable as a printed piece but to be fair, if you're just making doohickeys, it works a treat. It cannot handle very small details if you want to print minecraft figures from thingiverse so the connections of arms and legs on enderman models or whatever either break easily or require a lot of work to make them work if they work at all. Similarly, it is not able to print interlocking but separate pieces with 0.5mm clearances with much success, you need to be able to work in 3D software to uncouple some of these pieces to make it a viable print before you waste your time and pla. But for a cheap printer, if you're printing cup holders, door stops or other useful knick knacks, you've got a winner.It has limitations but for what it is, an entry level 3D printer, I cant fault it. No building to do, no set up or calibrations other than levelling the bed. it's great. You will need a set of needle files and a pair of side or flush cutters too.
S**A
Would not recommend, terrible support
This was my first ever 3D printer and I decided to buy this due to the "easy" nature of it mentioned on the listing. I bought this and within the first 3 weeks one of the timing belts in the printer snapped. I was a bit disappointed but I assumed it was just a small fault in that belt. After reaching out to the customer support, I was met with an AliExpress link to their main page with no guidance on how to fix my issue. Very disappointed and I'm glad I could get a refund. Other than that, the printer seemed to be okay and the print quality was fine for the default settings. Hopefully other people had better experience with it than me
D**G
Replacement parts will take a while to reach you outside of China
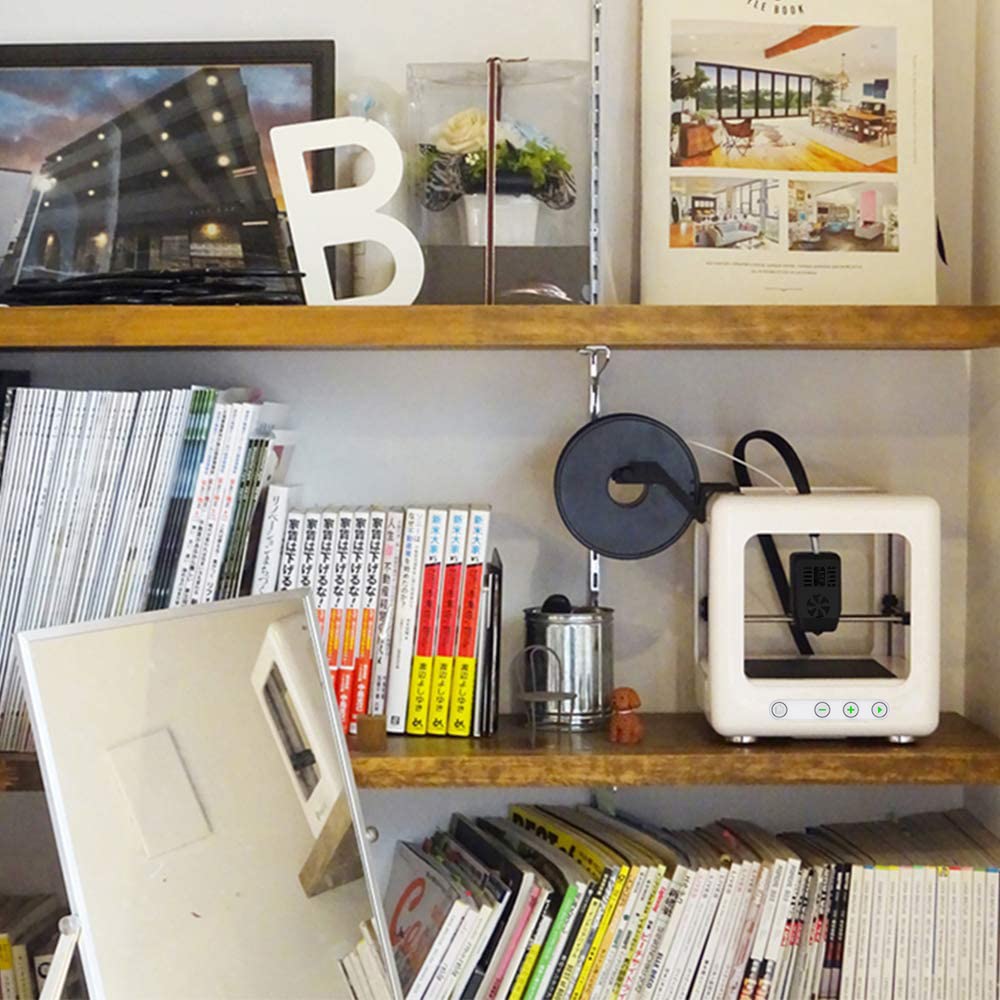
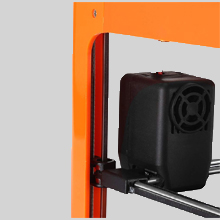
I like this, it's pretty intuitive and easy to use and it was great value as 3D printers even mini ones were still quite pricy at the time.drawbacks- If you need to replace any part then the only place it seems is direct from the company in China so you will be waiting a few weeks depending on where you are and the extruder unit will probably be the part you'll be replacing the most frequently.And on that subject, reconnecting replacement extruder unit is easy (simple matter of plugging cables together) but trying to fit it back in the housing with all the wiring and connectors can be quite a chore.
G**R
Small but Incredibly Accurate and Quiet
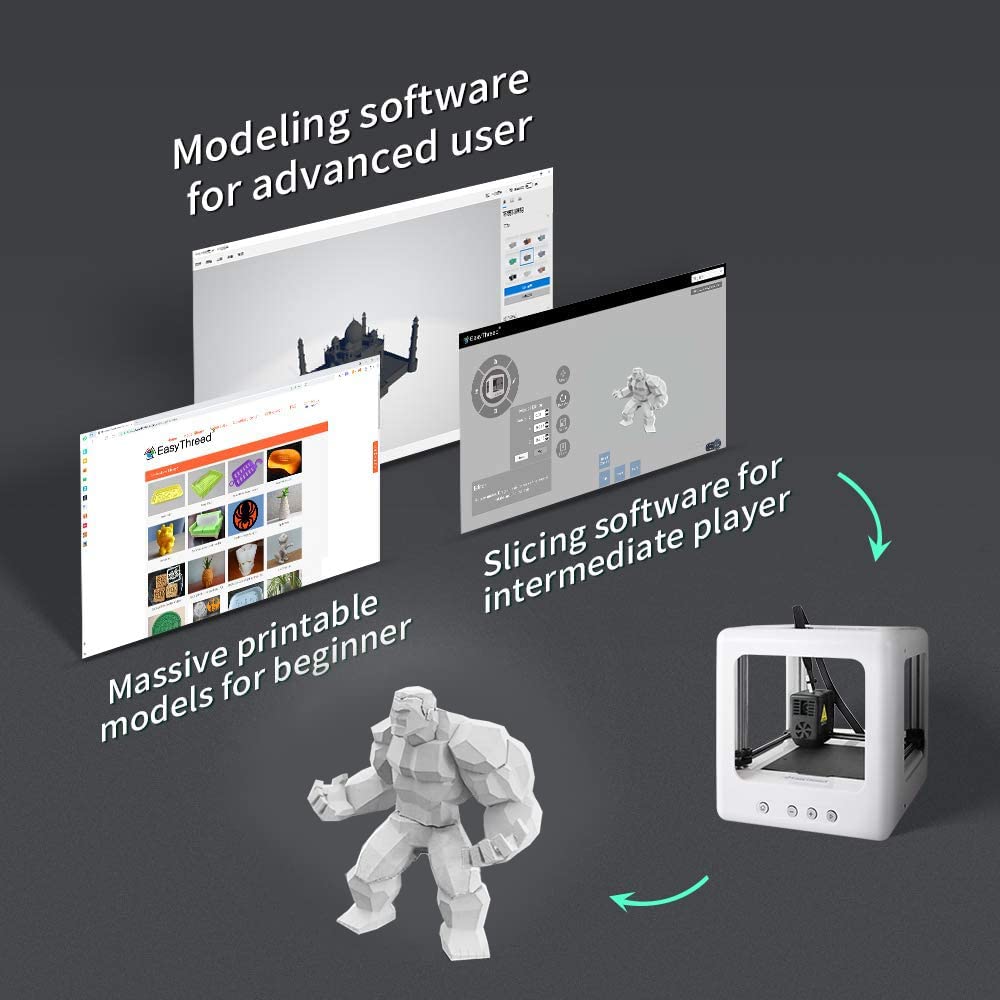
I bought this printer as my second after owning a DIY kit TronXY X3A since 2017, and I am over the moon with it! It works straight from the box and comes with all the bits and bobs you need to get printing including a spool of pretty decent filament.Pros+ Very quiet! I can run it overnight in the next room and I am not able to hear it at all.+ Pretty accurate - Prints are really good quality for this price range!+ Portable - small enough to fit in a backpack and carry around.Cons- Slow - Very slow to print (It uses the smaller size stepper motors so the print head cannot move very fast, although I suppose it doesn't matter too much with a build volume of only 9cmx11cm)- Stringing Issues - The printer has mad stringing issues printing parallel objects. This can be remedied using the layer cooler available to download on the EasyThreeD website (see support -> software -> nano fan cover .gcode), but requires the purchase of an additional fan.- Fixed size print nozzle - Cannot change the hot-end nozzle size, by default this is 0.4 which works for 90% of prints, finer details like text can be blurred of smushed though.Overall for this price bracket, this printer is absolutely incredible. The print quality could rival much more expensive models, and the operation noise is minimal making it great for rapid prototyping without getting a headache!
S**E
a terible machine
a terible machine if i knew this before hand i would have never bought it. 6 to 7 prints and the nozzel gave up. it simple cloged. and cleaning it is near to imposible and new nozzels for this machine ar terible exspencive advice against it. and people should just buy an ender 3 or so. much more build volume. and easyer to maintain
H**M
3D
Softwares a nightmare ,but once sorted models are ok. Could possibly be my IT skills.
B**Z
Garbage
Doesn't work. Crap. I throw my money.
G**F
Good piece of kit
Husband requested this as an entry level into 3d printing . It’s kept him amused for a week so far . Money well spent then
Trustpilot
2 weeks ago
1 month ago