

🌟 Illuminate your path, dominate the elements.
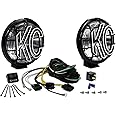
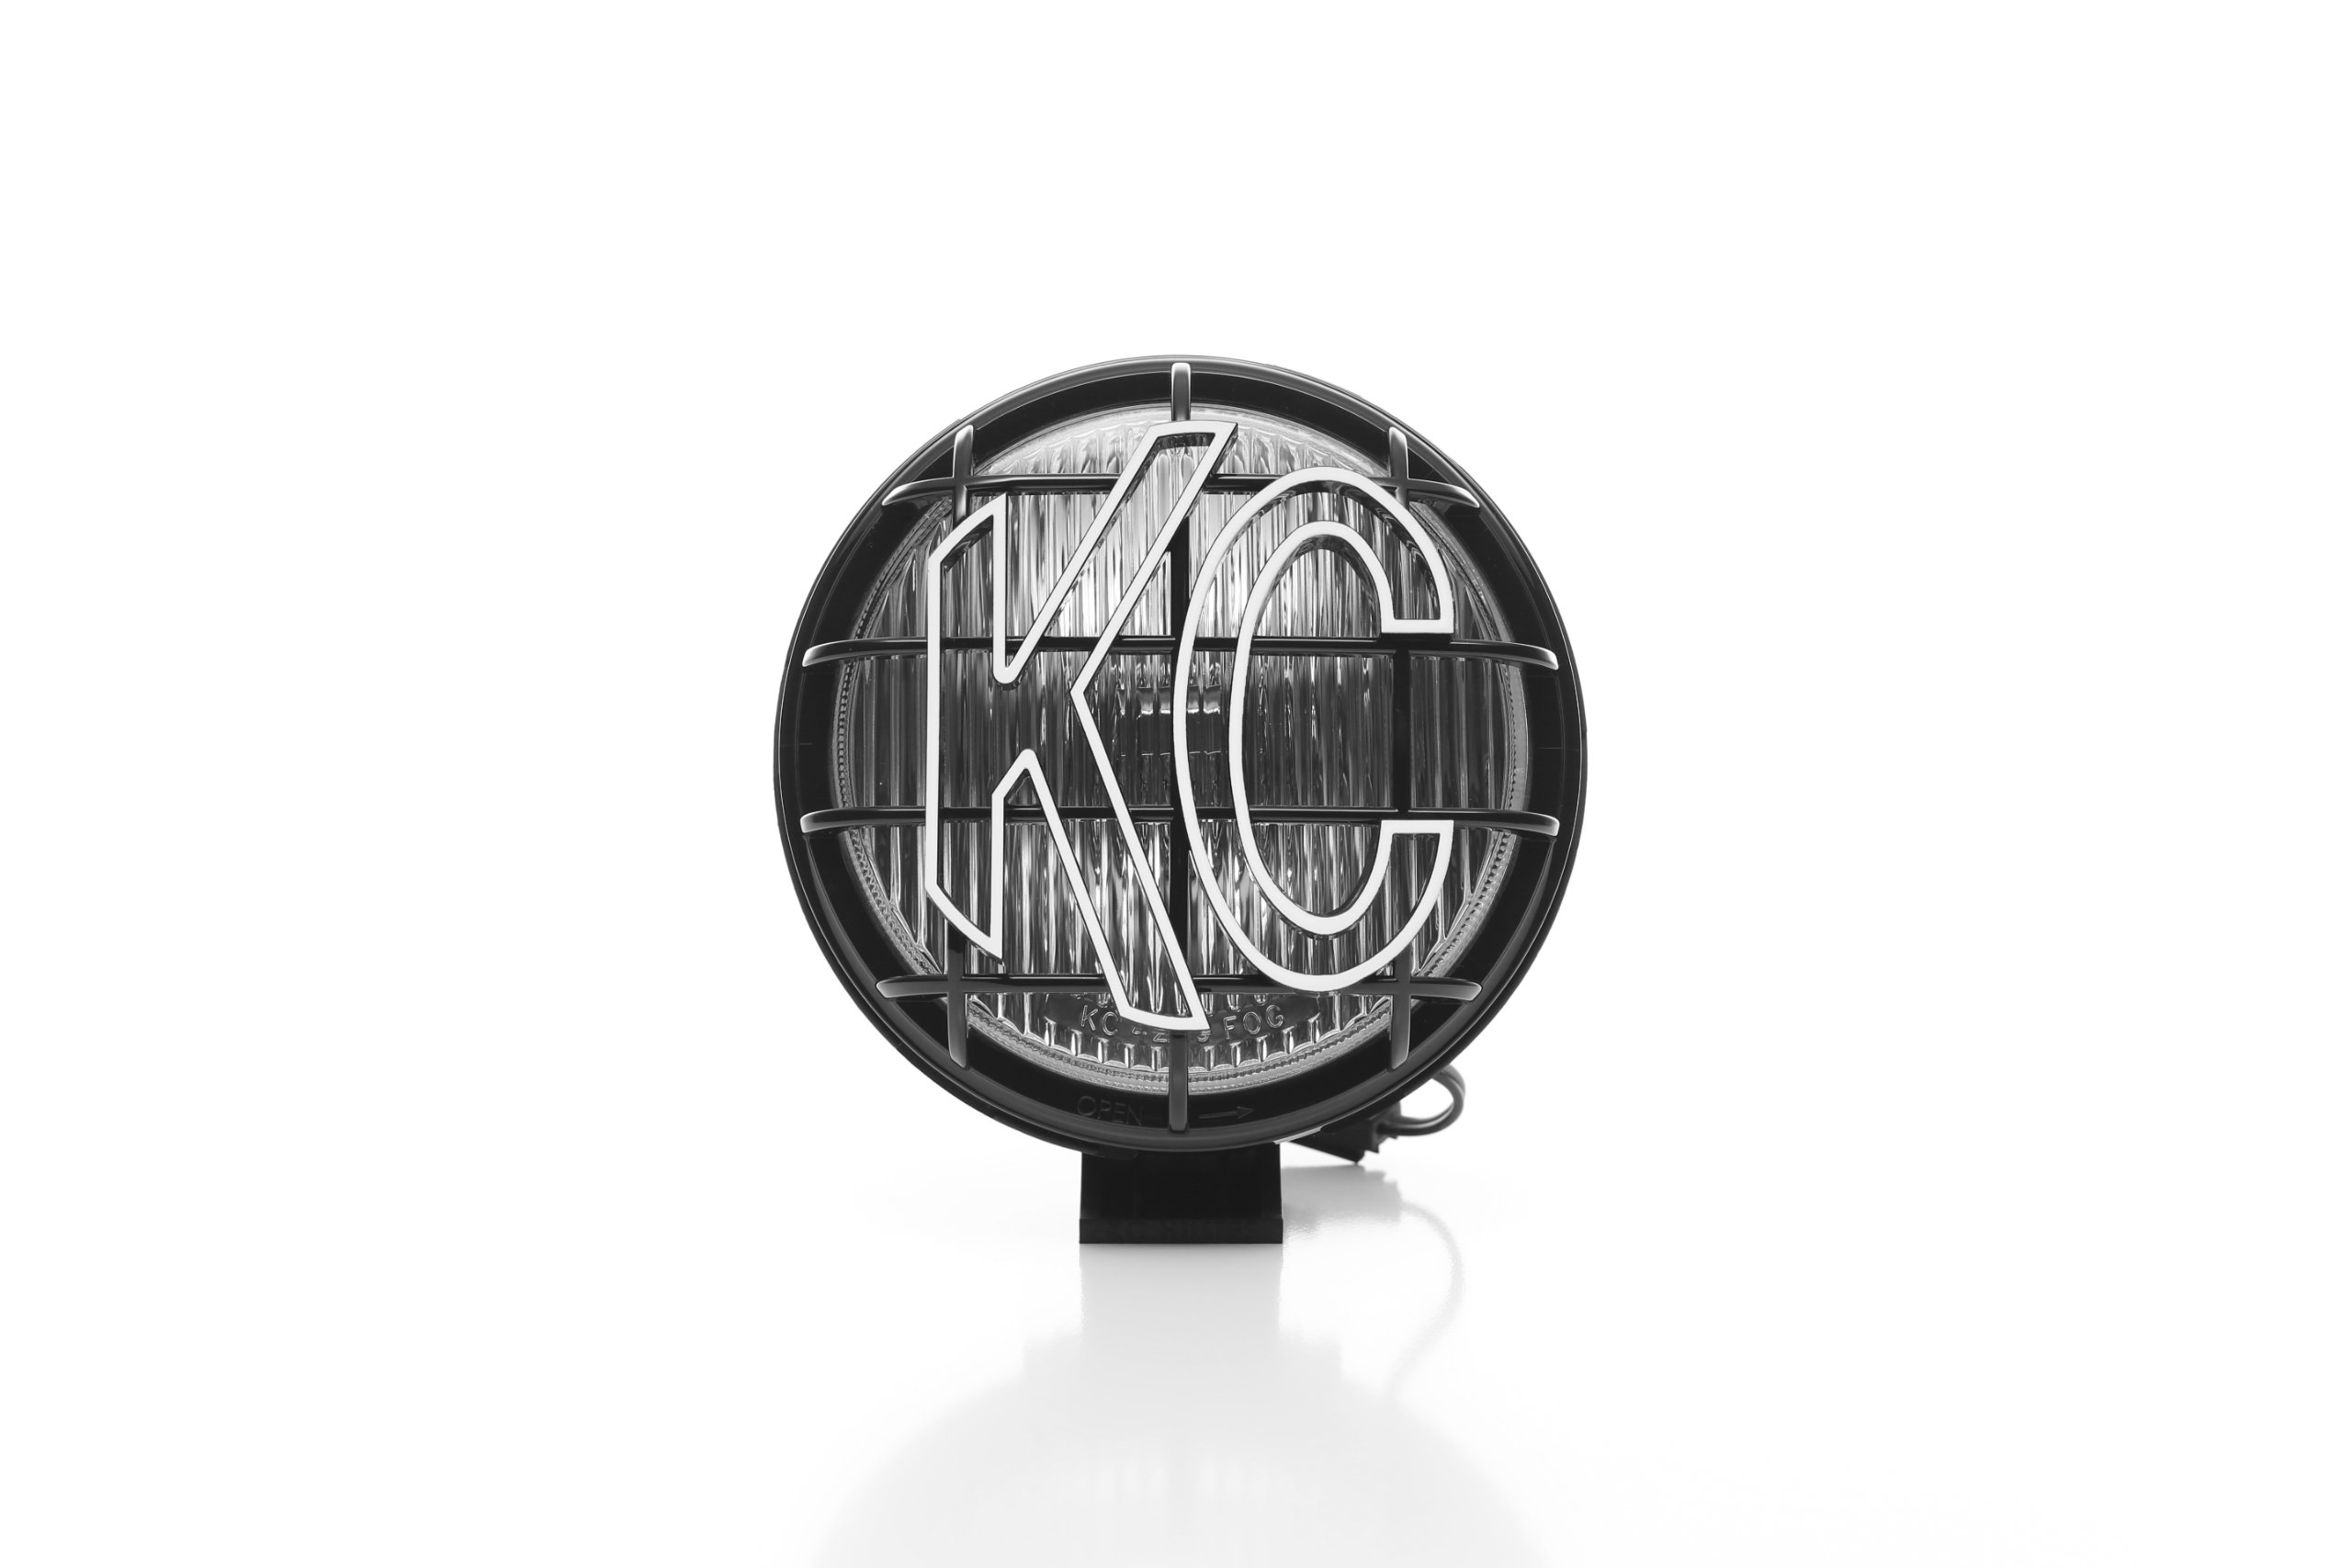
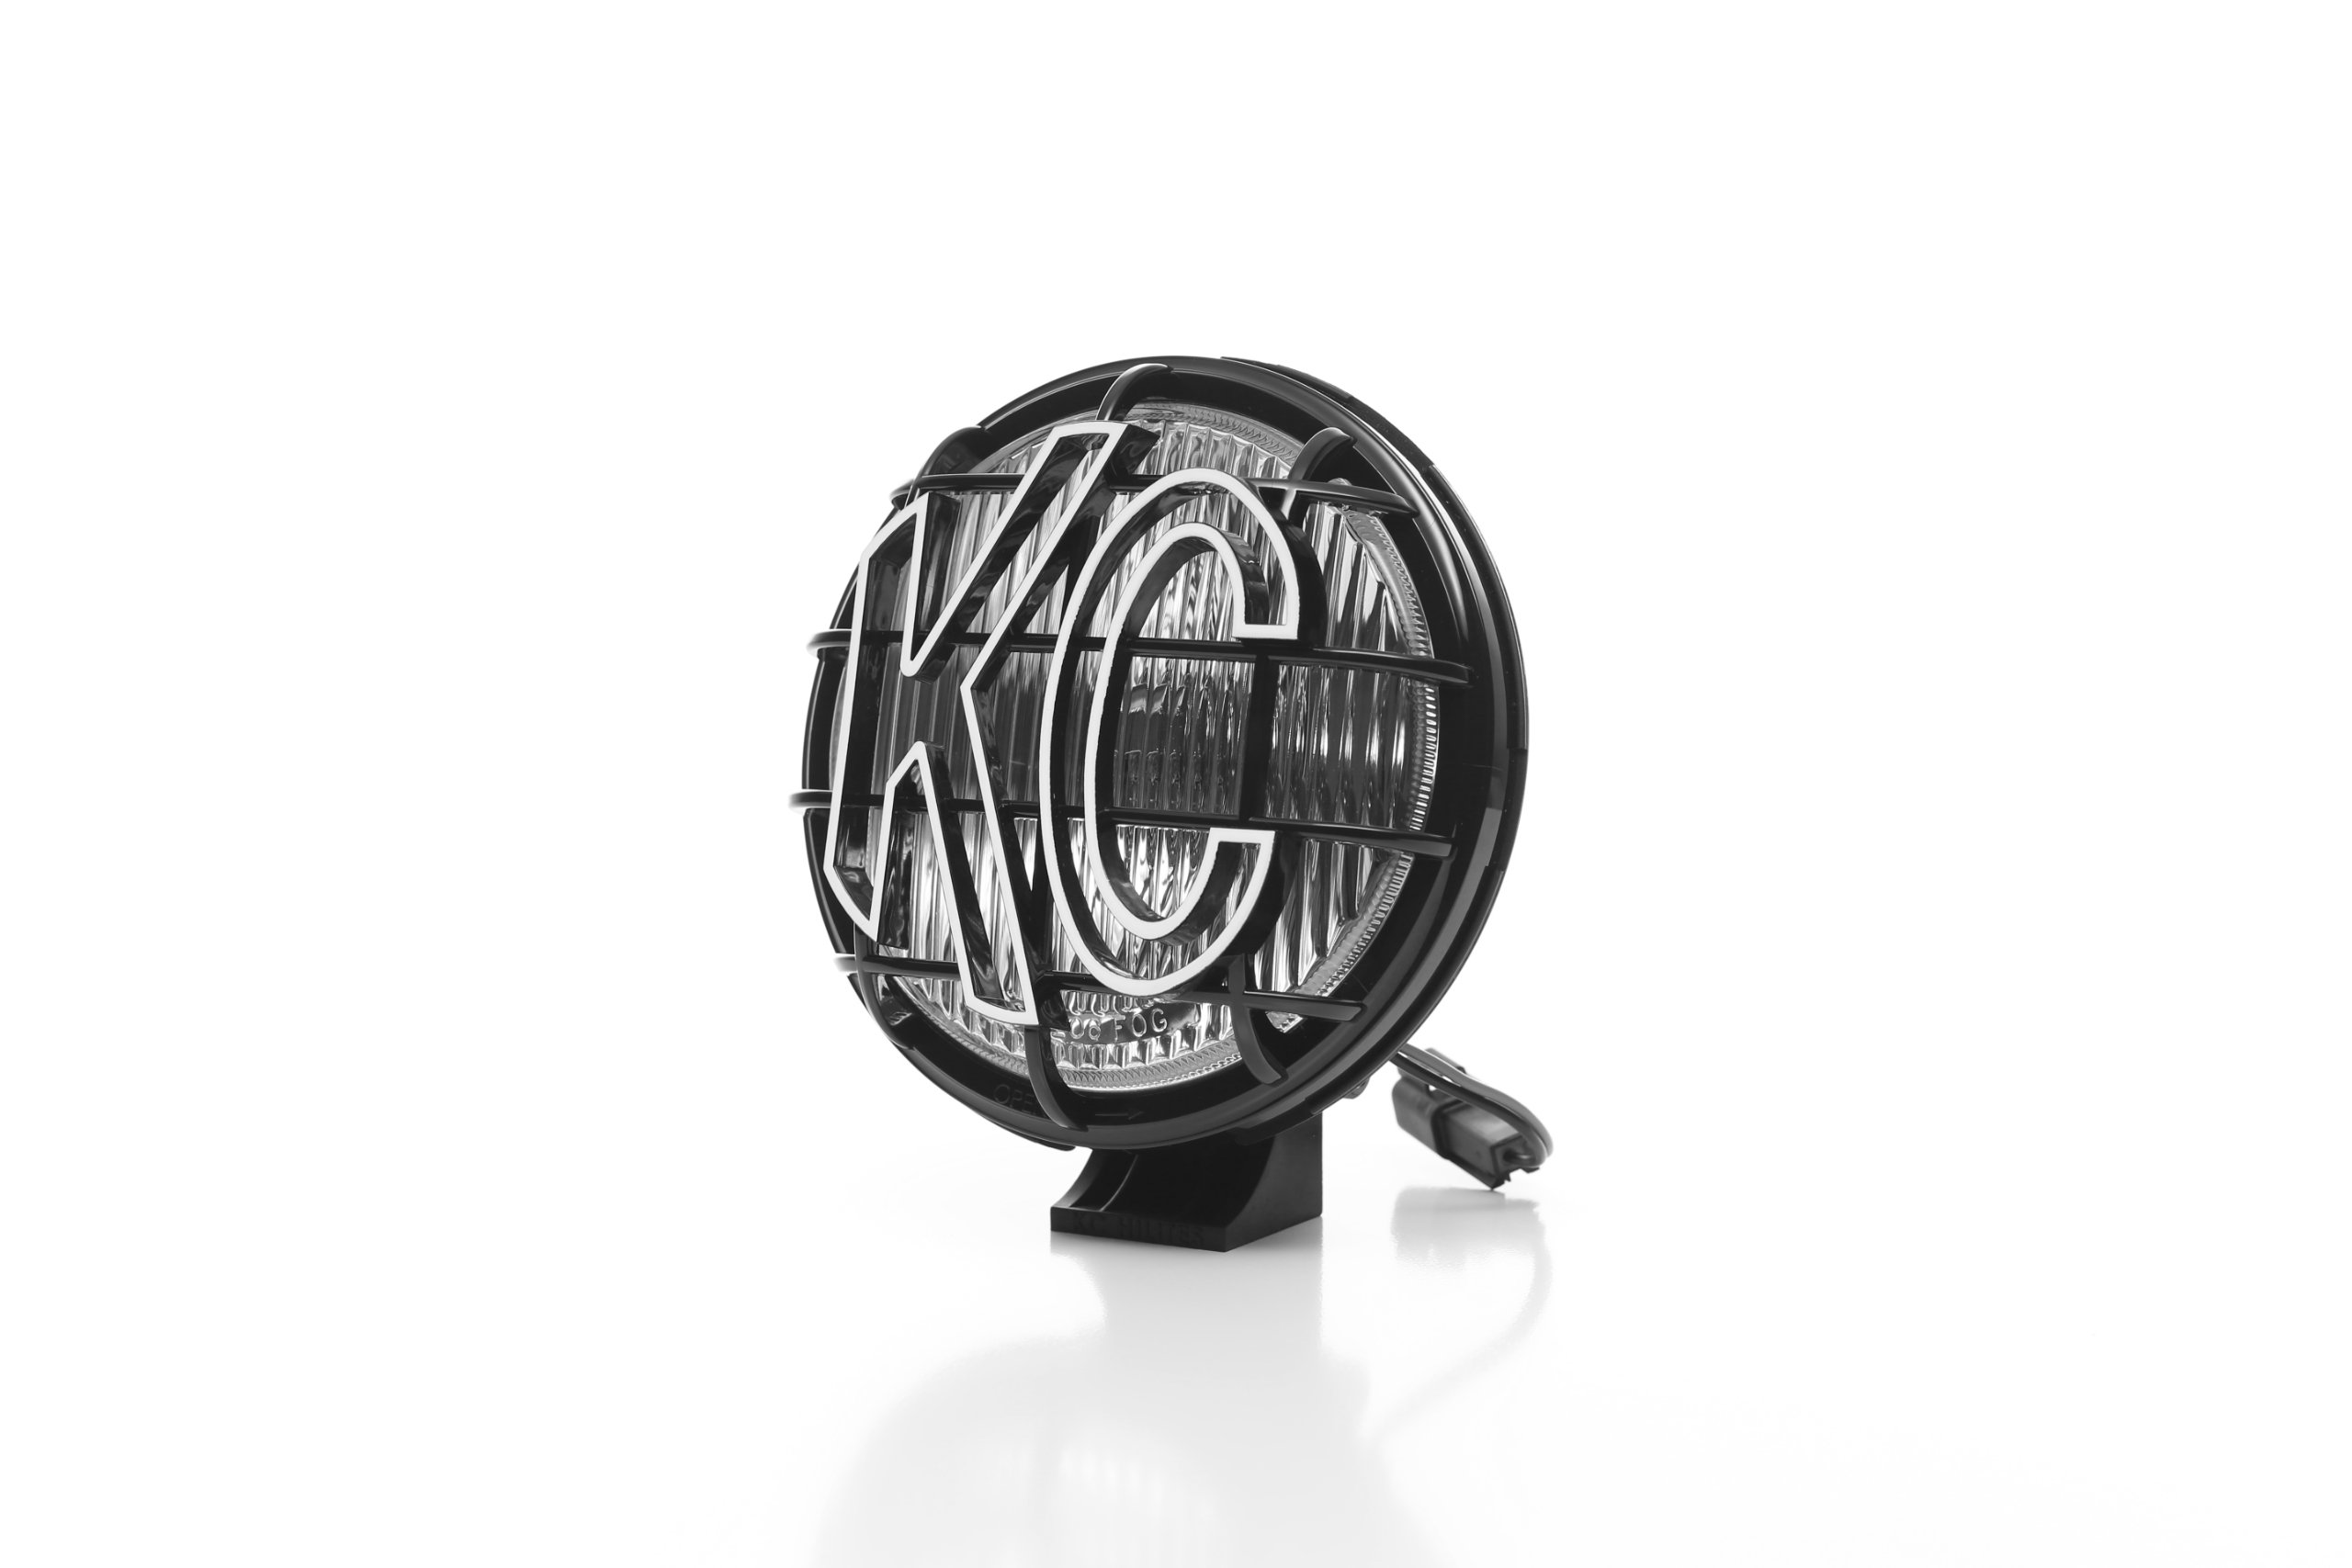
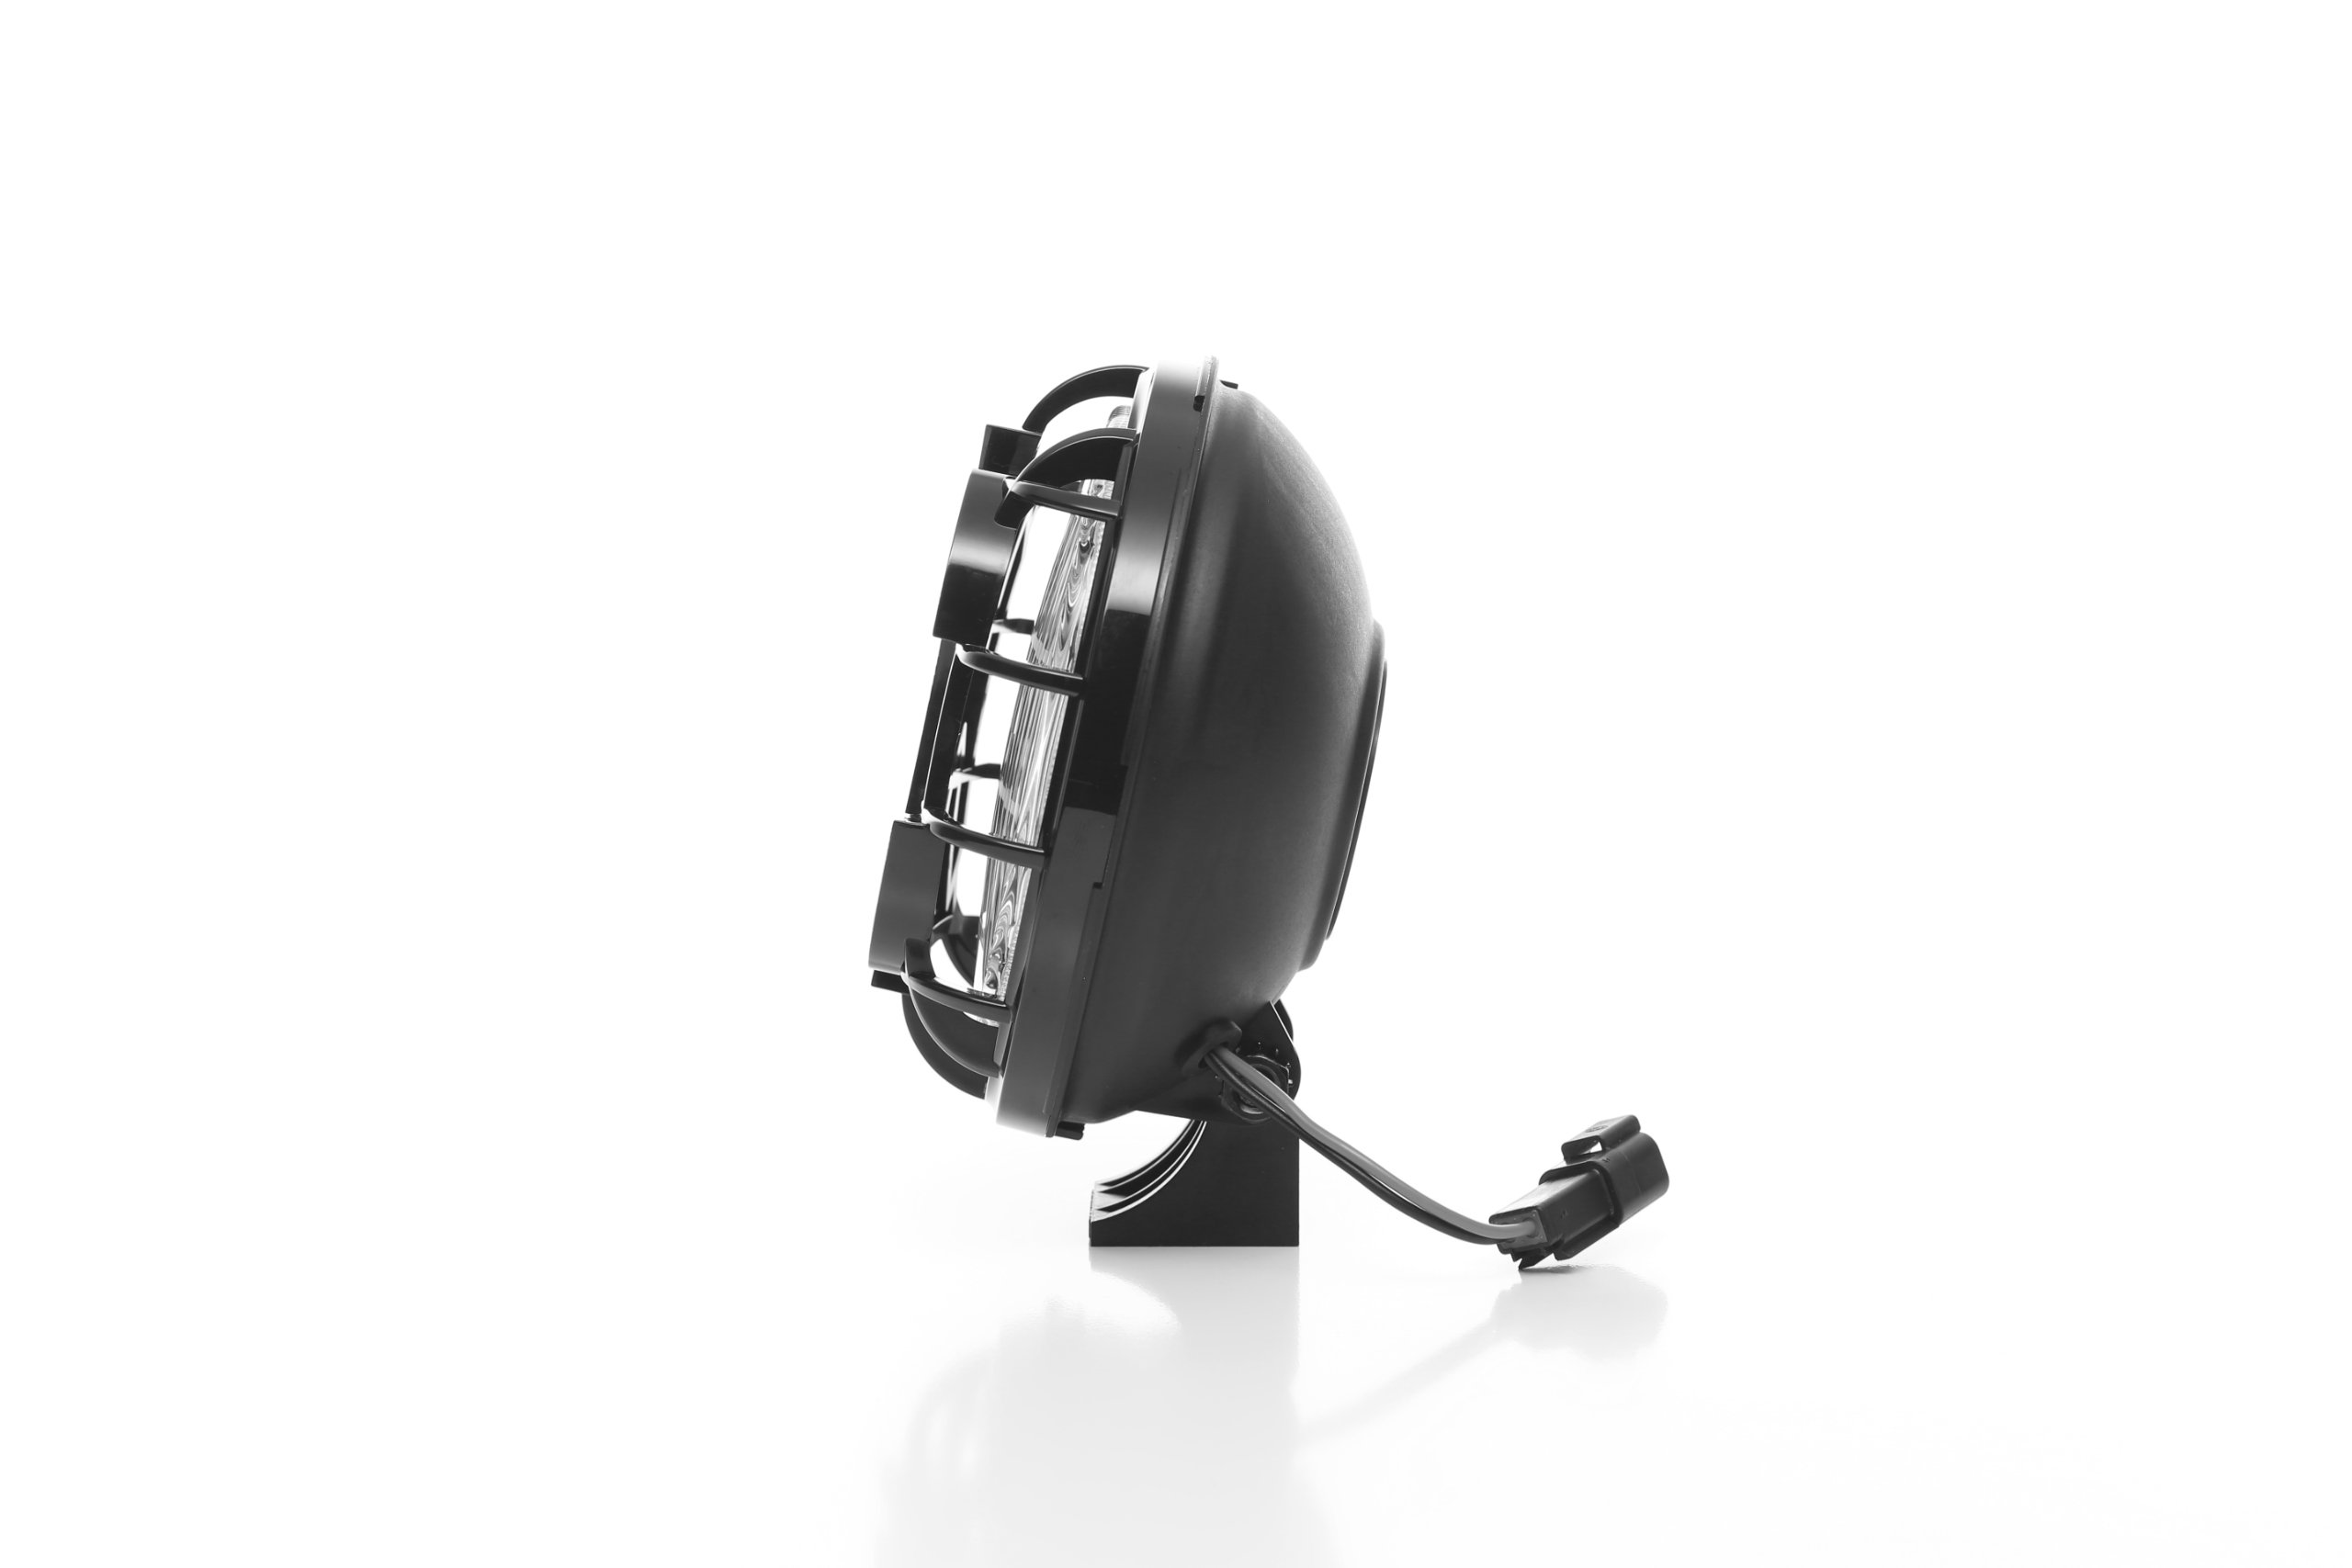
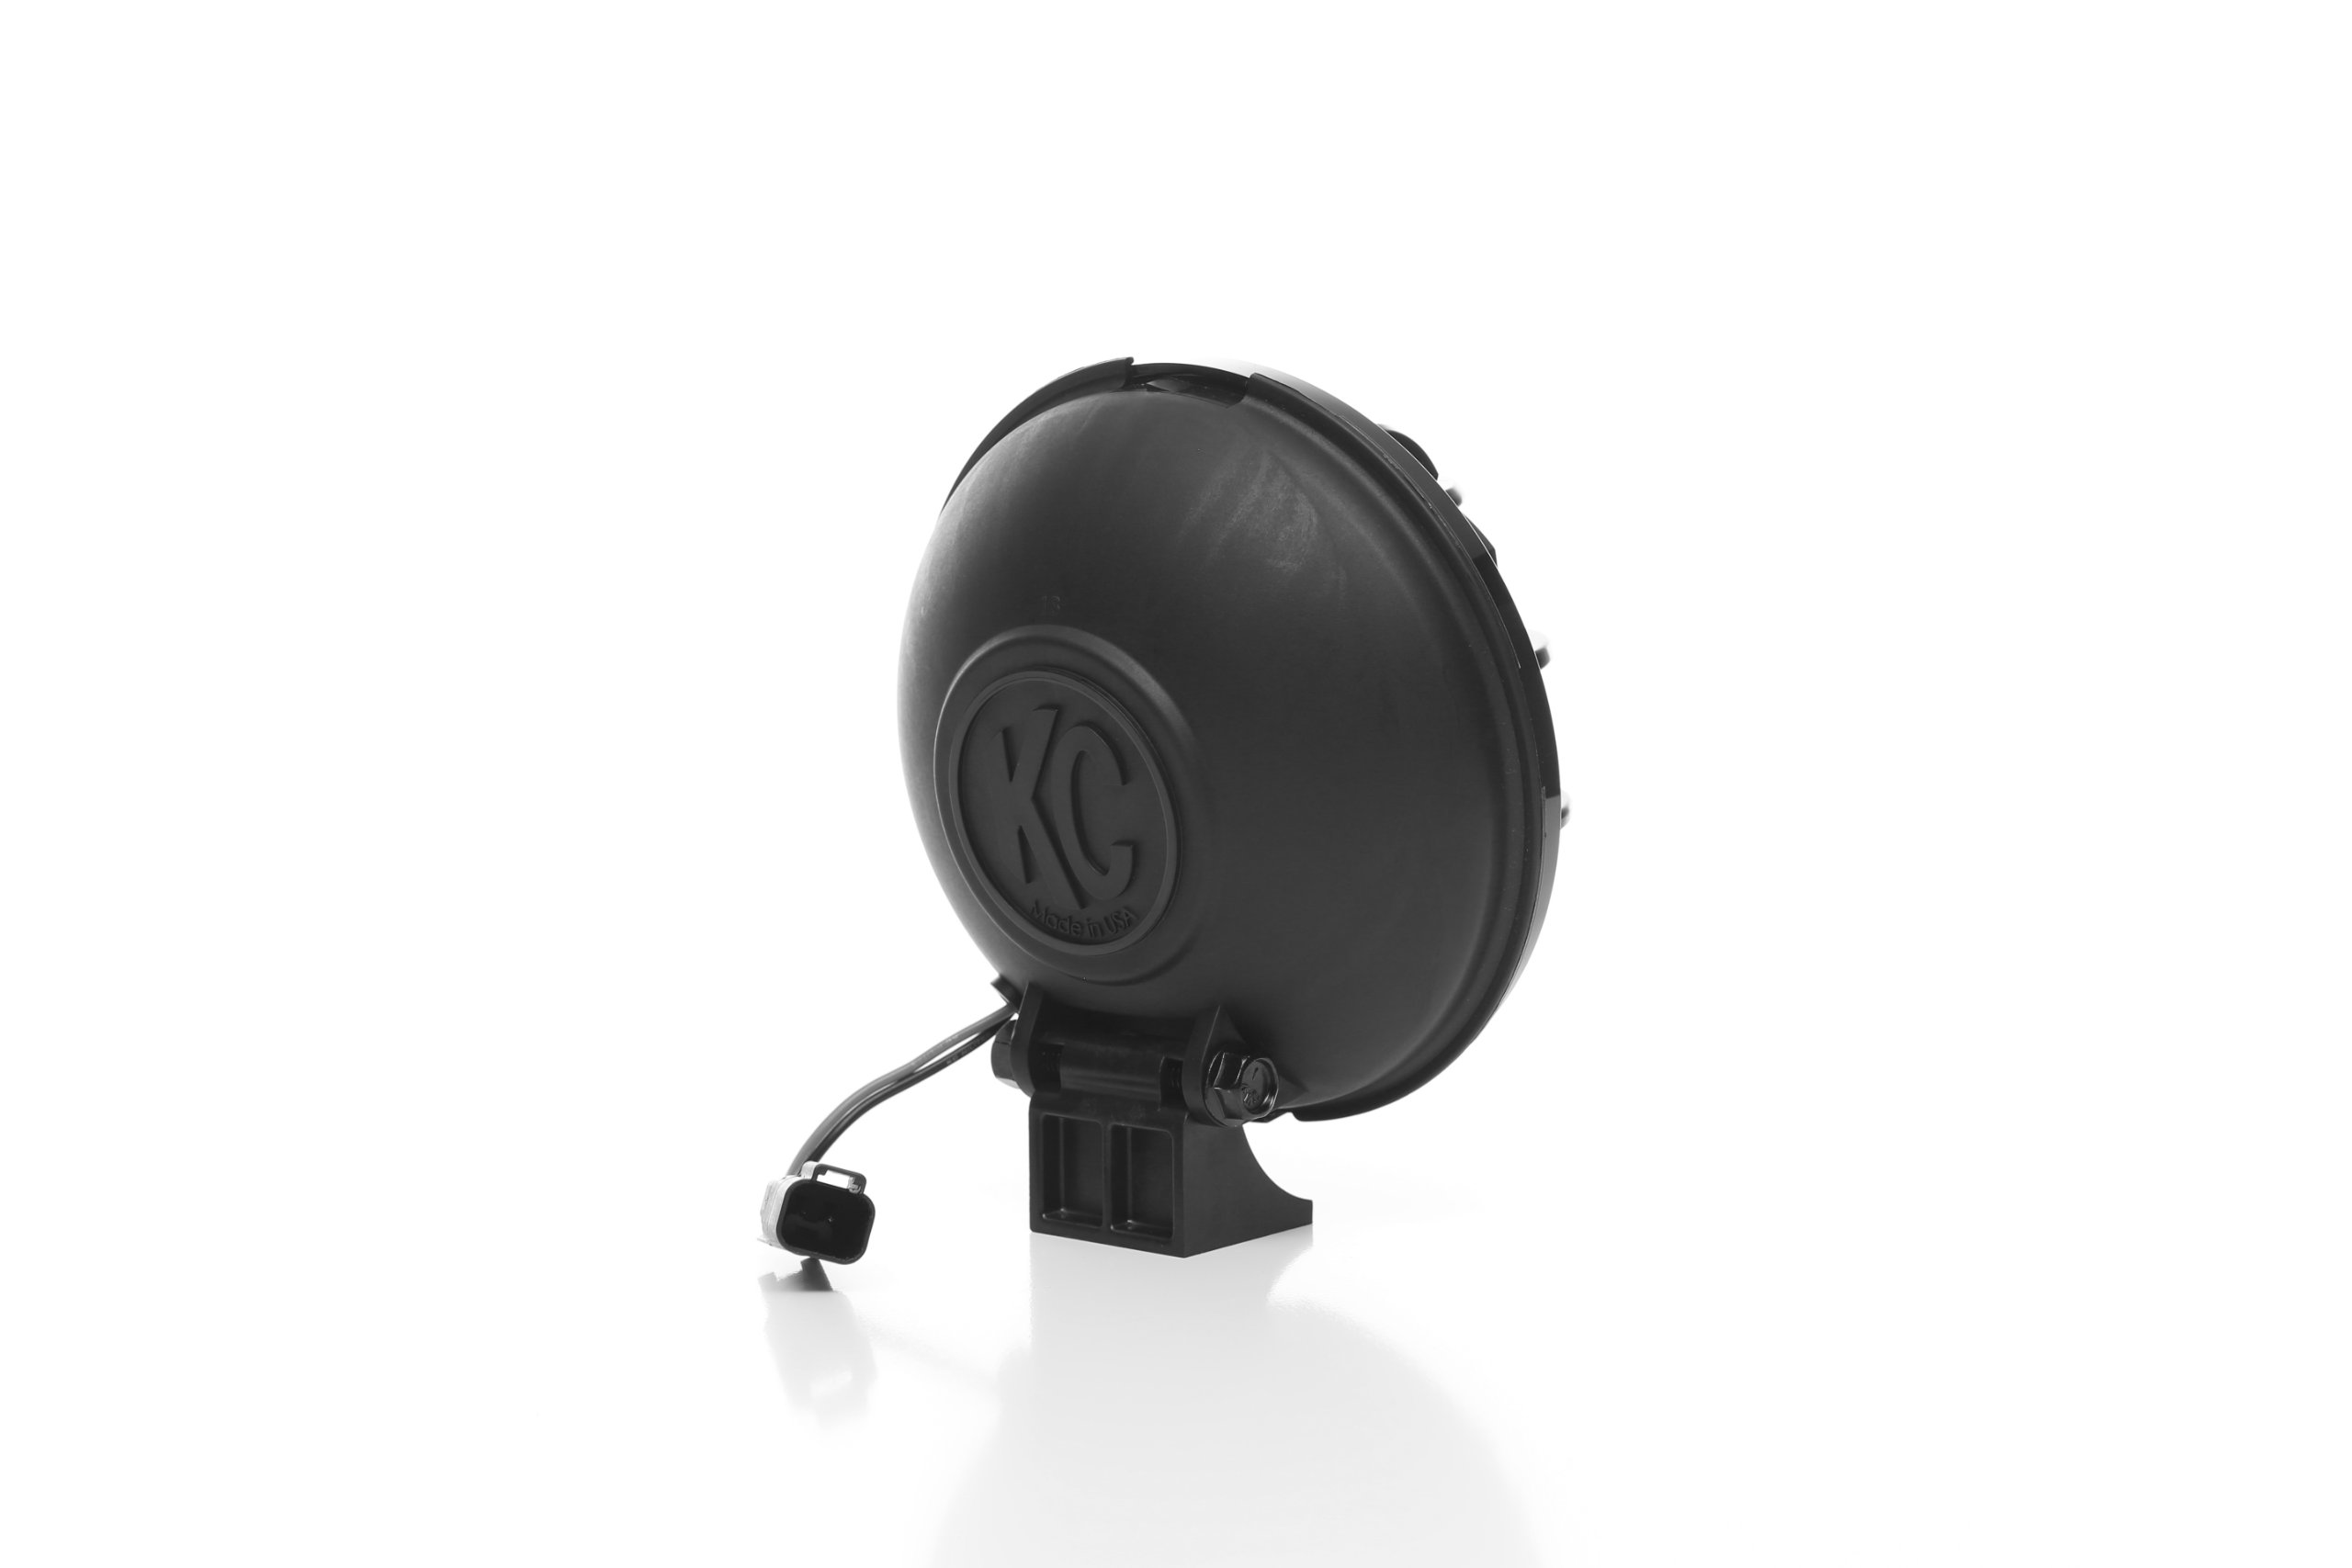
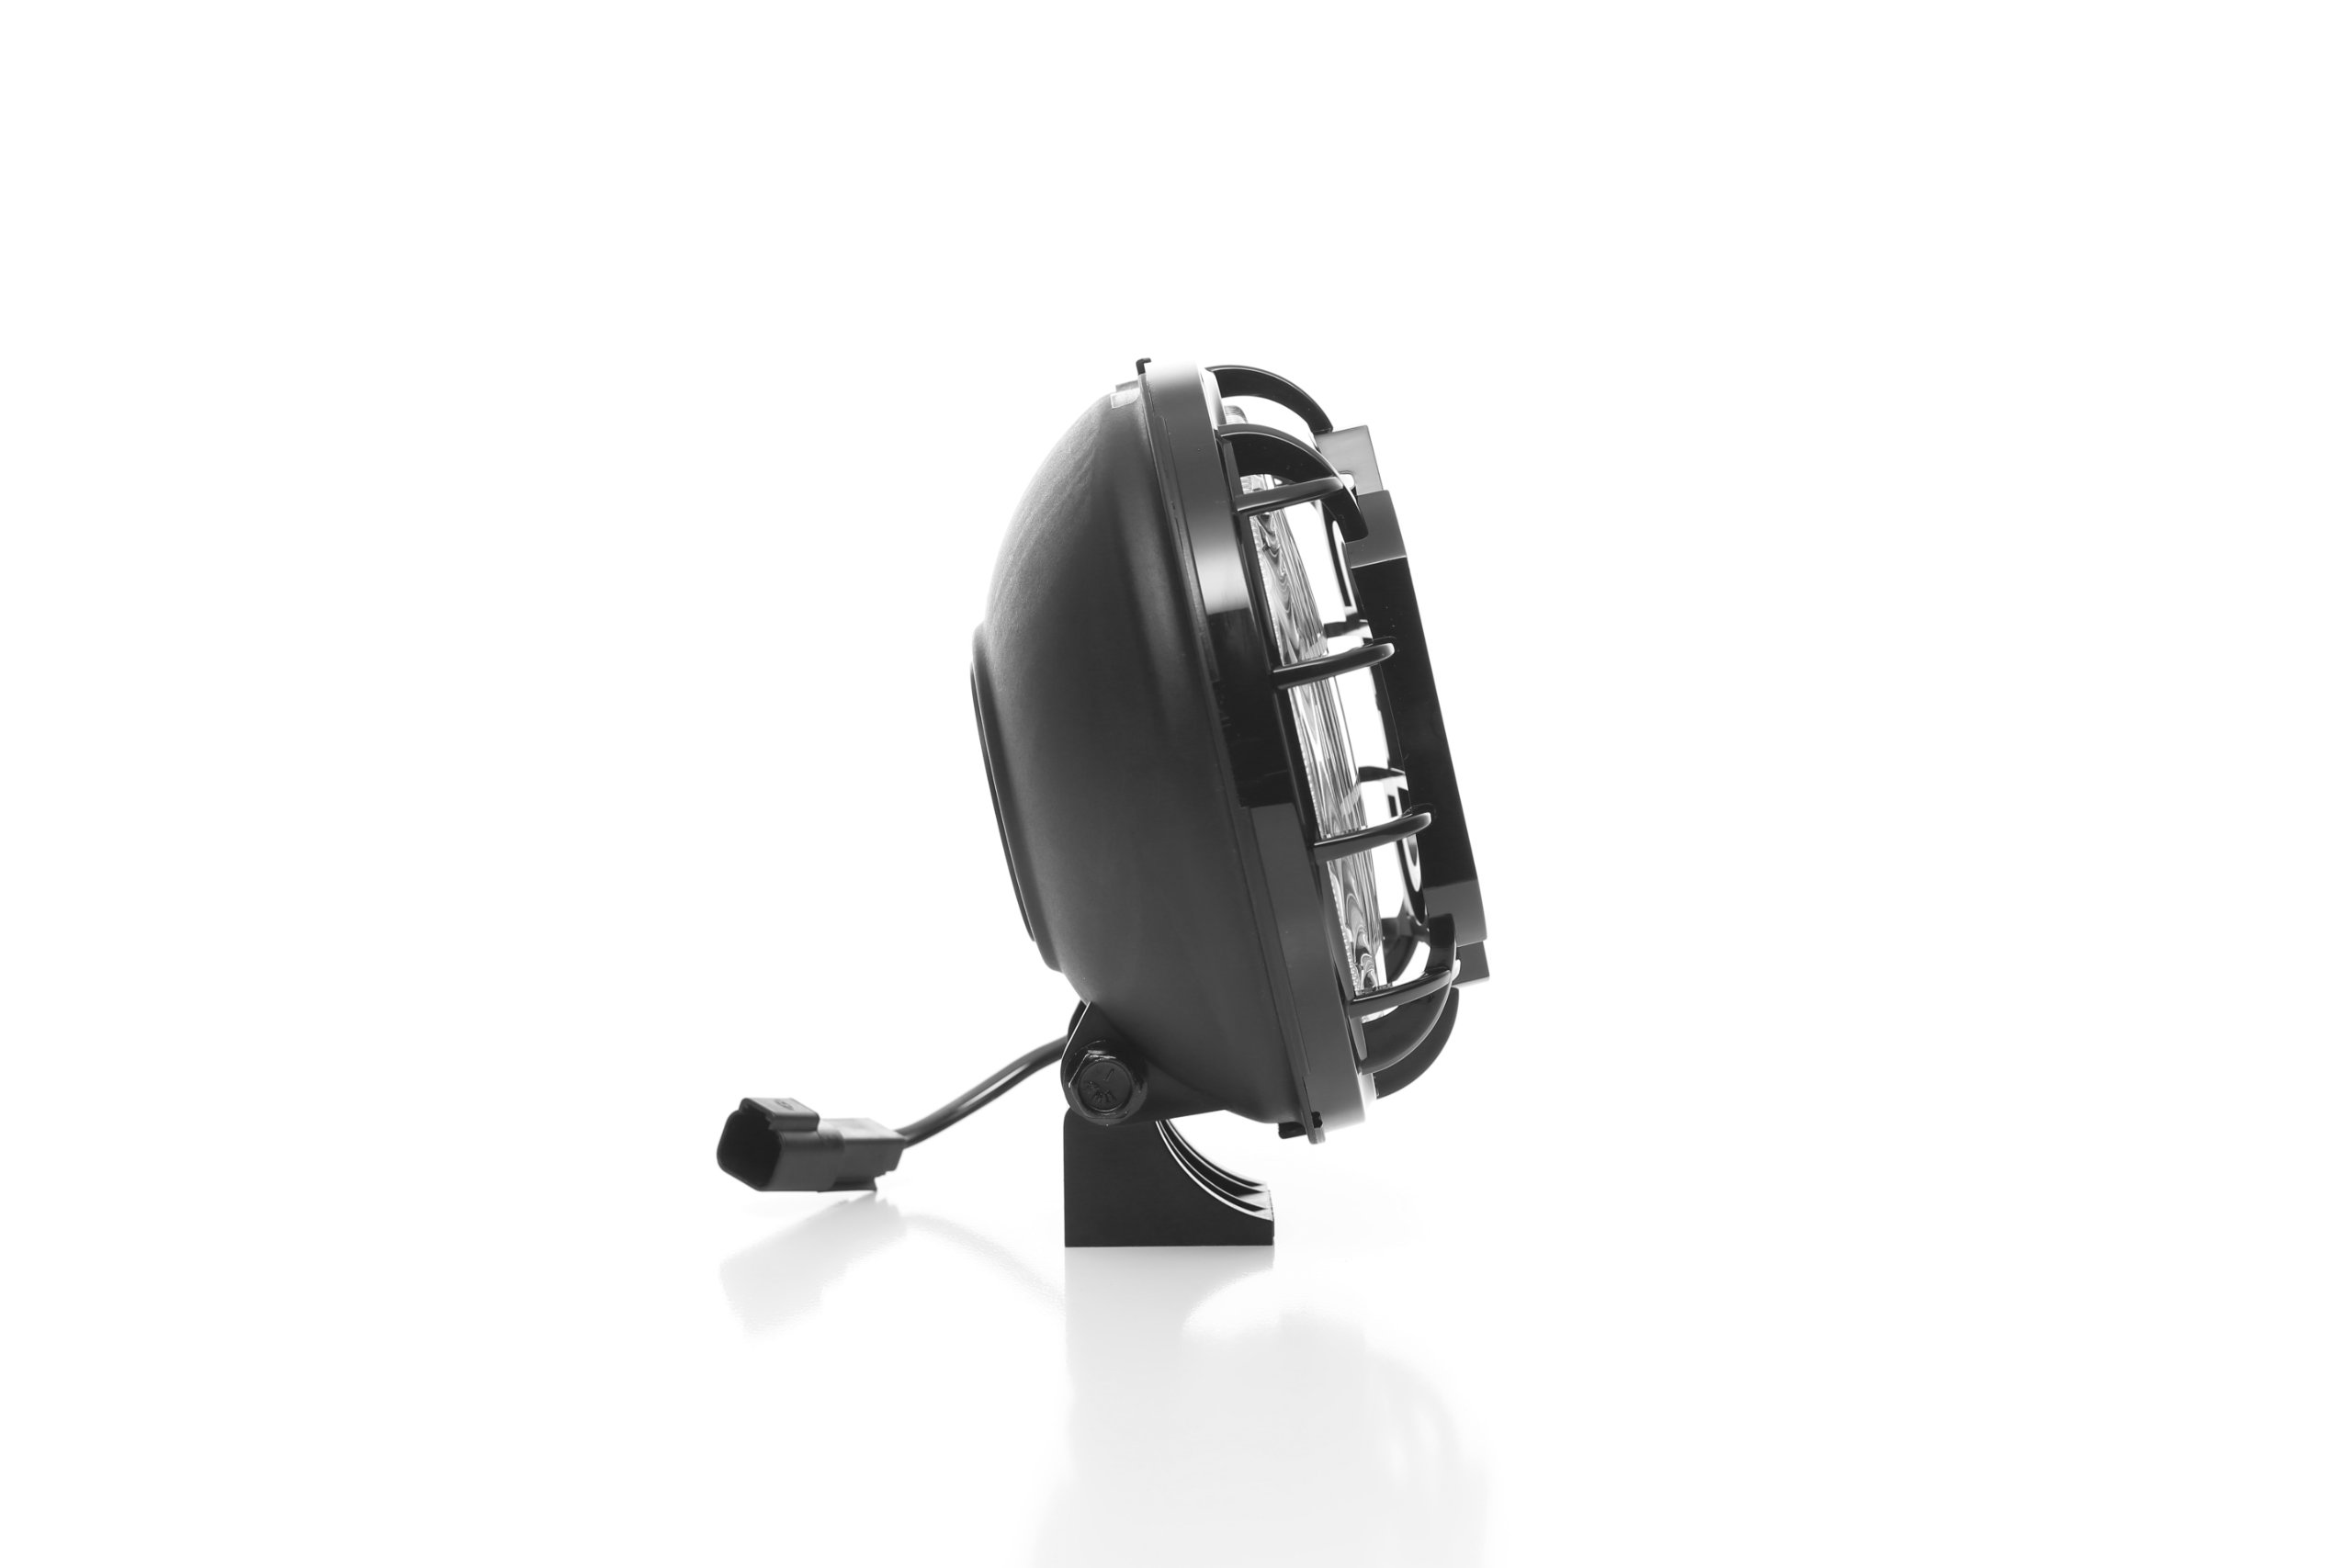
The KCHiLiTES 152 Apollo Pro 6" Fog Light System delivers powerful 100W halogen lighting with 200,000 candlepower, designed specifically for enhanced visibility in adverse weather. Featuring a durable black Polymax housing with integrated stone guards, this system includes a complete relay wiring harness and switch kit for easy installation. Proudly made and assembled in the USA, it ensures rugged reliability and superior performance for professional-grade off-road and on-road use.


| Manufacturer | KC Hilites |
| Brand | KC |
| Model | 152 |
| Item Weight | 4 pounds |
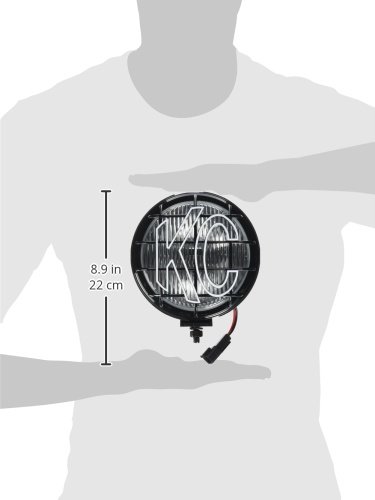
| Product Dimensions | 12 x 6.75 x 9.5 inches |
| Item model number | 152 |
| Is Discontinued By Manufacturer | No |
| Exterior | Painted |
| Manufacturer Part Number | 152 |
| OEM Part Number | BFHB152 |
| Position | Right |
| Bulb Type | Halogen |
| Voltage | 12 Volts |
| Wattage | 100 watts |
G**K
Great product and customer support!
Easy to install, although I would have liked a little longer wiring to allow alternative wiring routes. Work very well, I got the fog beam and installed on my Jeep Wrangler TJ in place of my factory fog lights. These are much brighter. Great for driving and they also add a much wider pattern for off roading. I also call them my “deer lights “ because the wide pattern picks up deer off the side of the road really well before they run out in front of me when driving on the roads here in North Idaho.I did have a bulb blow out after 4 months which concerned me, but I did not take off any stars because I emailed KC and they sent sent me 2 replacement bulbs asap with no questions asked. That is the kind of customer support that is getting harder to find! I will definitely buy more KC lights in the future and I highly recommend these.
E**A
Great KC Lights installed on 01 Dodge Dakota Quad Cab
Before I purchased these I read all the positive reviews, everyone seemed super happy with them but no one installed them on a Dakota, ever review I read was for a Jeep. I have seen many Dakotas with KC lights so I knew they could be mounted on my bull bar.I installed these on my Westin 32-0145 Bull Bar. Keep in mind I am not super engine savvy or wire savvy so this was a little new to me but it only took me about 1.5-2 hours to complete. Ill go over how I installed them and any problems I encountered for those interested.LOOKS: They look great and I will be adding pictures to the "customer photos" for this item. They are a bright white compared to the yellow halogen light bulbs in my headlights. I have only used them tonight around the city and freeway with no one flashing me for them being too bright. You can aim them down or inward depending on where you want the lights to go.INSTALL: So the install overall went well, there was a few issues that you may encounter so I thought I would help others. First off you get 4 zip ties which should be plenty, I only used 2. Second, I went to Home Depot and got some black plastic wire tubing to cover some of the wires for protection and what not.ALSO, After I had installed them on my bull bar, one of the lights seemed to wobble back and fourth because it wasn't tight enough or so I thought. The bolt actually started to come through the hole in the bull bar so I went to Home Depot/Fred Meyer again and got some washers. to secure it better and not allow the bolt to go through the bar. Since my bull bar was already installed it was kind of hard to keep the washer balanced on my socket wrench with the bolt inside so I used some krazy glue and just barley glued the washer on the end of my socket wrench, lifted the bolt up into the bull bar and tightened it that way because the glue would break once it was tight enough and I twisted hard enough.WIRING: On my Dakota the battery is on the drivers side so easy enough the relay I screwed into a small hole in the frame near the battery with one of the few screws they give you. DONT CONNECT ANYTHING TO THE BATTERY UNTIL ALL WIRING IS DONE. Then you run the longer cable for the KC lights to the farthest light and shortest cable to the closest light. You can decide how you want to hide the wires, I slid them down behind my light into the bumper frame and zip tied the excess together. The tough part was getting to the cab or through the firewall. This took me about 30 minutes deciding how to do this. I even accidentally cut the green wire in half and had to crimp it back together because I put the GREEN & WHITE wires into the plastic tubing and cut the tubing just long enough so I it would reach down to the driver's door frame grommet. I fed the wires through a couple holes and down the side of my door frame. There should be a foam type seal that you can pull back and pull the wires through near the middle of the door at the hinges, right at this spot there should be a circular rubber grommet the size of a 50 cent coin. I used my car key to poke a hole through it and later pulled the grommet out because its just a plug really and cut it with an x-acto knife. You may have to move a plastic panel that covers the grommet from the inside but this is simple and you can figure that out I'm sure. I then pulled the wires in and pulled my dash out a little. (The dash that surrounds the odometer and CD player) This was so I could drill a small hole in the empty space to the right of my normal headlight switch, I wired the wires up through there and attached them to the rocker switch they give you, attached the Yellow and White wires the battery after I had grounded the Black in the engine compartment and the Brown inside the cab, and the lights came on! Push the dash back in, cover the grommet panel, zip tie excess wires and you're done.A very long review but I hope it helped someone out, comment or let me know if you have questions!
C**
KC lights on a 2024 johndeere xuv835m gator!!
KC lights are some of the best products that are available on the market today!! I put two of them on the front of my johndeere gator and I have a 50 inch kc light bar with lights mounted on top of the gator too!!
J**P
Great lights highly recommend!
First off, these lights look great on my JK 2011. They don't block my view as much as previous lights and installed easily through the separate windshield hinge light mounts I bought for 35 dollars. Installing the lights on the windshield took less than 15 minutes for both lights. The part that took the longest was the wiring. This was my first ever wiring job on any car I have owned so I had no experience wiring from the engine to inside the cab. I tried a google search and multiple youtube videos with no help on how to run the wiring through. I went out to figure a route myself. The first route I found was a yellow foam on the driver side under the windshield wiper hood area. The cab side of it could be accessed by removing the left panel near the steering wheel by just plying it off. I was under the assumption that the small hole filled with yellow foam inside the cab would lead to the larger foam under the wiper hood. I was wrong and lost some tool bits inside there trying to make a hole which I still can't get out. Don't use that method. I ended up finding a simpler route by taking off the driver side foot shaped piece that the passenger side KC light will bolt on too. I was able to run the two white and green wires from the relay in the engine easily to under that bracket and into the cab. From there, it was homestretch to where I wanted to install the switch. After routing the two wires that way, I still had around 5 feet of slack to play with. The brown ground wire I simply bolted on to one of the many metal bolts in the dash. I did find it helpful the cut the ground wire tip that goes under the bolt in half to make it easier to fit under the bolt. Overall without the issues I ran into, the total install time was about 3 hours for an amateur like me. You really don't need to take this to a professional. The relay i screwed on to the plastic area near the battery. I attached both the yellow and white wires to the positive terminal and the black to the negative. I used the included zip ties to run the bulk of the wires along the back end of the compartment. The lights ended up being extremely bright and will turn on even if the car is off.The Pros:Very brightEverything needed is includedEasy instructionsSmall install timeThe Cons:The connector tips on the wiring are pretty cheap and easily broke when I was trying to connect it to the switch. I just ran the raw copper wiring through the small hole in the metal part of the switch and used pliers to clamp it down.
Trustpilot
2 weeks ago
4 days ago