Some deliveries may take a little longer than usual due to regional shipping conditions.

DOWNLOAD THE APP


Customer Services
Copyright © 2025 Desertcart Holdings Limited
DOWNLOAD THE APP

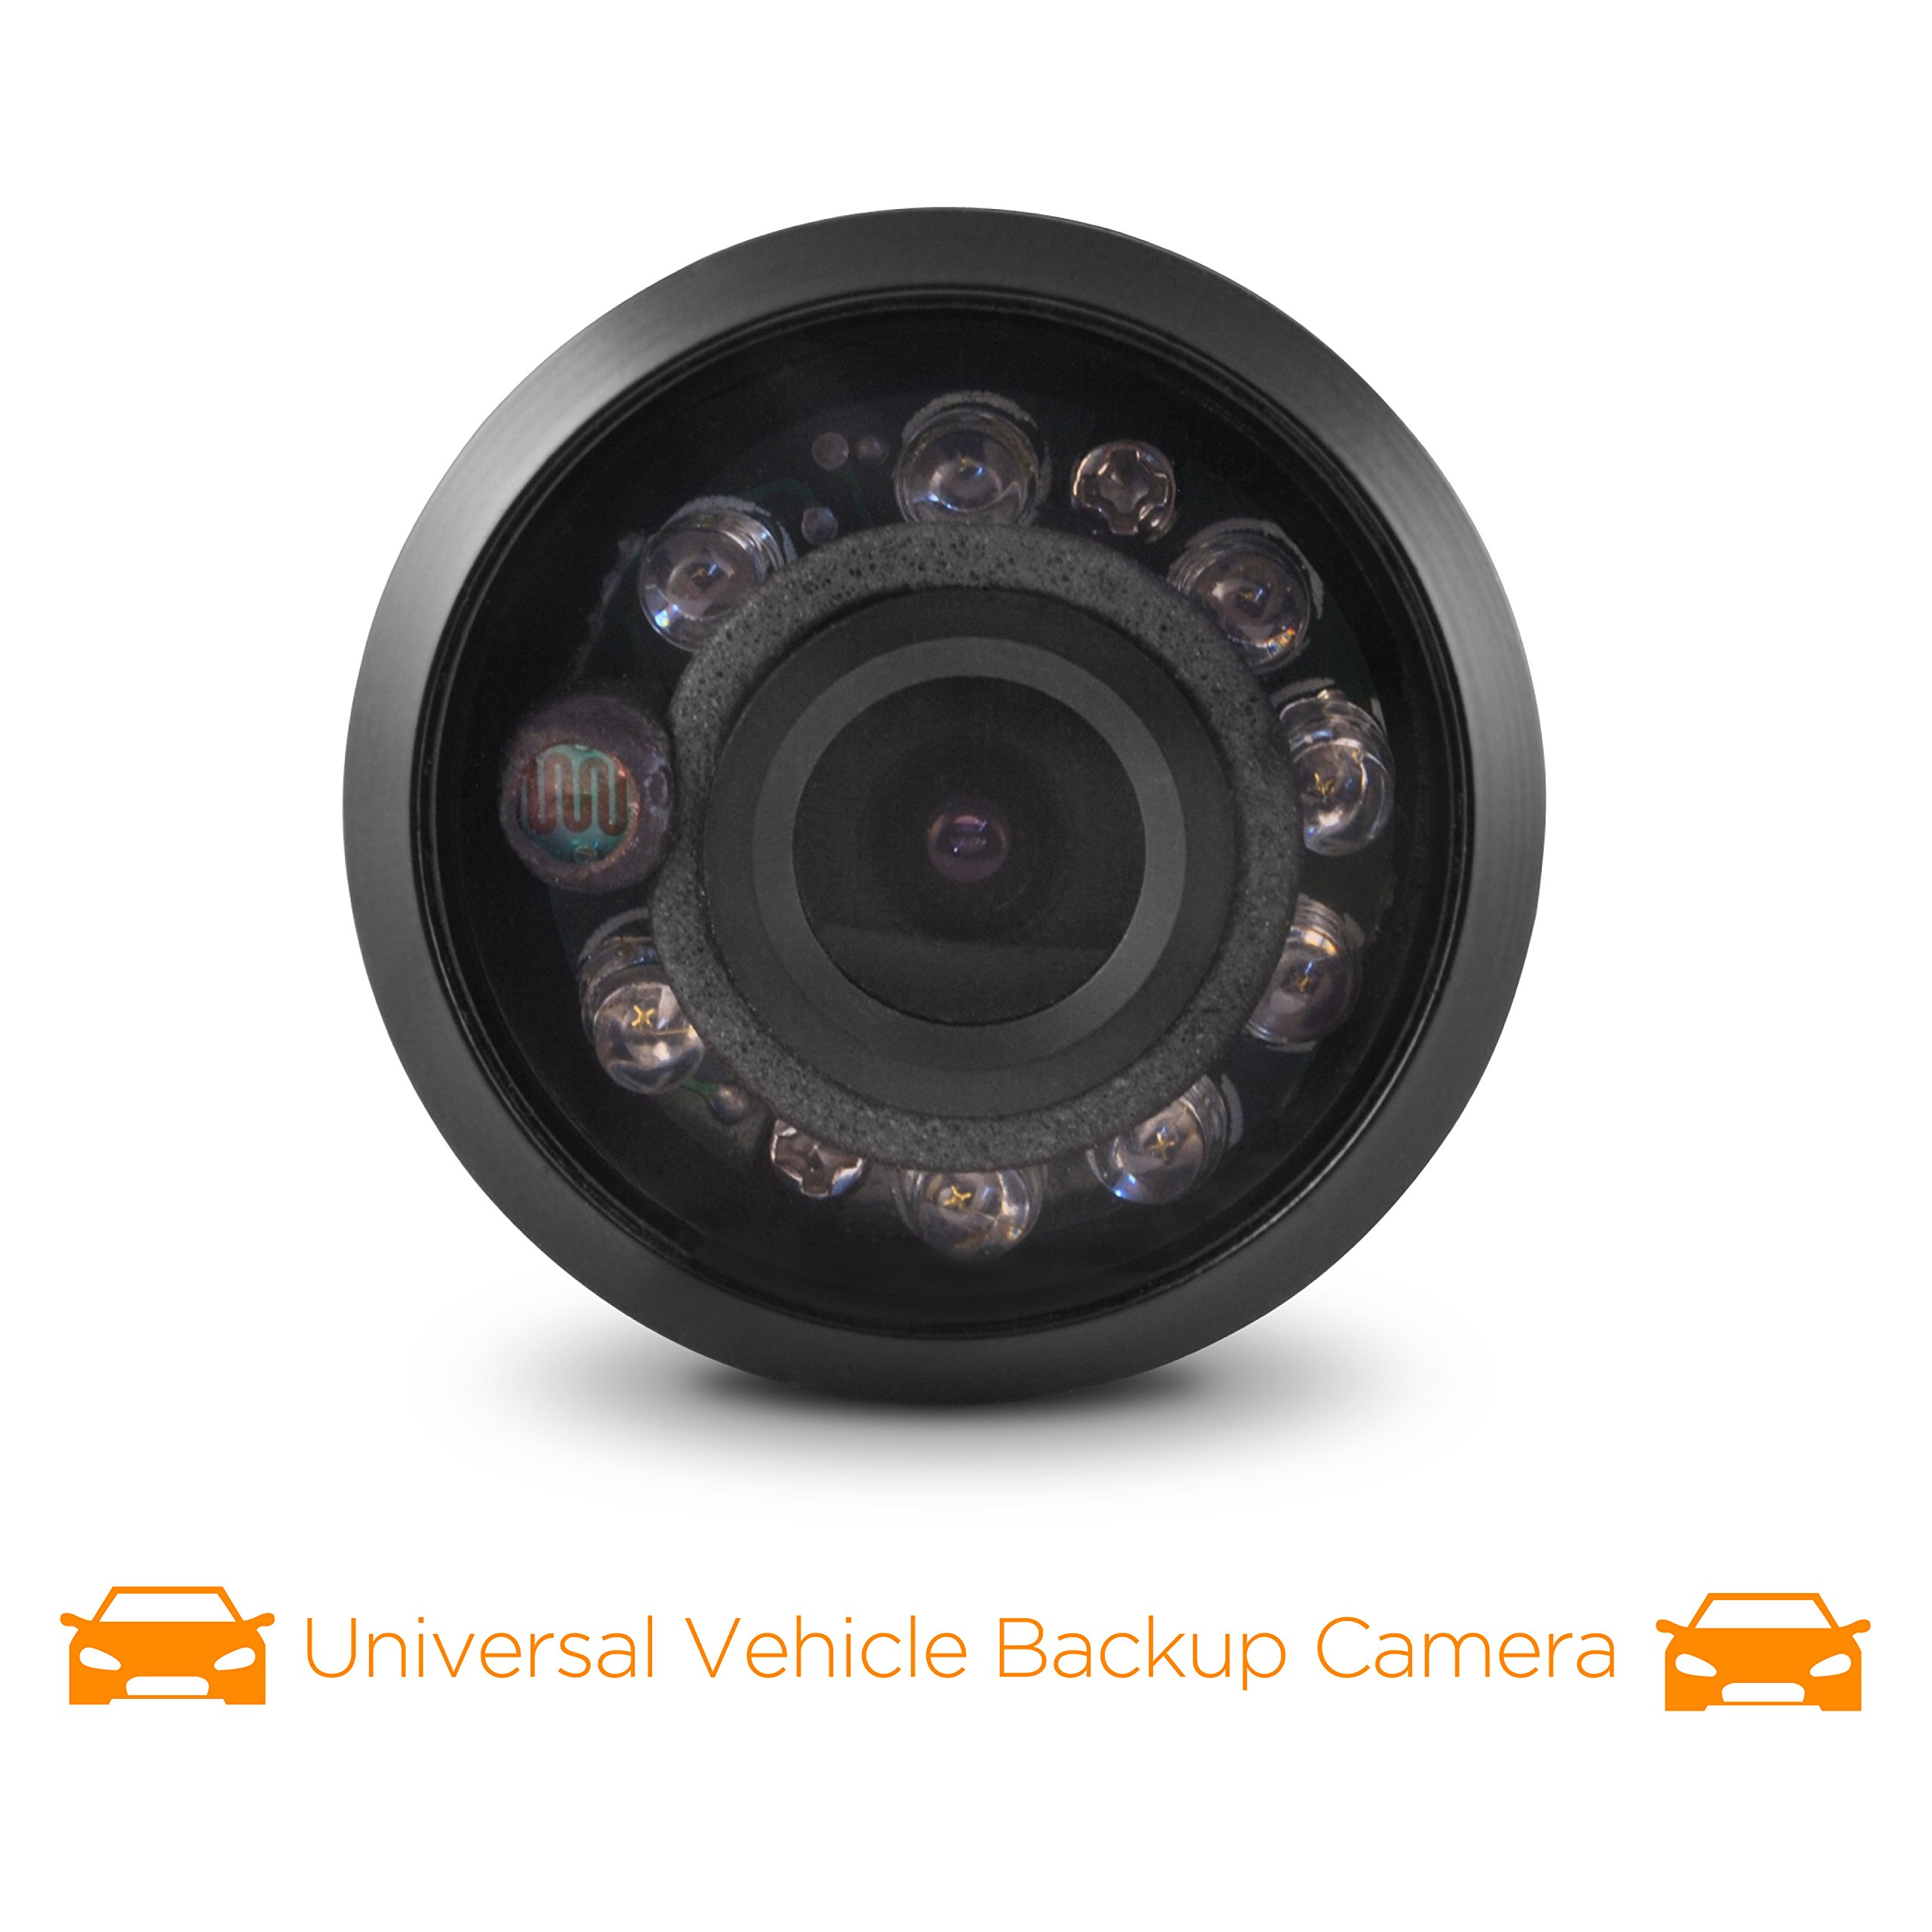
🚗 Back up with confidence—day or night, rain or shine!
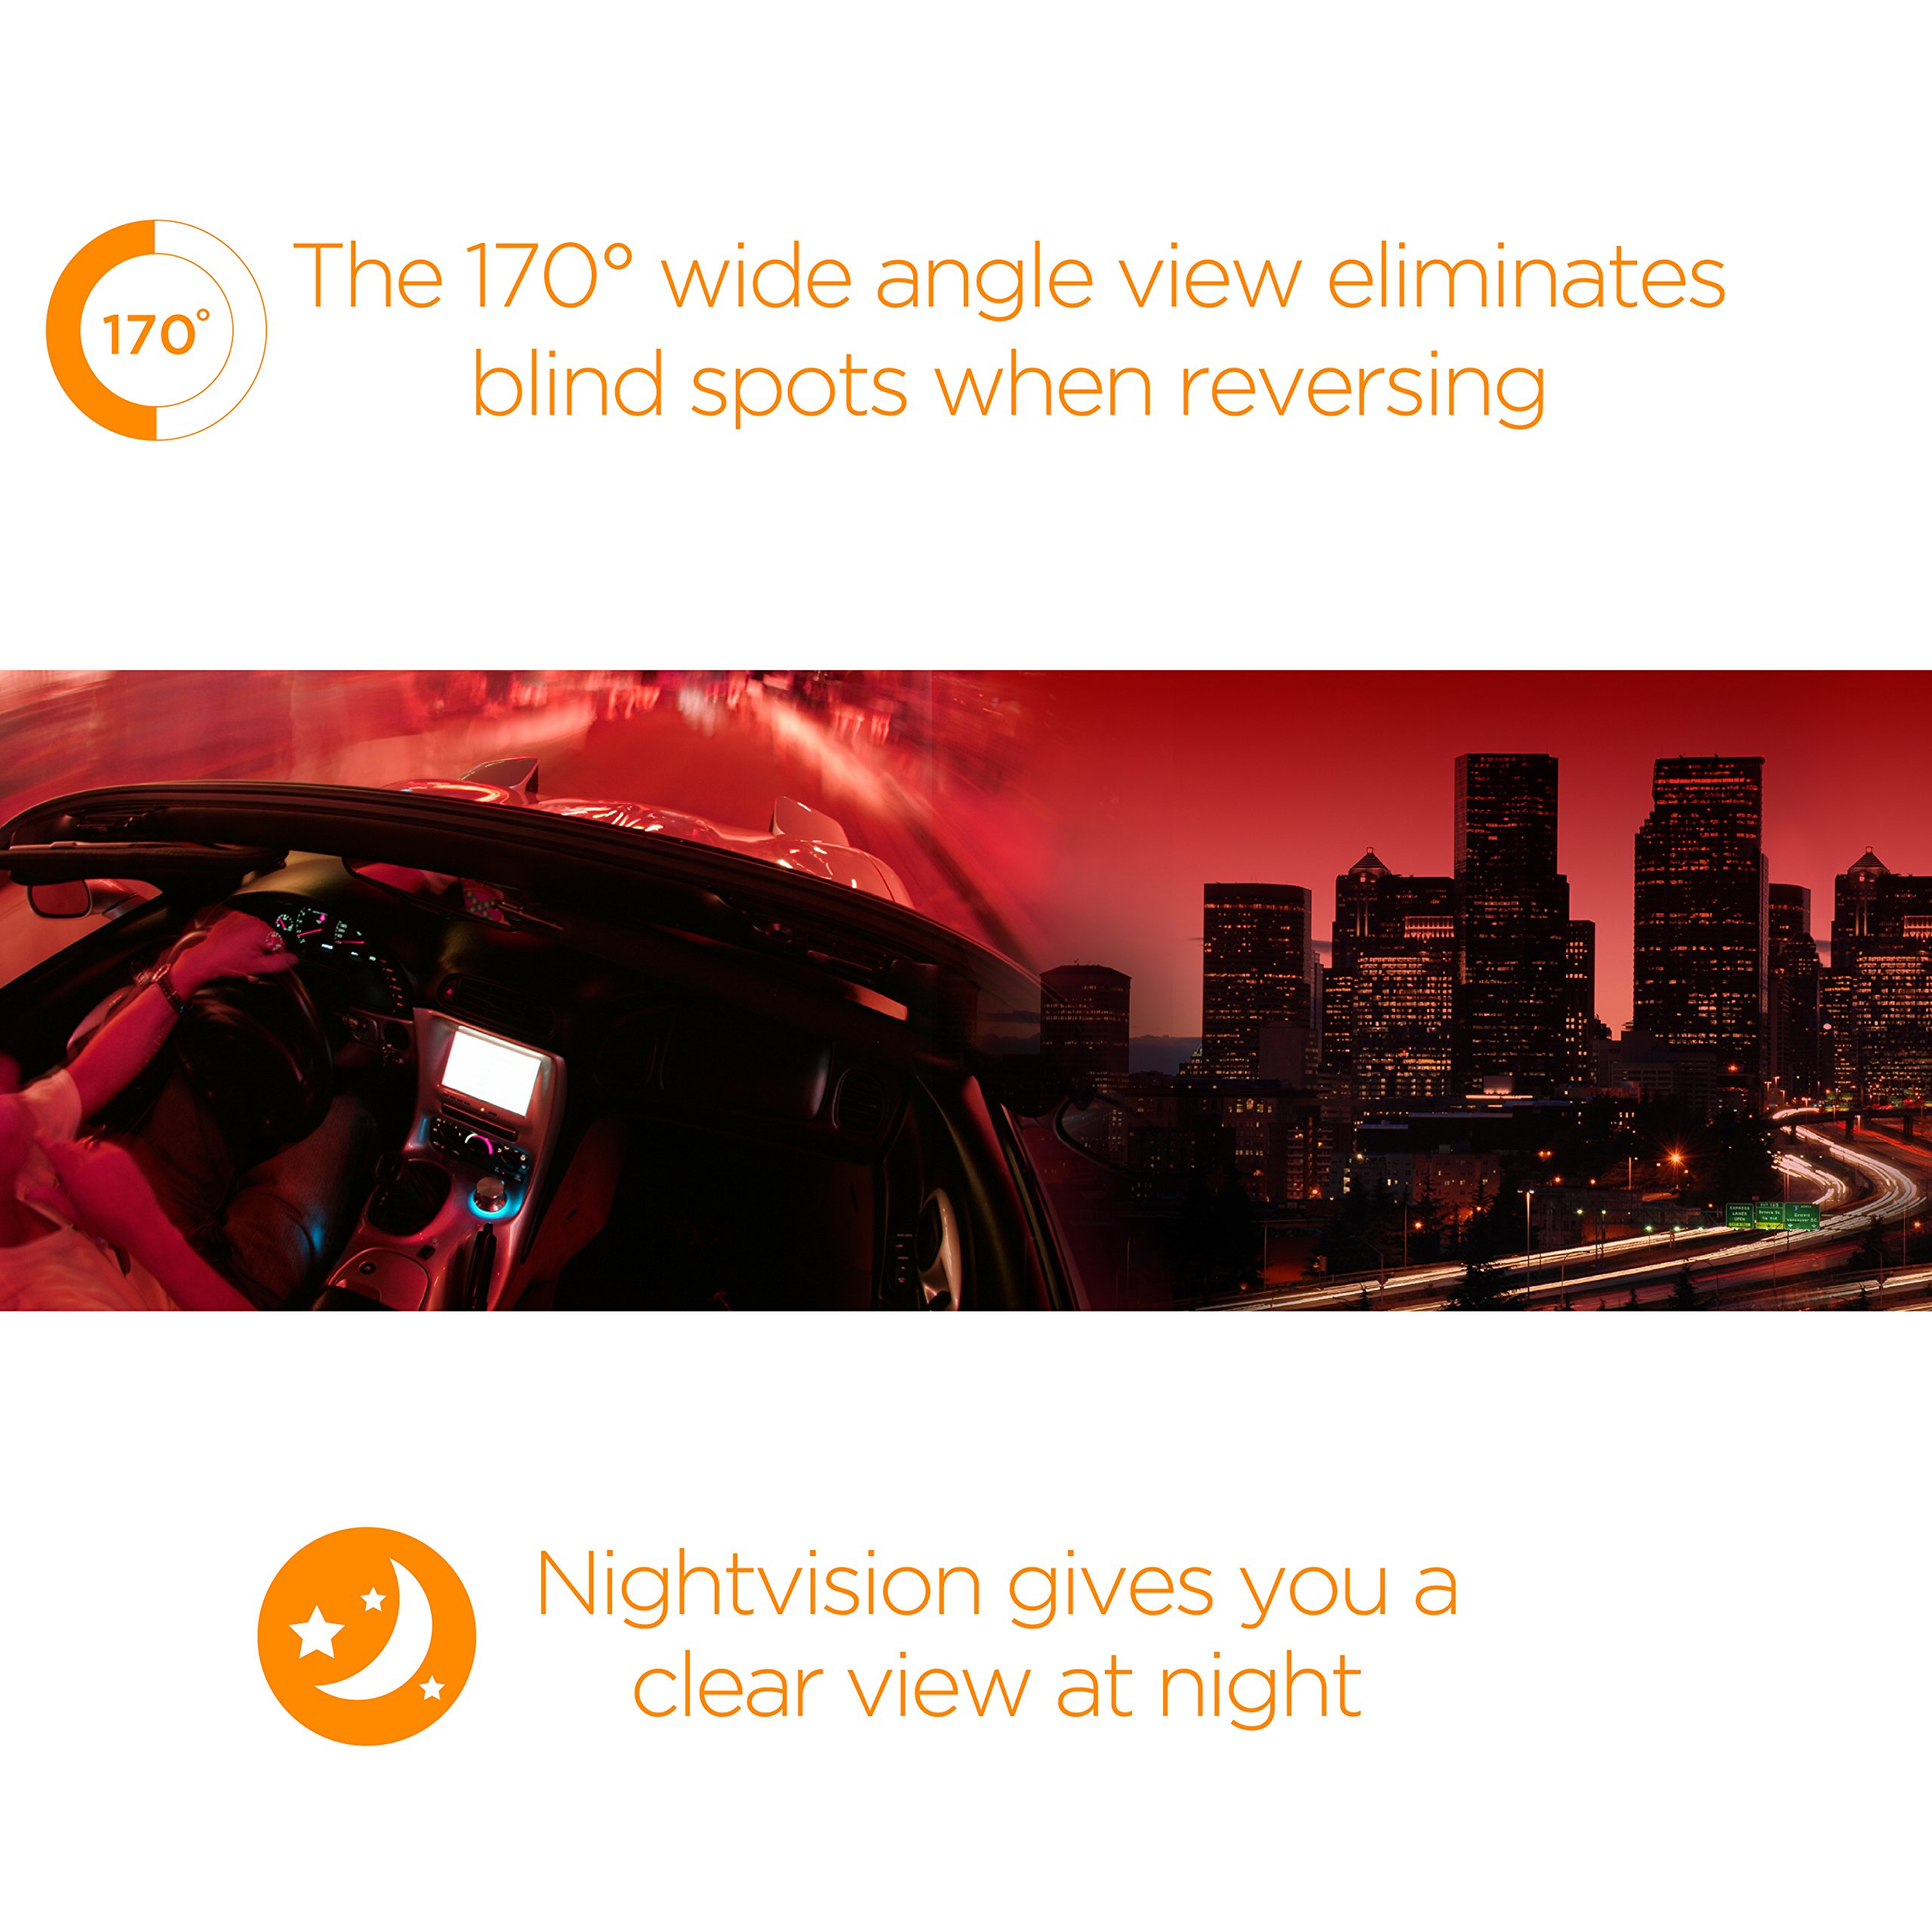
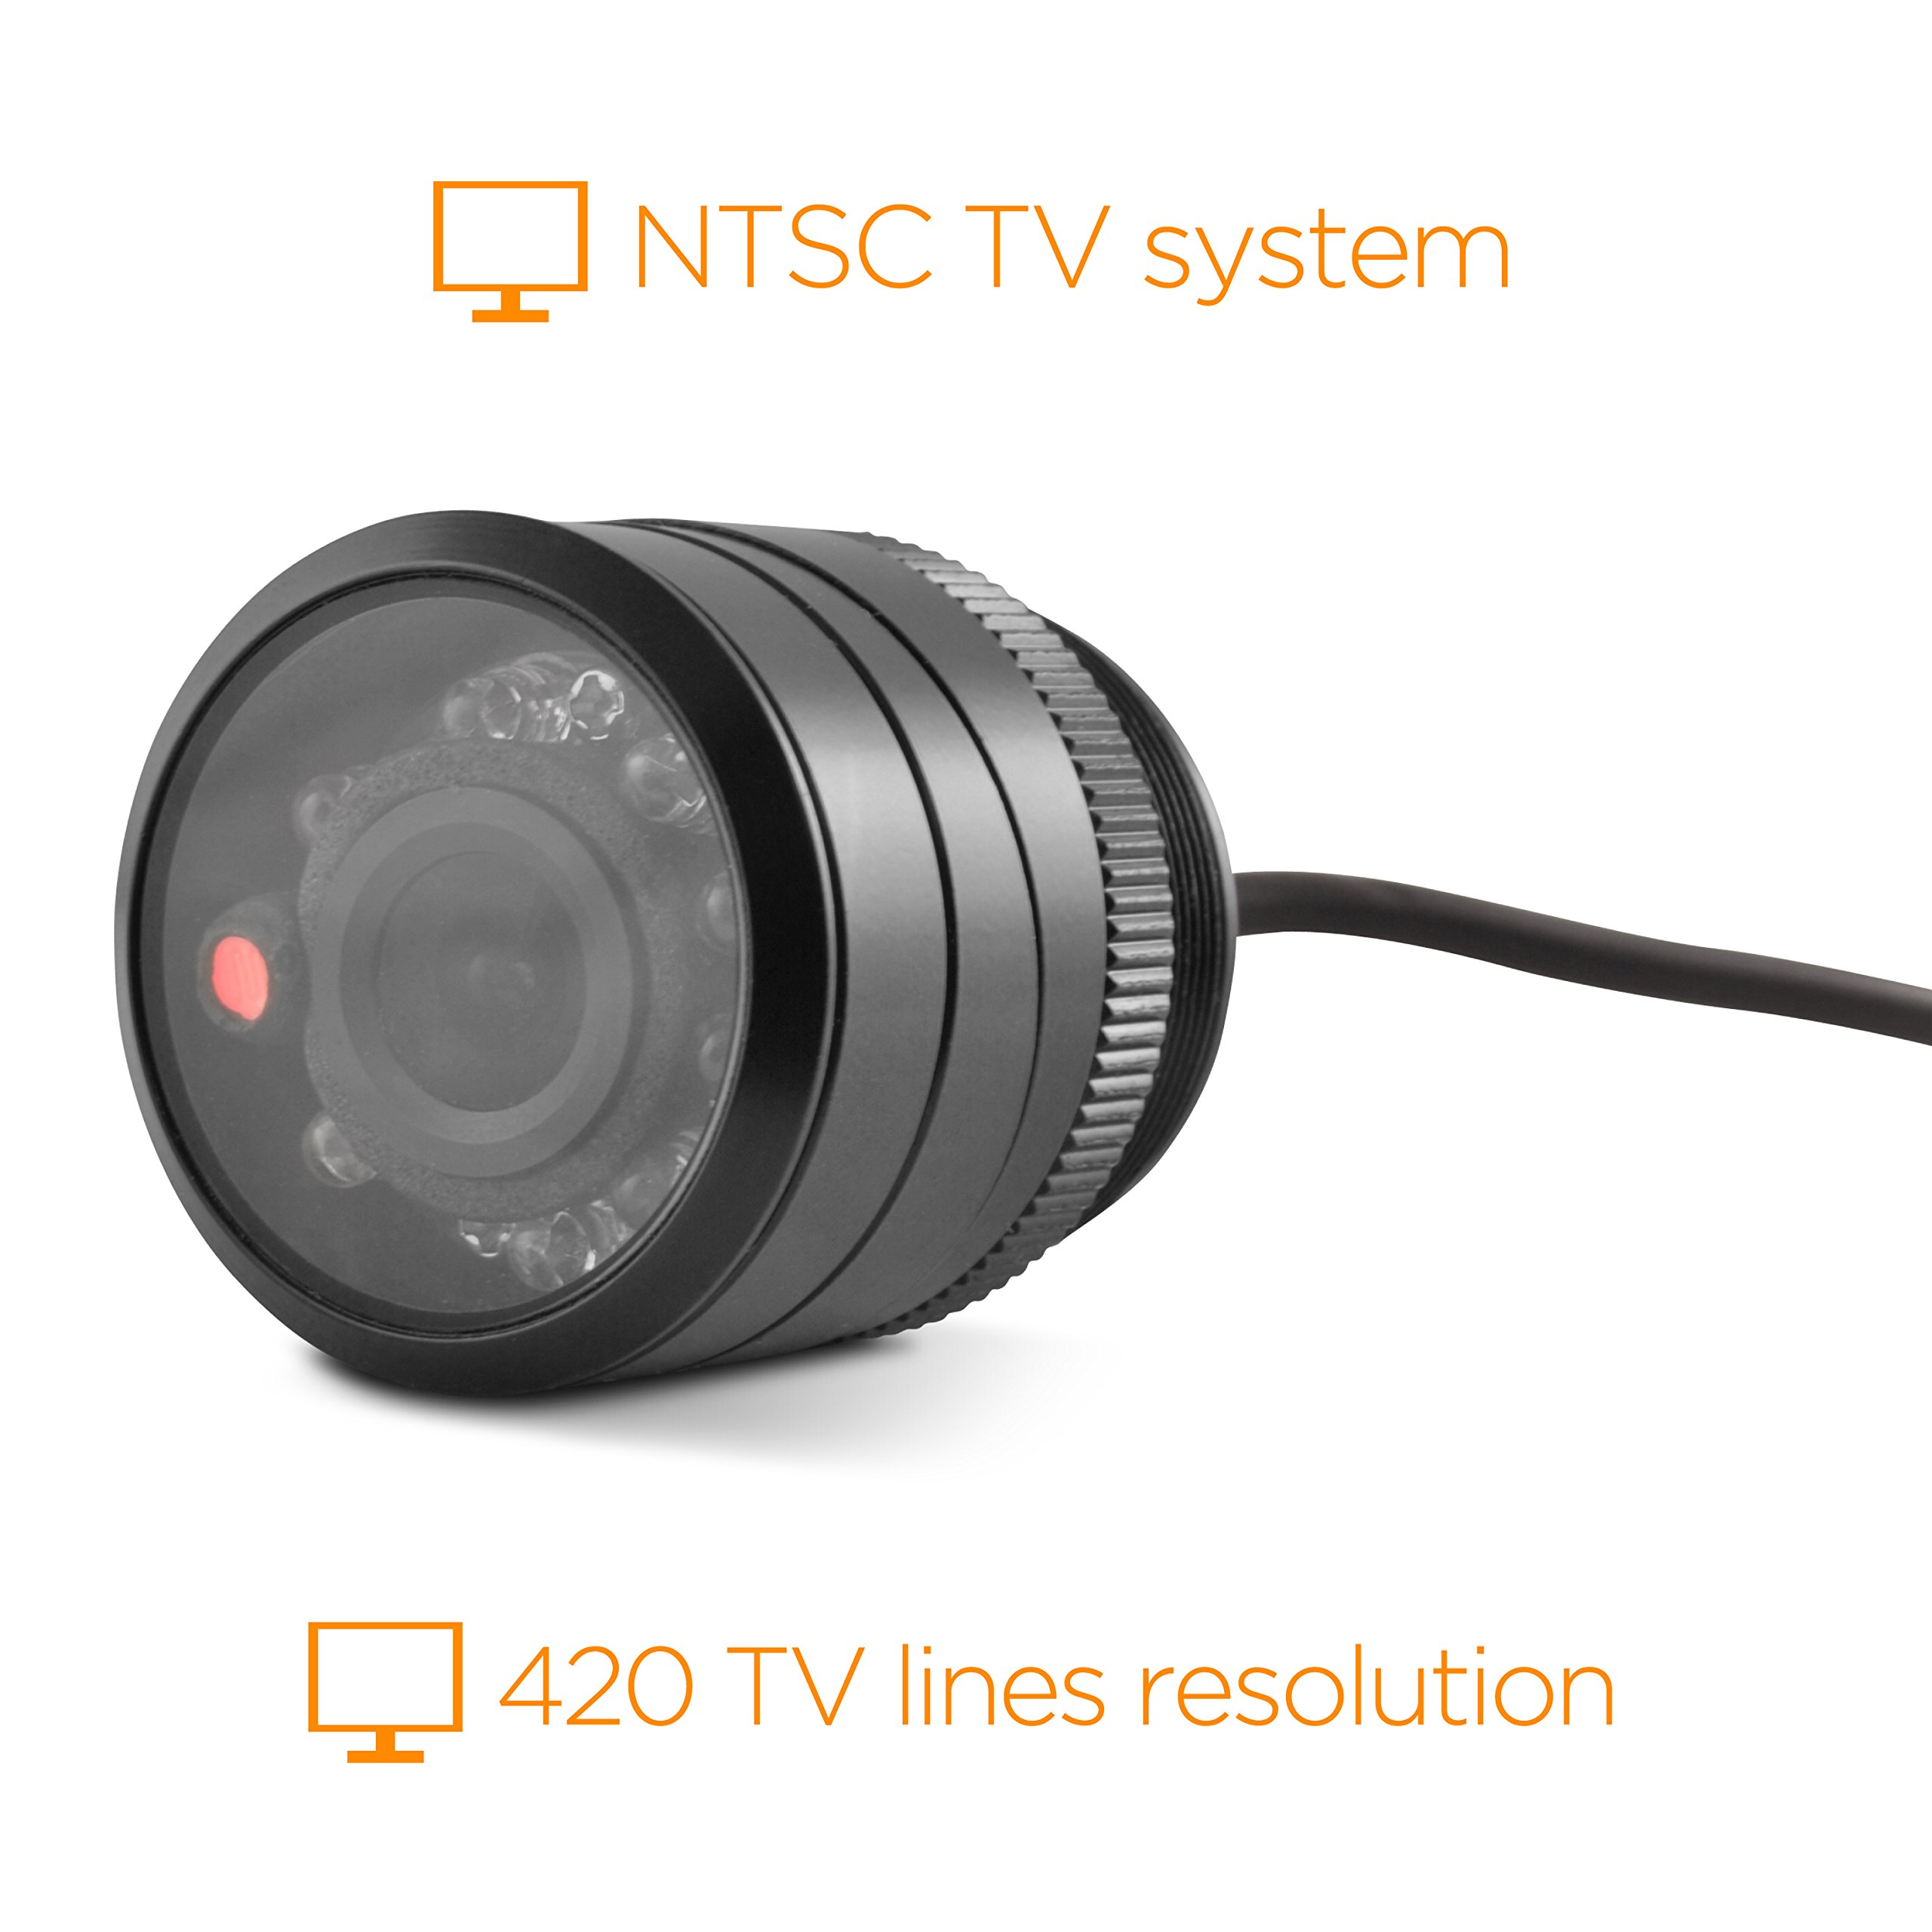
The XO Vision HTC35 is a universal, weatherproof backup camera featuring a 170° wide viewing angle and built-in night vision with 9 LED lights. Designed for easy installation and durability, it operates reliably in extreme temperatures from -4°F to 176°F, ensuring enhanced safety and visibility while reversing any vehicle.
| Item Weight | 5.6 ounces |
| Product Dimensions | 1.5 x 1.25 x 1.25 inches |
| Item model number | HTC35 |
| Is Discontinued By Manufacturer | No |
| Wireless Remote | No |
| Warranty | Limited Manufacturer Warranty - XO Vision warrants to the original retail purchaser of this product that should this product have any defect, under normal conditions, such defect(s) will be repaired or replaced with new or reconditioned product (at the Company's option) without charge for parts and repair labor. This warranty only covers manufacturer defects and must be returned to company in original condition. Proof of Purchase is required. This Warranty does not cover the costs incurred for installation, removal, product damages (i.e. discs, tapes, etc.) or reinstallation of the product. This warranty is void if company deems the unit to have been damaged through modification, improper installation, negligence, misuse, or tampering with the Serial number and/or bar code of the unit. This warranty is a limited warranty for repair/replacement of product if it falls under the above conditions. XO Vision is never responsible for more than the purchase price of the product. |
G**N
Night vision backup camera
inspection of the camera showed it was made of a good quality. It is sturdy but not bulky. it is good size so I know that it is not going to break easy and should hold up to normal wear and tear for a long while. Install required I drill a hole in the bumper on my Ram 1500, not a big deal took 20 minutes. Instructions are very clear. Initially I leveled the camera (sits 26 inches off the ground). That was a mistake. even though picture is clear, you have no reference to the ground. An adjustment tilt on the rings of the camera took care of that. I had to dim one of my back up lights that was closest to the camera, otherwise the glare messes up the night vision mode. Cable provided would have been fine for a car but not for a full size pickup. Once installed, camera works great actually better than I thought. mine is flush mount, so I get about 175 degrees. If I had offset it out more I would get 190 degree. good color, clear and crisp. just dont expect it to work in the rain make sure you wipe it off once in a while. I have seen factory mounted cameras on Caddies and BMW. This camera is as good in most cases. The OEM cameras are only black & white this one is better because its color. Price is great. if you have any problem with backing up because of kids in back seat or blocked view you need this camera. I have already ordered one for my wifes Durango. well worth it.
C**I
Great For The Price
I had previously purchased the "TaoTronics TT-CC01 Universal Waterproof Car License Plate Rear View Video Backup Camera" from Amazon, along with the "4.3'' Color TFT Car Monitor Support 480 x 272 Resolution + Car/Automobile Rear-view System Mirror Display Monitor" and installed both in my pickup truck. You can read my review of the TaoTronics camera, but I can say here that I was not happy with it (I got a refund). After spending all that time wiring my truck and installing the display monitor, I looked for another camera that would work consistently at low temperatures. So based on reviews of the XO Vision camera, thought I would give it a try. It works perfectly! It comes on every time and sends a great picture to my display monitor. Not had any trouble with the cold, rain, or snow we've recently had in the Midwest causing the camera to stop working or fog up with moisture. So the 'weatherproof' claim is actually true. I made a mounting bracket out of aluminum and attached the camera under my truck's rear bumper, so I can see my trailer hitch when I back up to my boat trailer. The infrared LEDs on this camera allow me to see pretty far down the street when backing up, and even illuminates the other houses! This also works better than the TaoTronics camera.The camera comes with adapter rings to allow the camera to be mounted at various angles. I didn't use them; I have it looking straight back.
S**X
Works great on my Hummer. Clear view day and night.
This is an outstanding camera, especially because of the price. I read the reviews before buying .Well, I installed it on a Hummer H3 as a backup cam. Simply spliced into the backup light wires coming from the backup bulb on one of the rear lights. Then hooked it up to my Boss head unit using the 17ft cable included with the camera. The mounting was easy since I removed a round blank in the bumper and used the cameras mounting ring.The quality of the image in day is excellent and at night it's very very good.Now i can launch my boat with ease and check for kids or objects when backing up or parallel parking.Get this camera and you will be satisfied.It's a backup camera and exceeds expectations and quality. Thanks
N**K
Choose the XO over the "Pyle of Crap"
For those of you who read my review of the Pyle, know that the camera not failed to function in low light/night situations (none of the IRs were working) but it also completely failed and died altogether in July. So, for the record that "Pyle of Crap" lasted only a few months and did so with only half of the stated capability.As I wasn't looking forward to another installation, I decided to give the XO a shot.I just installed it--a perfect fit and replacement with the wiring and hole left by the previously hated back up camera. It literally took 10 mins to swap them out.OH WHAT A DIFFERENCE. 8 of the IRs were illuminated and the low-light/night view was actually functioning out of the box. Go figure. A product that does what it says it will do. I do like the range guidance with the XO that the Pyle didn't offer.Now lets see how durable this camera will be.I hope this helps you to avoid my two-purchase experience. GO WITH THE XO. At a minimum you will know that the initial quality is MUCH better. I will follow up if the durability becomes a concern.
Trustpilot
1 month ago
3 weeks ago