
DOWNLOAD THE APP


Customer Services
Copyright © 2025 Desertcart Holdings Limited
DOWNLOAD THE APP

🔧 Keep your pool corrosion-free with zero downtime!
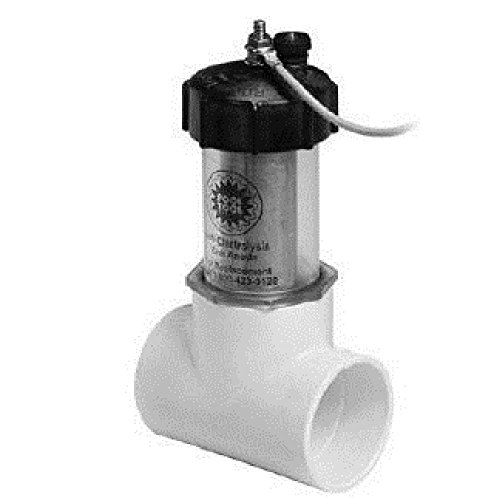
The Pool Tool104D Inline Zinc Anode features a 2-inch size with a transparent housing that allows easy visual monitoring of anode depletion. Designed for quick replacement without plumbing, it protects pool equipment from corrosion, ensuring longer system life and hassle-free maintenance.
Trustpilot
3 days ago
5 days ago
2 weeks ago
2 months ago