

✨ Light up your staircase, light up your lifestyle!
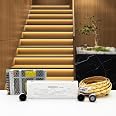
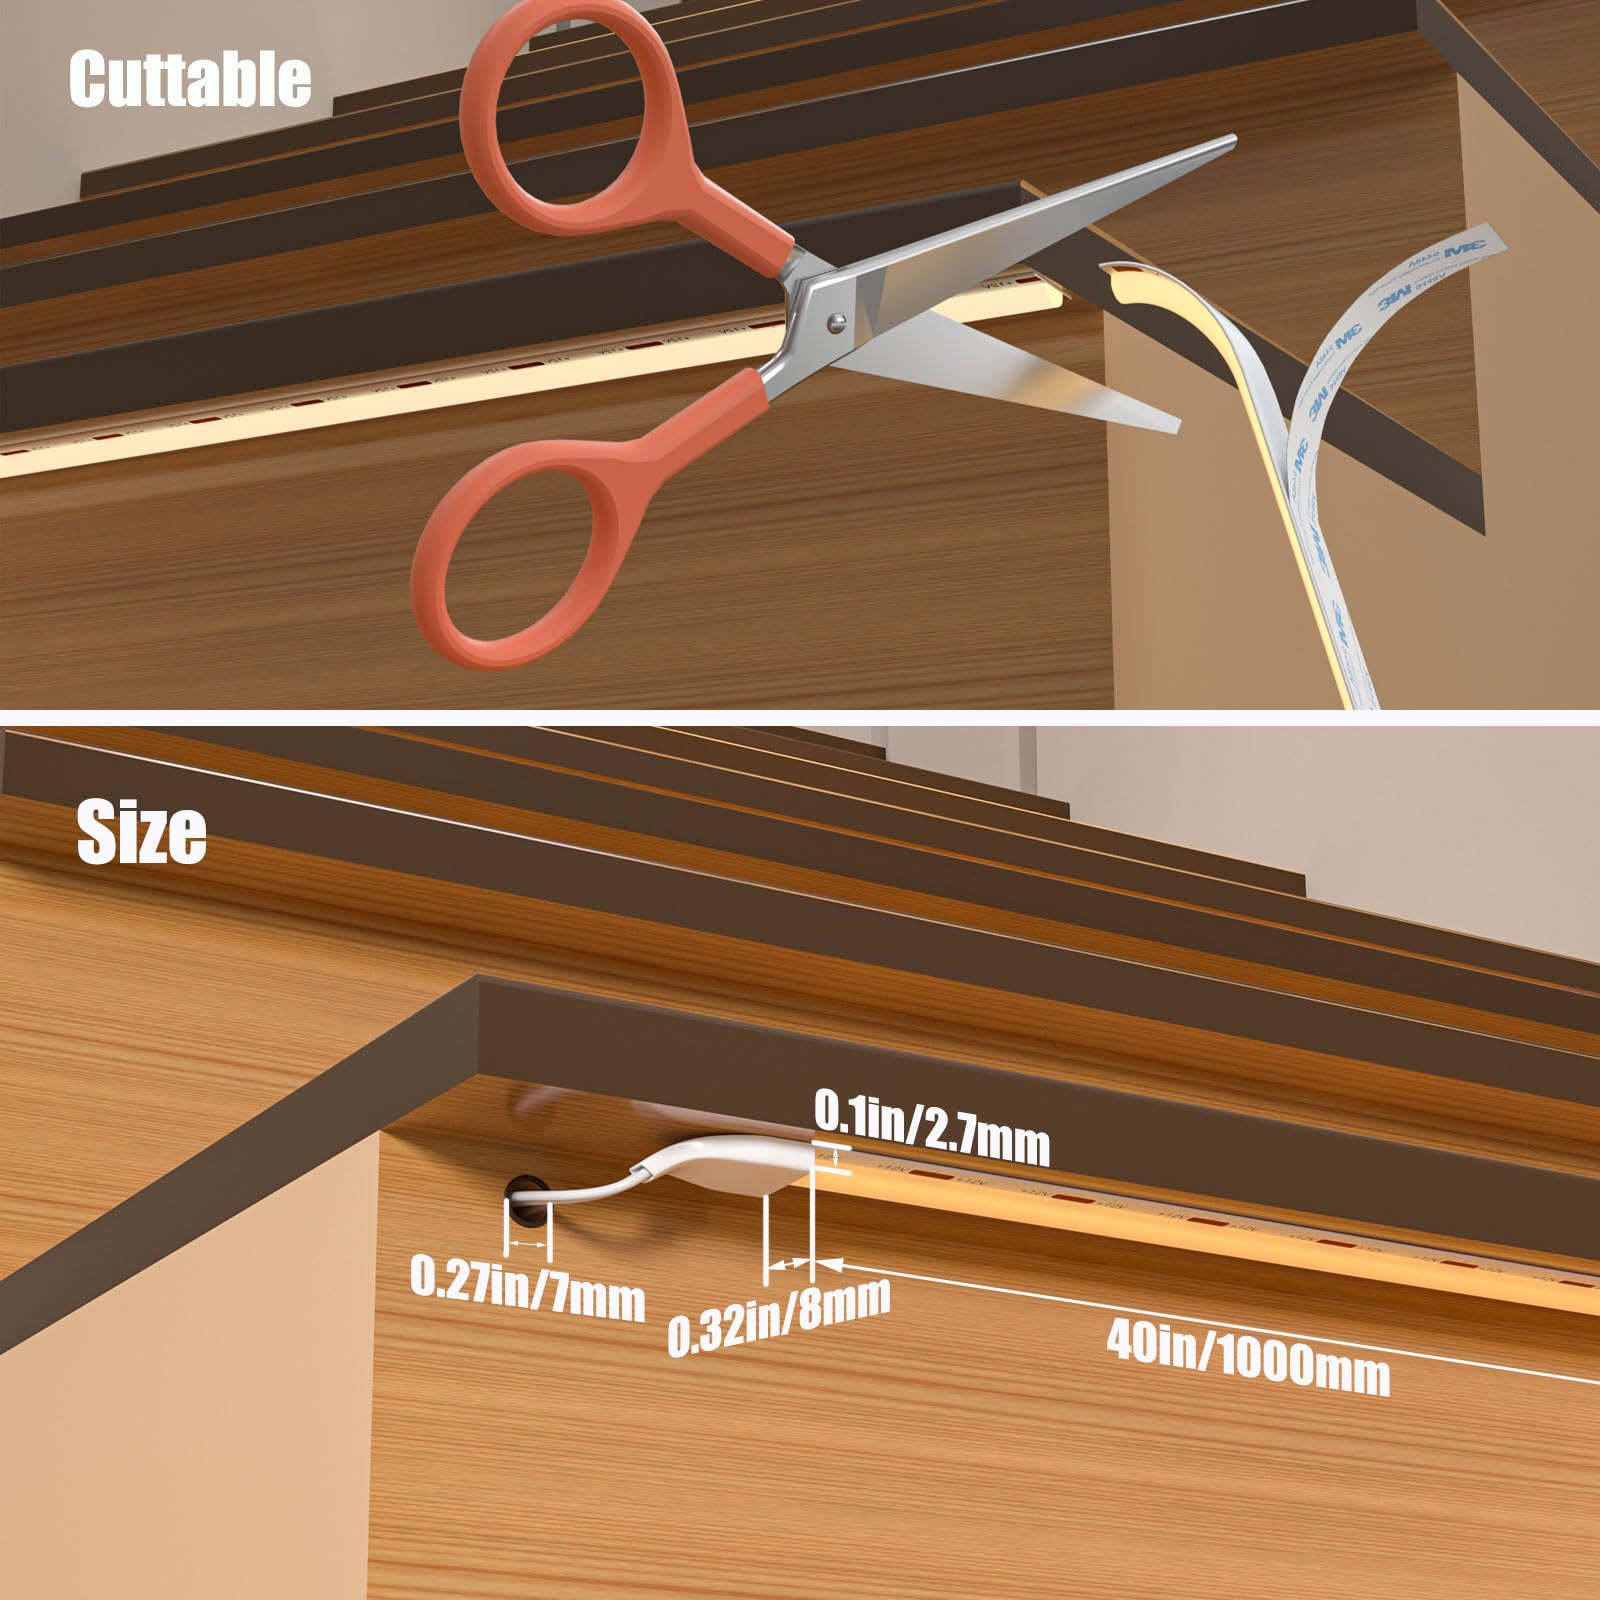
The KOMIGAN Intelligent Motion Triggered LED Stair Lighting Kit KMG-3233 features 320 high-density COB LEDs delivering 14,000 lumens of warm white (3000K) light. Its 40" flexible, cuttable strip with strong adhesive backing fits standard stair widths and offers customizable settings including brightness, speed, and delay. Designed for indoor use, it enhances safety and style with motion-activated sequential lighting and a stay-on mode, all controlled via touch or remote.


| Brand | KOMIGAN |
| Color | Warm White 3000K |
| Material | Plastic |
| Style | Modern |
| Light fixture form | Wall |
| Room Type | Staircase |
| Product Dimensions | 3.94"L x 1.97"W x 0.98"H |
| Specific Uses For Product | Indoor use only |
| Indoor/Outdoor Usage | Indoor |
| Power Source | AC |
| Installation Type | DIY |
| Special Feature | Corded |
| Control Method | Touch |
| Light Source Type | LED |
| Finish Type | Polished |
| Shade Material | Plastic |
| Number of Light Sources | 20 |
| Voltage | 110 Volts (AC) |
| Theme | People |
| Light Color | Warm White 3000K |
| Included Components | Light kit inlcuded |
| Lighting Method | LED |
| Wattage | 100 watts |
| Bulb Base | GU10 |
| Controller Type | Remote Control |
| Switch Type | Motion Sensor |
| Unit Count | 1.0 Count |
| Water Resistance Level | Not Water Resistant |
| Connectivity Protocol | Wi-Fi |
| Brightness | 14000 Lumen |
| Efficiency | High |
| Mounting Type | Wall Mount |
| Shade Color | White |
| Fixture Type | Non Removable |
| Assembly Required | Yes |
| Manufacturer | KOMIGAN |
| Part Number | KMG3233-010 |
| Item Weight | 9.83 pounds |
| Country of Origin | China |
| Item model number | KMG-3233-LW-20 |
| Finish types | Polished |
| Maximum Compatible Wattage | 200 Watts |
| Special Features | Corded |
| Batteries Included? | No |
| Batteries Required? | No |
| Color Temperature | 3000 Kelvin |
J**A
Glow in the dark
The media could not be loaded. Awesome product !!I got so many compliments on my steps 🙌🏼I must say that light has different settings for speed, as well for the color/intensity of the light.You will need obviously a pro to install it.Make sure (owner) you save the numbered stickers and after each step light has been assigned, then you use the stickers numbers correctly, don’t add the numbered stickers first, friendly advice.You can also use a “smart plug” and control the settings with your cell phone. I got the smart plug, I just haven’t downloaded the app to control the lights with my cellphone, cause the speed/light tone is how I choose to.Recommend to give your home a nice look, and to sabe time turning light on while on the dark. Sensor will pick movement as soon as you move your leg. Aside any redundancy the sensors aren’t over sensitive.Remember, you will need to have access anytime time to get to installation underneath the steps in case of repairs may need to be made.Not only my handy man suggested the idea, but also work nicely and super detailed oriented. I got a good one and I’m thankful for it!! 🙏🏼💯
P**C
Installation with a finished closet under the stairs (Detailed)
The media could not be loaded. This is a great addition to our stairway that makes a 180 degree turn. We often slowly navigated the stairs at night without turning the lights on to avoid waking everyone or even after dark when carrying things like laundry and not able to switch the lights on with hands full. This solved that dangerous issue. It also adds a cool, modern touch - people love it.Now, there are many reviews you can read, but I didn't see any that addressed a situation like ours where we had a finished closet under our stairway. Most every review stated that you need access to the unfinished underside of your stairs. This is largely true for most people - but I happen to have years of experience doing electrical work in finished homes and have learned to get wires almost anywhere. What I did is obviously possible, but it's not for the average DIYer. The point is to show that it CAN be done if you really want it. Now it also helped that I did this as part of a re-tread project where we removed carpet and installed new hardwood treads. But our staircase was prefabricated and the steps and risers could not be removed. So, I cut the bullnose off each original pine tread and laid new hardwood treads over it. I had to cut the bullnose off to keep the tread depths uniform and code compliant. I left a small space where the LEDs would be hidden.Our staircase is typical to a split-level home. It rises 7 steps to a landing where you turn 180 degrees and then take an additional 7 steps to the top. Under the stairs is a finished coat closet that serves the first floor. Knowing home construction, I first built a small door through the lower back of the closet, revealing a sizeable space we use as storage for Christmas and other seasonal decorations. This space provides access to the underside of the landing and the first 7 steps. The top 7 steps are over the sheetrocked closet of which there is no access without cutting holes in it, which we wanted to avoid. Typical installation is to drill the LED tails straight back through the stair riser and into the rear, unfinished side of the stairs. I used that technique for the first 7 steps I had underside access to. For the stairs over the closet, I used some knowledge and technique to drill the LED lights through the side of the steps and into the studded bay. I inserted pull strings and then drilled holes for each light UP into the bays from underneath the landing. I then fished out each string and pulled the LED wires out. Drilling the bays required a specialized 36 inch long 3/8" drill bit, since the slope of the staircase required longer reaches into the bays (one of my photos show these holes after the wire was fished out. One hole was drilled for each LED to ensure they didn't get tangled when fishing them). Don't forget to run a wire for each motion sensor - one at the bottom step and the other at the top step. This is what activates the LEDs as you approach the stair from either top or bottom. The system "knows" and lights the LEDs from the location you approach.Make sure you take a few minutes to plan out which lengths of LED wires you use for each step. I purchased the 16 LED kit and it has (8) 5-meter lengths and (8) 8-meter lengths. The lengths you use on each stair depends on where the controller is located. Carrying over from my past days in the field, it was important to me to neatly and professionally route all the wiring. I saw too many reviews and YT videos that had a jumble of wire laying on the floor or hastily coiled up since no one can see it. That's a no-go with me. I left a small "service loop" near each connector then bundled, strapped and routed each wire along the staircase and fished them into the bay of the wall where I decided to put the controller. I put the controller in the finished closet where it can be secure, yet easily accessible. I had an old metal enclosure that was perfect for the controller and power supply. While I was under the staircase, I tapped a receptacle serving the living room and installed a receptacle under the controller.My personal installation notes: The LED strips can be cut to fit the width of your treads, but the cut MUST be made through any of the gold 12V terminal markings along the strip (see photo). Use a sharp set of snips to cut it, as you want the cut to be clean and sharp. Once cut, they cannot be extended. As for fastening the LED strips: I peeled the adhesive backing from the strips but also lightly dotted the strips with gorilla glue as I pulled it taught and pressed them into place. My reasoning for not gluing the entire length was first it didn't need that much and second in case I ever need to replace one, it would come off with some effort but not be a massive undertaking. My new treads have a square bullnose and these strips lay behind it. I positioned it this way so the LEDs on the higher steps don't glare in your eyes when activated. The light just falls onto each step to light your way. When you're terminating each wire onto the controller, make sure you insert them in the order of each step (1st step, 2nd step, 3rd step, etc.) If you decide to "cascade" them, the LEDs will be activated in the order they were terminated. If they're out of order it will ruin the effect. If you're having them turn on simultaneously, it wouldn't matter - but no matter what, I would personally ensure they are in order - that's just how I am. Don't forget to also run a wire for the daylight sensor. This should be facing normal ambient room light and will prevent the LEDs from activating during the day. You can opt not to install this and the LEDs will simply light anytime you use the stairs.In summary, this is a cool and very functional system. It entails a lot of planning and intricate wire running and frankly may not be worth it to some. Installations where you have complete access to the underside of your steps are a no brainer and easy to do. Mine was definitely more challenging for most, but I happen to have the resources and skill set to do it, so all in it was just a weekend worth of work for me.NOTE: I purchased this item on Amazon for full price and have no affiliation to the seller. I try to write helpful, unbiased and insightful reviews because I also read reviews prior to making my own buying decisions. I notice many reviews lack helpful information, are too brief and don't support their opinions with examples. Writing useful reviews helps pay it forward.
J**P
Great product
These stair lights are terrific. A game changer for my dark stairway to/from my 2nd floor. Installation was easy. Took an about 2 hours for me. Skills required are basic for anyone handy with basic DIY work (you’ll need Phillips head screw driver, a drill with a 1/4” bit and, depending on the sensor mounting choice, a 13/16” spade bit (a 3/4” will work with some rocking to get the hole slightly larger)). You’ll also need access to the underside of your stairs for the wiring. Watch the helpful videos on Amazon for installation and configuration. I got the version with the “tape” LED lights. These have the lowest profile and can be cut to the required length (pretty much anything up to 40”). I have wood steps, so mounting with adhesive was not an issue, but the fixed length light bar models might be a better option if adhesive mounting won’t work (i.e., carpet on stair treads).
H**2
Lights
Beautiful. It is not a DYI I had to hire electrician but well worth it. I’m happy
Trustpilot
2 weeks ago
1 day ago