
DOWNLOAD THE APP


Customer Services
Copyright © 2025 Desertcart Holdings Limited
DOWNLOAD THE APP


🚀 Elevate your network game with NanoBeam ac Gen2 — where speed meets simplicity!
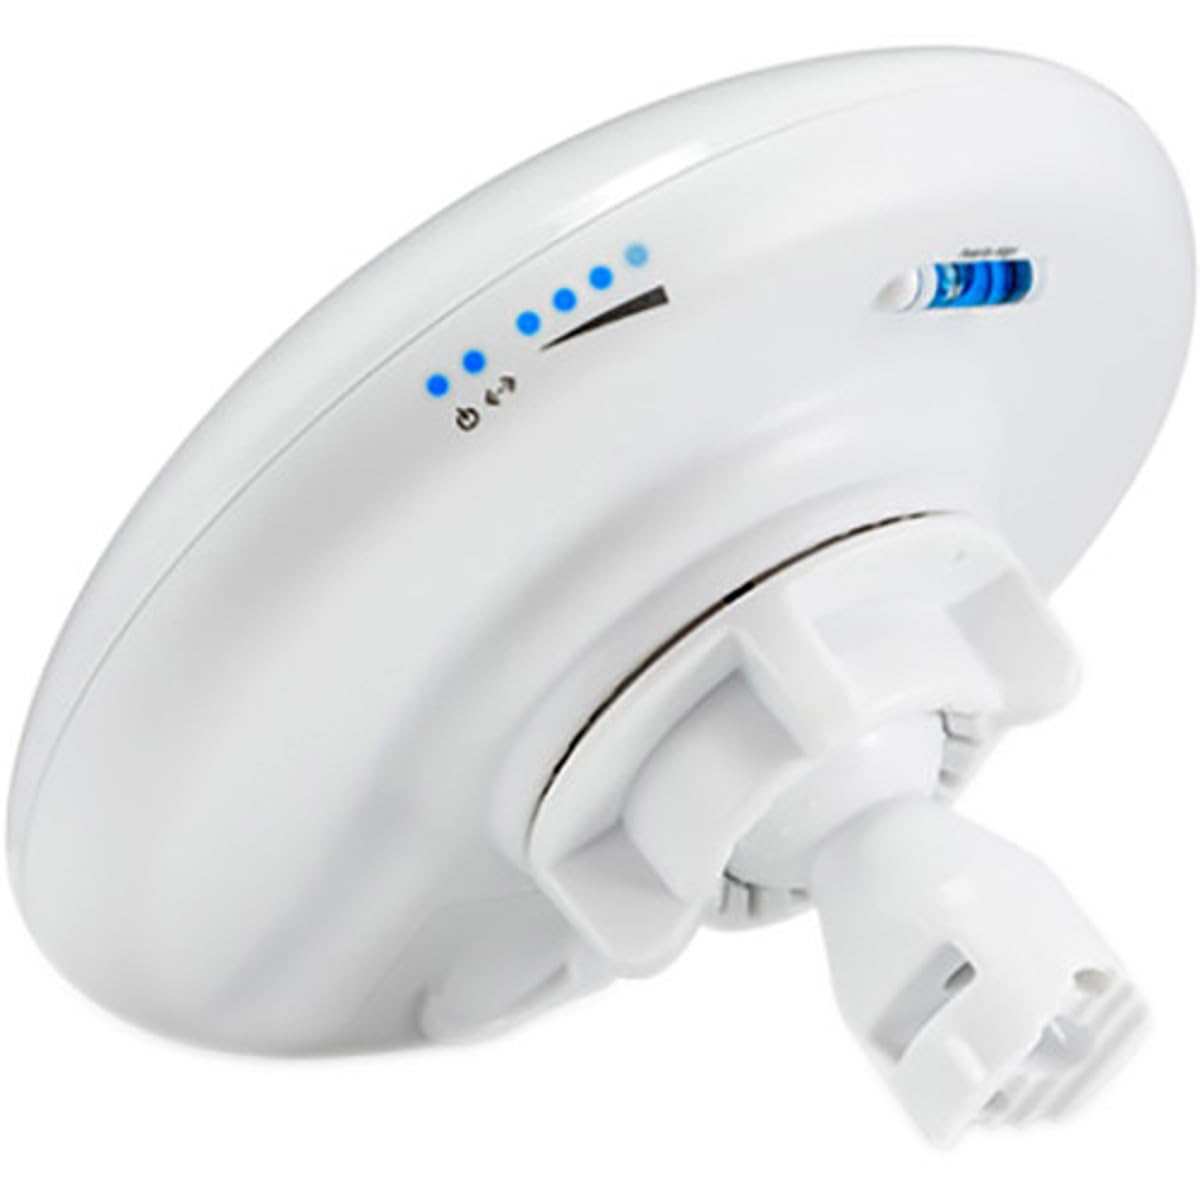
The Ubiquiti NanoBeam ac Gen2 is a high-performance 5 GHz wireless bridge delivering over 300 Mbps throughput. Designed for easy installation with POE support and intuitive WiFi setup, it excels in line-of-sight outdoor networking up to 10 km. Its durable build ensures reliable long-term use, making it a top choice for professionals seeking cost-effective, high-speed network extension.

| ASIN | B0713XMHH9 |
| Batteries | 1 Nonstandard Battery batteries required. |
| Best Sellers Rank | #221 in Computer Networking Antennas |
| Customer Reviews | 4.6 4.6 out of 5 stars (563) |
| Date First Available | May 3, 2017 |
| Is Discontinued By Manufacturer | No |
| Item Weight | 2 pounds |
| Item model number | NBE-5AC-GEN2-US |
| Manufacturer | Ubiquiti |
| Product Dimensions | 8.9 x 9.5 x 3.8 inches |
M**N
Ubiquiti products are great.
These NanoBeams worked perfectly for my application. I needed to get internet to my daughters house about 100 feet away. My Unifi Access points just could not penetrate the brick exterior of both houses. I mounted the NanoBeams inside the attic of both houses at the highest peak. Other than the wood wall and the vinyl siding on the exterior of the attic on both houses, I did have a clear LOS. I installed them and pointed them at each other visually. The signal strength is full and the throughput is over 300Mps. The download and upload speed is identical in both houses. I setup both NanoBeams to Static IP addresses outside of the DHCP range of my network. This makes it very easy to log into them when needed. The setup is relatively straight forward but I did get some tips from videos. The GEN2 is fairly new, so there are no videos specifically for these that are helpful. Most of the setup tips for older versions apply to these. This was a cost effective solution for me as I did not want to run Cat6 cable all the way and I already had an available POE network port that was convenient to the location that I wanted to mount these. It took about an hour to set up the NanoBeams and about an hour to mount on J-poles in the attics. I also Mounted and wired a Unifi Ap-Ac Pro in the other house. Everything worked perfectly the first time. I highly recommend this and all Ubiquiti Products that I have used.
W**W
Great product for less than a month of Cable TV costs you
I am NOT a network guru / tech but I have been setting up network hardware off and on for a couple years now for our small business. Ubiquiti makes great stuff and as we replace old hardware we almost always end up with their stuff for bang-for-your-buck reasons. This is not a product that comes setup, it is what you make of it. Don't buy it expecting to be linking your distant cousins 100 miles away to your internet through a forest of trees building etc. They say 10km + but I'd say if you want really good throughput stick with that sub 10km links. But if you do your research you'll be able to easily set these up and make great links out to the recommended range. Watch your fresnel as that is the number one issue people have with wireless bridges. The Wifi setup worked like a champ with my iphone. I've always set up previous versions with a wired connection to a computer but the wifi setup really is simple. 1) Plug in the device to a POE source (supplied) 2) Log into the wifi hot-spot it creates with the user name and pw provided on the inside of the box. 3) Open the app (see app store) setup each device (one as a AP and one as a Station) Heck, there's even a QR code you can scan that dang near sets it up for your. DO use Ubiquiti's link view app - Do a search for: UBNT LINK MAP *Amazon doesn't like actual links ;P and check your link before you buy any hardware. LOS (line of sight) isn't a laser beam for these type of devices so you'll need a larger clear path the farther you make your bridge. Get up and look down the actual path the signal will take... got a tree obscuring half of it, you'd better deal with the tree or get the radios up above it. If all else fails use the UBNT forums. They aren't going to spoon feed you but if you have any manner of technical skill you can setup a wireless bridge with these. I'm pushing 120Mbps received & 11Mbps upload almost 2 miles and I know there's room for improvement. Considering my ISP provides 200/12 I'd say it's not half bad.
S**T
First wireless bridge that I actually *like*!
I have been using wireless bridges for almost as long as 802.11b has been around. But usually, they have been access points, with some form of bridge functionality that has been tacked on as an afterthought -- often not terribly reliable, always a pain to set up (with terrible documentation on how to do so). I have gone through ~3 different models over the years. Then along comes Ubiqity with the NanoBeam. Super easy to set up, with a *nice* GUI accessible both via web browser, and from an iPad app. Separate management IP address, so the IP address under which you set it up need not be on the same network as the one you are bridging (great if for some reason you do have to reset and reconfigure the unit). It actually passes through the MAC addresses of the devices on the other side of the bridge, as opposed to mapping them all to the MAC address of the "slave' bridge device. Passes through VLAN tags. Comes with mounting hardware and power-over-ethernet. There's an app to help you align the directional antenna for best signal strength -- but rather than just displaying signal strength on your computer, it has a "beep" mode where the pitch of the tone indicates signal strength: great when you have to adjust the thing with your head stuck in a place where you cannot look at your computer. It's almost like someone there has actually *used* their software, and takes pride in it. As for performance, I get solid 400Mb/sec over a distance of ~50 meters -- devices mounted indoors, so they have to shoot through glass and plastic (skylight dome), and there's a medium-sied tree in the middle of the line of sight. No downtime yet, and it has a mode where it periodically pings an IP address, and resets itself if there's no response in some time -- haven't turned it on yet, but that seems like another useful guard against problems. Overall, this is the first wireless bridge where I am totally happy. It just works, it works well, and the company seems to take pride in its products. Almost unheard of!
J**D
good
A**R
These are amazing - they just plain work. Configure them and away you go. Not super sensitive to alignment either.
A**R
ممتاز واعداداته سهلة وطبيعي يجي بدون اسلاك...كذا جاي من المصنع POEوهذا يشتغل يعني ما يحتاج واير كهرب تركبه حد السويتش وتمد له كيبل نيتورك فقط
A**R
Easy to setup works great used it to wifi between two buildings 500 feet apart
M**.
منتج ممتاز جدا سهل التركيب و الوزنيه و الاعداد و طبيعي يكون معدل فقد سرعه و لكن كان قليل
Trustpilot
1 week ago
1 week ago