🌟 Elevate Your Comfort Game!
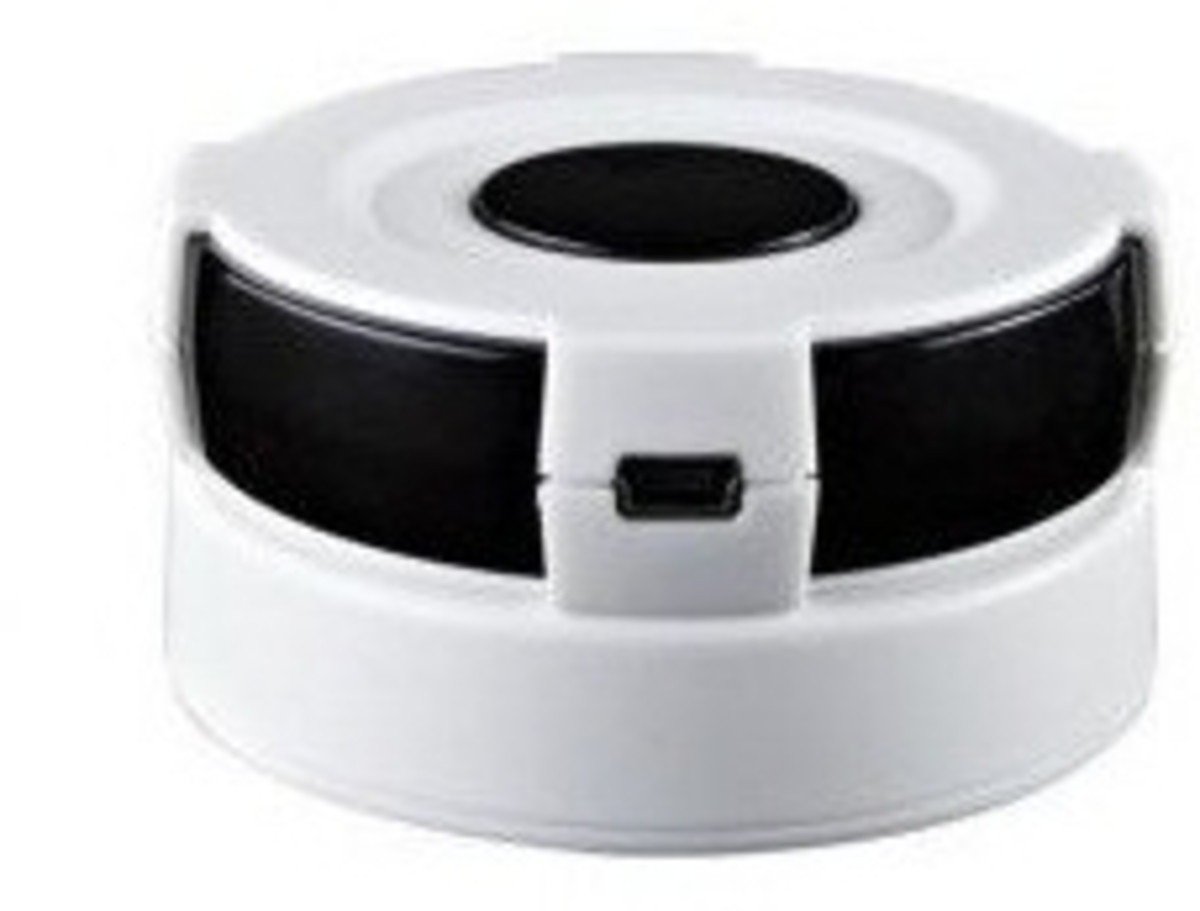
The Remotec Z-Wave ZXT-120 IR Extender allows you to control your air conditioner remotely through Z-Wave technology, providing a user-friendly setup and energy efficiency monitoring, all while enhancing your smart home experience.
C**T
Works amesome, even got it to work with Alarm.com - heres how
Your browser does not support HTML5 video. Got it to work with Alarm.com - watch the video too. You will need to purchase a separate Z-Wave Controller remote (Remotec Z-wave Zrc-100 Secure Home Controller) to get this to work, as you need to configure / program the ZXT-120 device with parameters to recognize your AC IR codes. Unlike other retail Z-Wave gateways, Alarm.com does not have user device configuration windows or settings in their user interface to set device parameters. (if they do, I don't know where they are, they may be only visible on the Alarm.com vendor configuration side, I am not sure) I bought an older home that has a detached garage and an office that we converted to a playroom. The previous owners installed 2 Samsung window-like A/C units in the walls. I noticed that these units had IR sensors on them, but there wasn't any remote to be found. I went on eBay and found a Samsung remote for $10 shipped from China that was designed to control these units. (I needed this to manually program the ZXT-120 with the on/off IR Codes) I was not about to rip out the older Samsung A/C units, patch holes and install one of this new fancy ductless Mitsubishi units with a heat pump and a WiFi kit, maybe in the future. I wanted to be able to simply cool down and "prepare" the room for playtime without having to actually go in there, set the A/C and come back 30 mins later etc. There had to be a way that I could tie in my existing home automation (Alarm.com and Z-wave) with this room. I found this beautiful gizmo. It converts signals received from your Z-wave controller or gateway to IR signals that can control the A/C. NOW - for this - ALL I NEEDED was ON/OFF capability. I manually set my units to 70 degrees and the fans on High. NOW to get this to work it takes some time and patience and technical know-how. I will summarize what I needed to do. 1) I needed to extend my Z-Wave footprint signal from the main house where the Alarm panel and gateway were - to the detached garage - so I installed GE Z-Wave switches in certain locations to act like repeaters, in the video you will see 1 switch I installed in the playroom. 2) The ZXT-120 device takes (4) AAA batteries, but there is a delay as the unit goes to sleep often to conserve battery in "Frequently Listening" mode- this is the default mode. I changed this mode to "Always Listening" (follow instructions in manual requires 5v connection) - I installed a USB outlet in my wall and used the provided USB cable to power the ZXT-120 (you can use a 5v adapter with a min USB end) - this ensures constant power and always listening. 3) I added the ZXT-120 device to the alarm.com module (follow your gateway manual - its just like adding any other Z-wave device) - you may need to do this close to the alarm.com module / panel first and then move to the desired location. After a few mins, Alarm.com will recognize the device as a Thermostat and you will see the device ID in your devices list as Thermostat. You may need to call your alarm dealer / vendor and have them enable your alarm.com account to include thermostat control. They were able to give me a light and thermostat package for an extra $1 / month. 4) I then used the Zrc-100 Secure Home Controller and added that controller to may Alarm.com network as a secondary controller - you will need to find the instructions on the web just search Google for "zrc-100 secure home controller manual". (you basically put your alarm.com module in inclusion mode and you put the Zrc-100 in learning mode - i noticed some of the menu options on the controller did not match, so you may need to fiddle with the controller settings to put it in learning mode) after a few mins, all previously installed z-wave device information (that I setup with Alarm.com) was transferred to my controller and I was able to USE BOTH the Alarm.com apps and controller together to control all my devices. I was able to also run a scan on all devices with the controller and most of them showed up in the devices list. 5) I then needed to manually add the ZXT-120 manually to the Zrc-100 controller by using the "Adding Device" option - refer to your manual for those steps to program. The new Thermostat ZXT-120 device will appear under the "comfort" menu option under the controller. I then put the Zrc-100 in device configuration mode and here is where I entered in the parameters necessary to manually program the ZXT-120 device. (Page 9 of the ZXT-120 device shows this) - I had to use the purchased Samsung A/C remote to send the signal to the ZXT-120 so it would learn the code. There were provided Samsung codes about 17 of them, I did not feel like going through all of them and opted to program the ZXT-120 manually. After the codes were learned - I was able to turn the units on and off with the alarm.com app. I have not figured out how to adjust the temps or other settings, such as fan speeds etc. BUT that is not what I originally wanted to do and I am not sure yet if that is possible. I hope you guys find this helpful, feel free to reach out with questions.
D**S
Excellent addition to a Panasonic ductless split and Vera
I bought this when I found out that Panasonic's Wifi option for their ductless split was just a third-party IR emulator. I wanted to be able to integrate this AC unit with Vera, so their offering wouldn't be a good choice, and it was more money to boot.Very easy install with Vera. I'm running this with a Panasonic Ductless Split (CU-S24NKUA). To set this up, just add the ZXT-120 to Vera. Then use the first Panasonic code string (supplied with the ZXT-120). You need to add each number on the Device Options tab. They need to be added individually in the Configuration Settings section in this format: Variable = 27 Data Size = (2 byte dec or 4 byte dec - either size will work), Desired Value = X where X is one of the numbers for the unit you have.Note that once you have this set up, it works, but obviously will not update the handheld remote, so if you decide to use the remote, you'll need to cover the blaster on the remote and push the on button, then you can use the remote. Obviously, again, changes made with the hand held remote will not update Vera.Note 2: some of the features on the remote are not set up on the ZXT. For example "powerful" mode, changing the vane settings, etc. I have not yet tried to manually program those settings. When I get around to playing with that, I'll update this review.Note 3: I also added an Intermatic CA3750 so I could turn the power to the system off remotely if need. Works great.
A**S
I can turn on my Mr. Slims when I am leaving work now.
This is the only way I have found to control my Mr. Slim units remotely without the Mitsubishi branded MHK1. I took off one star because it is a little difficult to setup the code for your units in the device. Also I had to do some searching for the code list pdf on Remotec's website. Remotec had very good email tech support.
M**O
Not ready for prime time
I'm leaving only 2 stars because the IR codes library is very limited and the company doesn't even provide a device type to get it working properly with SmartThings. Luckily the SmartThings community provides a way to add it to SmartThings, but you need to be a somewhat advanced computer savvy person to figure this out. You need to download a device type file from Github and add it to your SmartThings account.To find the file, search for "bdahlem zxt-120" on Google and a direct link to the Github site should show at the top. Instructions on how to add the file to your SmartThings account are provided on that Github page, but you also need to be a bit familiar with the SmartThings IDE website and I should say this is not for the average user. If this sounds complicated, do yourself a favor and don't waste your money on this. However, if you know a good computer technician with some programming knowledge, let them do it for you.Also, the instructions booklet is hard to understand because of the broken English it is written in. It seems to me this works better with split AC units and AC remotes that have a built-in LCD screen to read the temperature. For most AC units, this is close to impossible to setup if the IR code is not in the library. To get around this, you must buy a ZRC-100 Z-Wave remote control to input the necessary commands so that the ZXT-120 goes into IR learning mode. So basically, if you're getting this gadget, it is quite likely you will need the ZRC-100 remote as well just so you can get it to work. Ironically, both are made by the same company. Maybe they want to make it so hard so you buy both products.
P**.
Worked great with my Smartthings hub and my Mitsubishi mini-split after ...
Worked great with my Smartthings hub and my Mitsubishi mini-split after I downloaded a device driver for it. The biggest challenge is finding the right RF code for my HVAC unit.
Trustpilot
1 month ago
1 week ago
