
DOWNLOAD THE APP


Customer Services
Copyright © 2025 Desertcart Holdings Limited
DOWNLOAD THE APP
🪚 Restore, Reinvent, Reclaim – Wood Repair That Works as Hard as You Do!
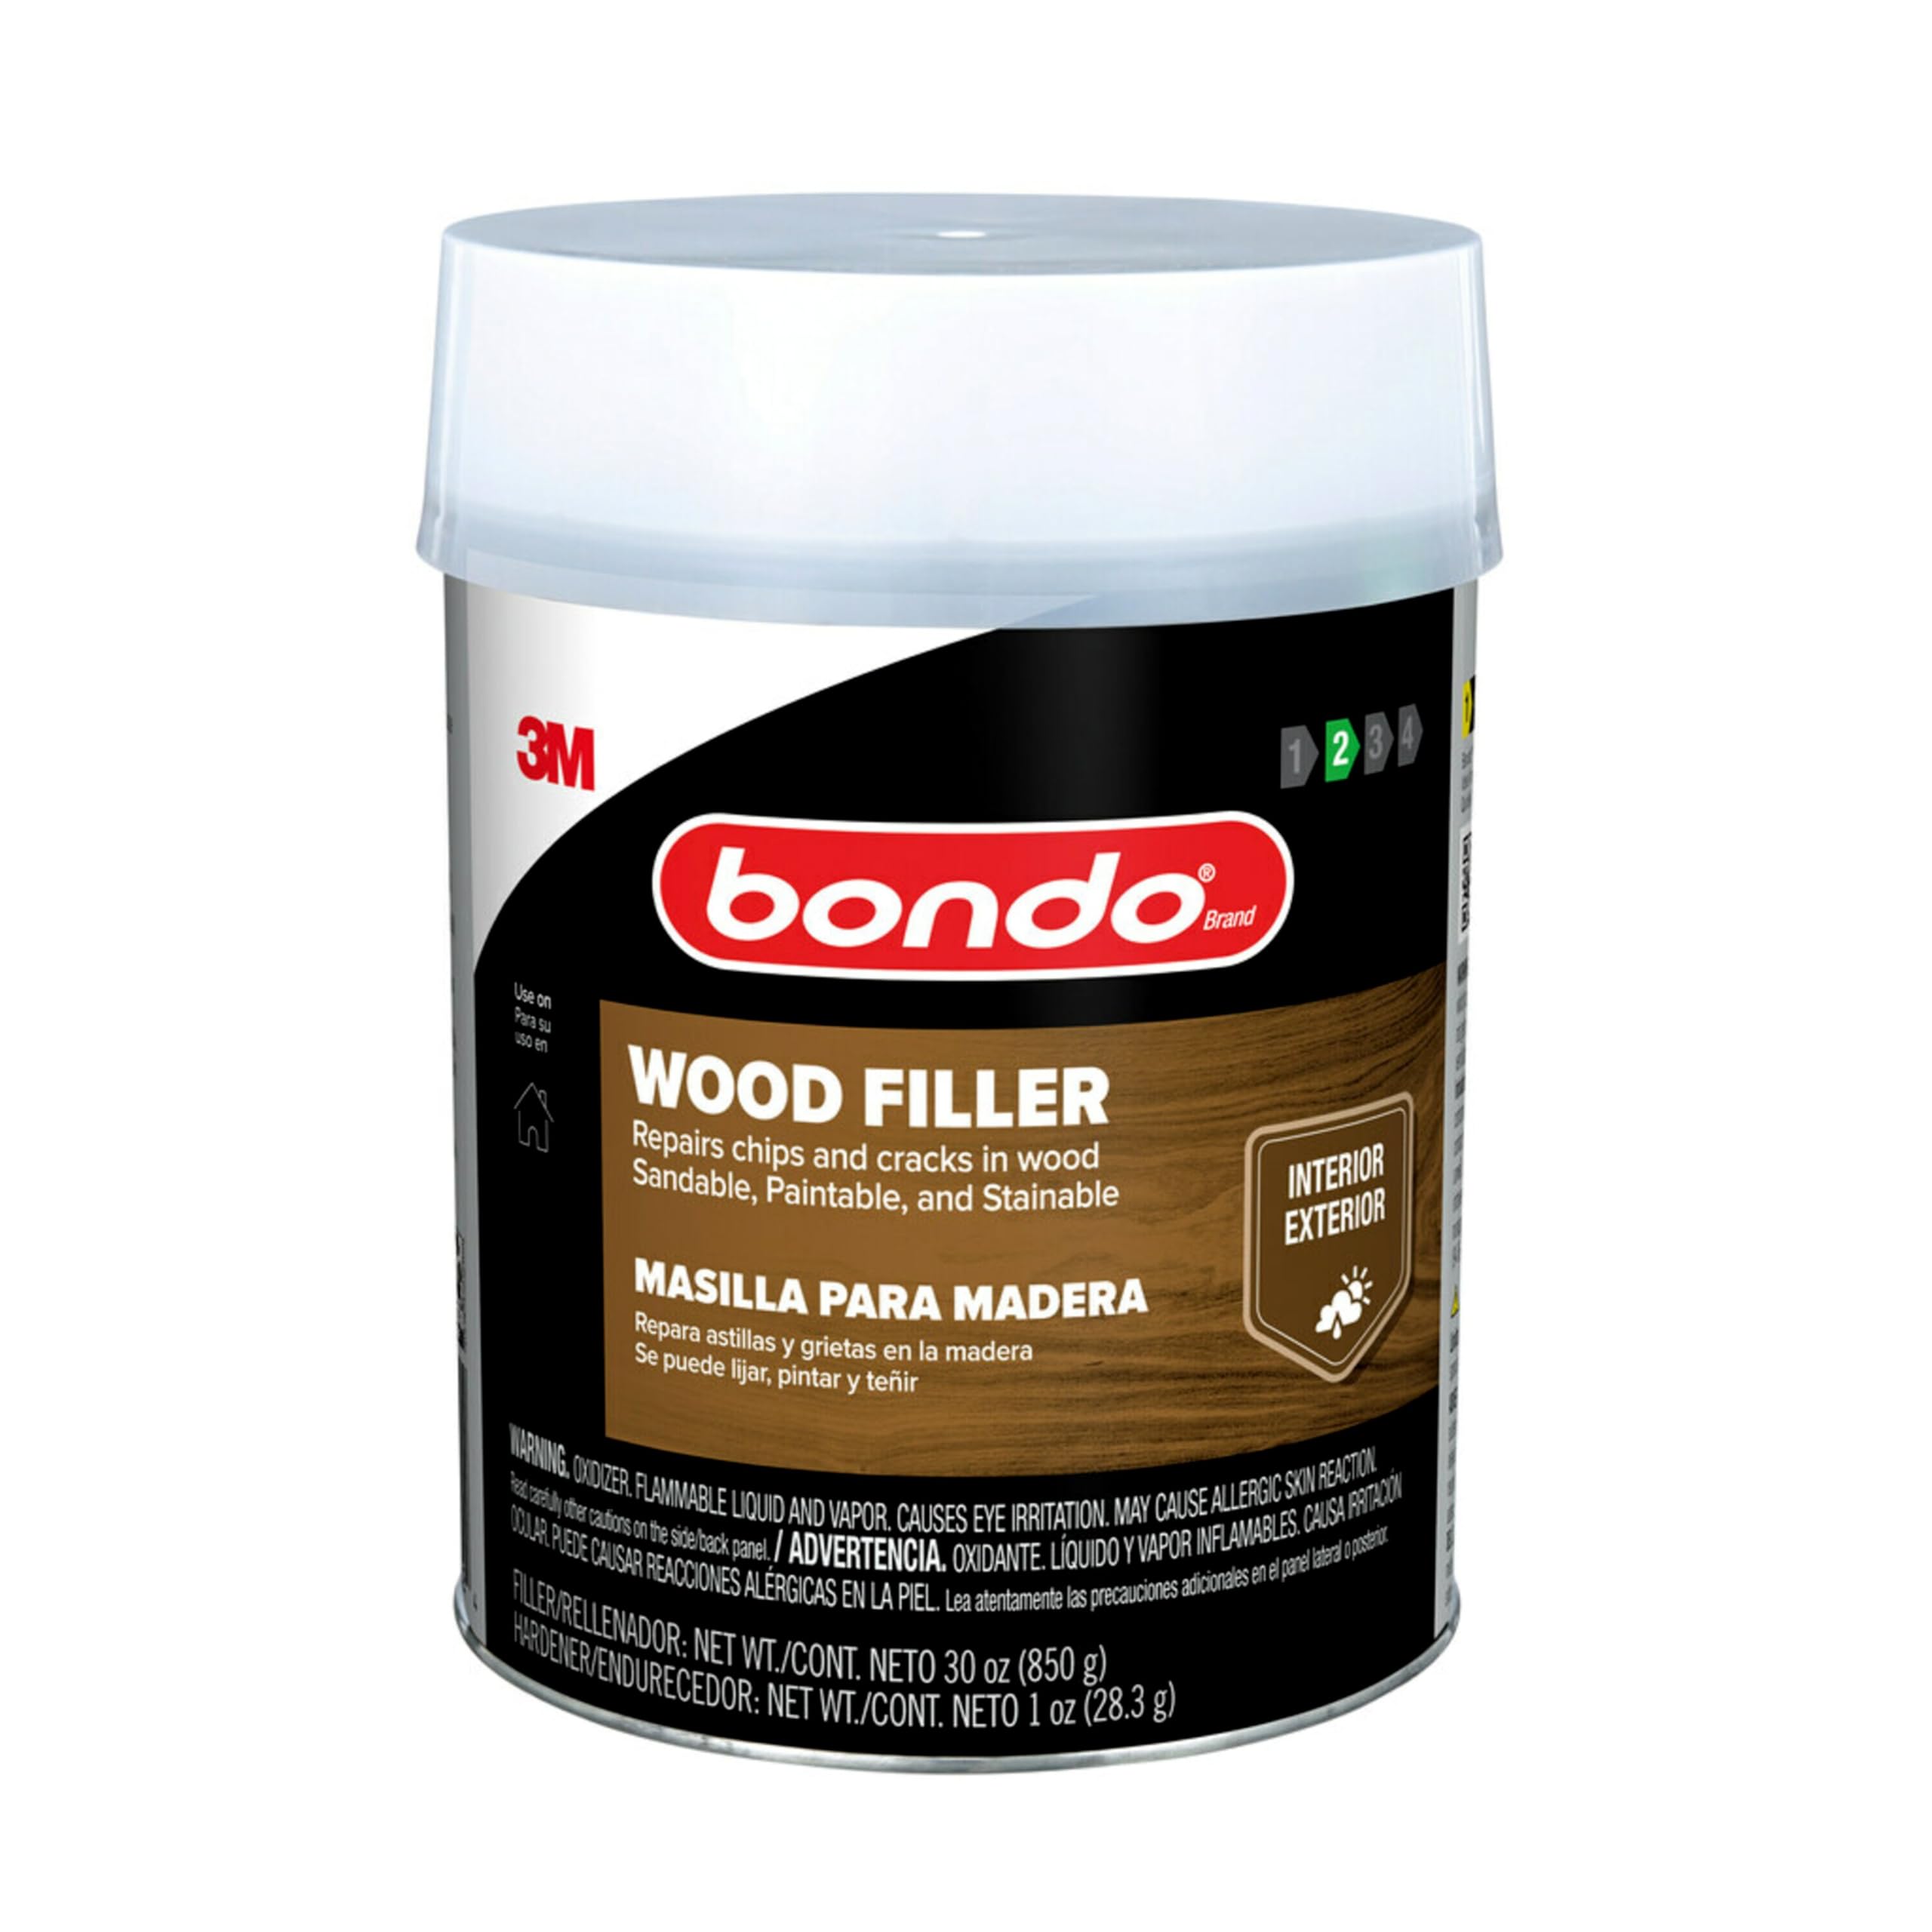
3M Bondo Wood Filler is a professional-grade, two-part wood repair solution that chemically bonds to wood surfaces for permanent, non-shrinking repairs. It cures rapidly in 15 minutes, allowing for quick sanding, painting, or staining. Suitable for both interior and exterior use, it restores damaged, chipped, or rotted wood on doors, furniture, decks, and more, delivering durable, water-resistant results that blend seamlessly with your woodwork.


| ASIN | B0007ZG9T4 |
| Batteries Included? | No |
| Batteries Required? | No |
| Best Sellers Rank | #3,954 in Tools & Home Improvement ( See Top 100 in Tools & Home Improvement ) #17 in Wood Filler |
| Brand | bondo |
| Color | Light Brown |
| Customer Reviews | 4.6 4.6 out of 5 stars (3,123) |
| Date First Available | April 1, 2004 |
| Full Cure Time | 15 Minutes |
| Global Trade Identification Number | 00076308200824 |
| Included Components | 3M Bondo Home Solutions Wood Filler |
| Is Discontinued By Manufacturer | No |
| Item Form | Cream, Liquid |
| Item Package Quantity | 1 |
| Item Volume | 1 Fluid Ounces |
| Item Weight | 2.33 pounds |
| Item model number | 20082 |
| Manufacturer | 3M Company |
| Material | Resin |
| Package Information | Can |
| Part Number | WF-QT-ES |
| Pattern | Filler |
| Power Source | Power_source_type |
| Product Dimensions | 4.25 x 7 x 4.25 inches |
| Shape | Shape |
| Size | Filler 1.9 pounds, Hardener 1 ounce |
| Special Feature | Two-part formula, Quick and durable repairs, Sandable in 15 minutes |
| Special Features | Two-part formula, Quick and durable repairs, Sandable in 15 minutes |
| Specific Uses For Product | Wood Fillers |
| Style | Bondo 20082 Home Solutions Wood Filler, 1 Quart |
| UPC | 076308200824 |
| Unit Count | 1.0 Ounce |
| Viscosity | Medium |
| Viscosity Level | Medium |
| Water Resistance Level | Water Resistant |
C**Y
I hate, hate, hate working with Bondo — but you can’t beat the results
I am restoring old French windows and the wood needed a lot of patching, reinforcing and rebuilding. I had never used Bondo wood filler, but everyone assured me it was the best product for the job. The results are fantastic, but what a MAJOR pain in the neck Bondo is to use! First, you need to figure out how much of the tiny tube of hardener to use for the big quart of filler. After watching a bunch of YouTube videos, I got the idea, and the fact that I went through the entire quart of filler and had just a tiny bit of hardener left probably means I got the ratio about right. If you’ve never used Bondo, I highly recommend watching the videos — you really do need just a tiny bit of hardener for the small amount of Bondo you can reasonably use before it hardens. I also bought the pink Bondo spreaders (https://www.amazon.com/dp/B000BOC9K4) because one video said that the Bondo spreaders are the color that the mixed filler/hardener should be. Either that video was using a different formulation or Bondo changed the color of the hardener — it’s blue, not red, so when you mix it, you’re aiming for a sickly, light-green color. Even so, for a few bucks, the Bondo spreaders worked quite well; they’re stiff enough to mix the Bondo thoroughly and apply it, but have just enough flexibility to help smooth the product (which, based on my experience, is definitely an skill that requires a fair amount of practice). You need to mix this in very small batches (at most, a few tablespoons at a time) because each batch must be used in literally 2-3 minutes. When time is up, the mixture quickly starts caking and getting hard, making it utterly useless. And on the topic of mixing, I ended up mixing it on an 8”x10” piece of acrylic, which is non-porous (so it won’t soak up any of the oils in the product), sturdy to mix the heck out of the two components quickly, and perfectly smooth, which makes clean-up much easier after each batch. And yes, you need to clean the mixing board and the utensils after each batch; otherwise, your next batch could be contaminated and your spreaders will be caked with hard Bondo which will prevent smooth spreading of the next batch. As for the results, they are amazing, despite the TOTAL PITA this product is to use. The product can fill deep holds solidly, but can also build up pretty delicate shapes (sometimes requiring 4-5 thin layers and lots of sanding to get perfect). It really does dry hard in 15-20 minutes and is easily sandable. If Bondo would just invent an additive that would increase the working time — even by a few minutes — this would be a lot easier and less frustrating to work with. As it is, however, it is a total pain to use, but worth the effort given the excellent results. Final note: Be sure to wear thin gloves (thin latex/surgical gloves) when mixing and applying the Bondo. However careful you think you can be, Bondo will end up on your fingers and it is absolutely miserable to remove! 5 (begrudging) stars.
J**S
Good filler (with caution for fumes). Sets very fast which is good or bad.
This is a high quality very strong filler. It fills and holds extremely well. It is easy to get in to a complicated hole or edge and is easy to sand. BUT - the fumes and dust are toxic. I have to wear a mask if I don't have very good ventilation (like from moving air). It is like two part fiberglass resin/catalyst which stinks terrible and is actually dangerous. Small amounts are fine and larger if well ventilated as I said. I used my respirator with organic solvent filters if I was doing much of it. The big issue is that it cures very, very fast. Even if you spread it out which is a trick you can do with a lot of fiberglass resins. This sets fast so you can't really use it slowly or do large areas at the same time. It is easy to mix though. I think I used too much of the catalyst at times which will make it cure too fast. You have to eyeball how much to use though so that is easy to do. If I used it more often I would be able to calibrate the amounts by eyeball better. I do like it though. It does a good job for permanent jobs. The fast setting means you don't have to wait for it to cure. It may be too fast if you need more time to fill and work it. Easy to sand. Sands smooth. It cures a medium green and my latex primer didn't hide it very well so plan on using a high-hide primer/paint. I didn't need to drill and tap for screws or bolts but I suspect it will be pretty good at that. Whether it would be as strong as wood I'm not sure but it may actually be stronger. Recommended if all this sounds right for you.
A**N
Works great, but be aware of some limitations
I have used this product on a number of projects, and have found it to be a great tool in the arsenal. It is only for paint grade work, and has a few characteristics that you must be aware of before you use it. === The Good Stuff === * The product is great for larger repairs I use it to hide countersunk lag bolts, or to repair gouges or knot-holes in wood where a smooth appearance is desired. * The product sets up pretty quick, and depending on the thickness of the repair, can be sanded and painted fairly quickly. A quarter inch thickness will dry in less than an hour, and can be sanded and painted immediately. It sets and dries quicker than the one-part bondo filler available in tubes. * The product will shrink a bit, so really deep repairs may require multiple applications. I never saw the product crack, and once you have a smooth surface, it seems to hold up both indoors and outdoors. I always paint and prime as soon as possible, so no idea how well it will hold up unpainted. === The Not-So-Good Stuff === * The downside of the quick drying times is that you only have a couple minutes (maybe 2-3) to use up the product once it is mixed. * The instructions are fairly specific about how to mix the product. To be honest, I cheat, and just mix the compound and hardener just enough to get a consistent color. That seems to give me an extra minute or two to work with. I seem to get away with it. * The filler comes in a large can-sort of like a quart paint can. Since the filler is a thick putty, it is a bit of a challenge to get the last 10% out of the can. * Consider using disposable plastic putty knives- it is a tough job to get the dried product off of metal tools. === Summary === This is a great product for hiding any number of sins and problems with paint-grade wood. It dries quickly and hard, is easy to sand and paint, and holds up well to use and weather. However using it is a bit of a challenge, and requires you to work fast.
L**N
Great for wood projects
I work in my work shop on alot of wood projects. Wood is not as good as it used to be and is expensive. I reuse pieces of wood alot and this works good to fill imperfections like nail holes etc. Dries fast to move things along. I have put some sawdust in the product when mixing if I plan on staining the wood. Works great.
Q**A
We have received only 3 pieces. Ordered quantity was 5pcs.
G**Y
This stuff is very good for fixing exterior wood damage, rotted wood etc, big voids, etc. Works good, but move fast, after mixing 2-3 minutes it will start to harden up, and you wont be able to spread out. Works just like bondo for a car, but made for wood. Also go easy on the hardner, doesn't take much, from a video I watched, a 3" Circle of bondo, 1/2" thick should use 1 line of hardner across the 3" circle, but this might be to much. It works really well, sandable, fills big voids, just very fast working time, and doesn't need much hardner.
I**D
I used this wood filler to repair my rotted wood door. I am very happy with this two-component material. it is very strong and water resistant, it is perfect for outdoor application. it can also be sanded and painted. one thing you need to pay attention is this material hardens evry quicky after mix, within 3~4 min, so you need apply it quickly before it hardens. I will repurchase it in future.
A**R
This stuff works great but you need to work very fast as it hardens up in just a few minutes so you need to work in very small batches. Keep in mind that this stuff is extremely smelly to use which isn't a problem outdoors but i don't recommend it for indoors due to the odor. I find this product very good as it hardens so well but I find it overpriced for what it is.
J**S
Used this to fair out rough plywood. Sticks to the surface really well and feathers out to zero edge. Dries in 15 minutes as it states. Great for restoring damaged edges too. Great product. Sands perfectly.
Trustpilot
2 weeks ago
2 months ago