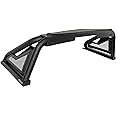
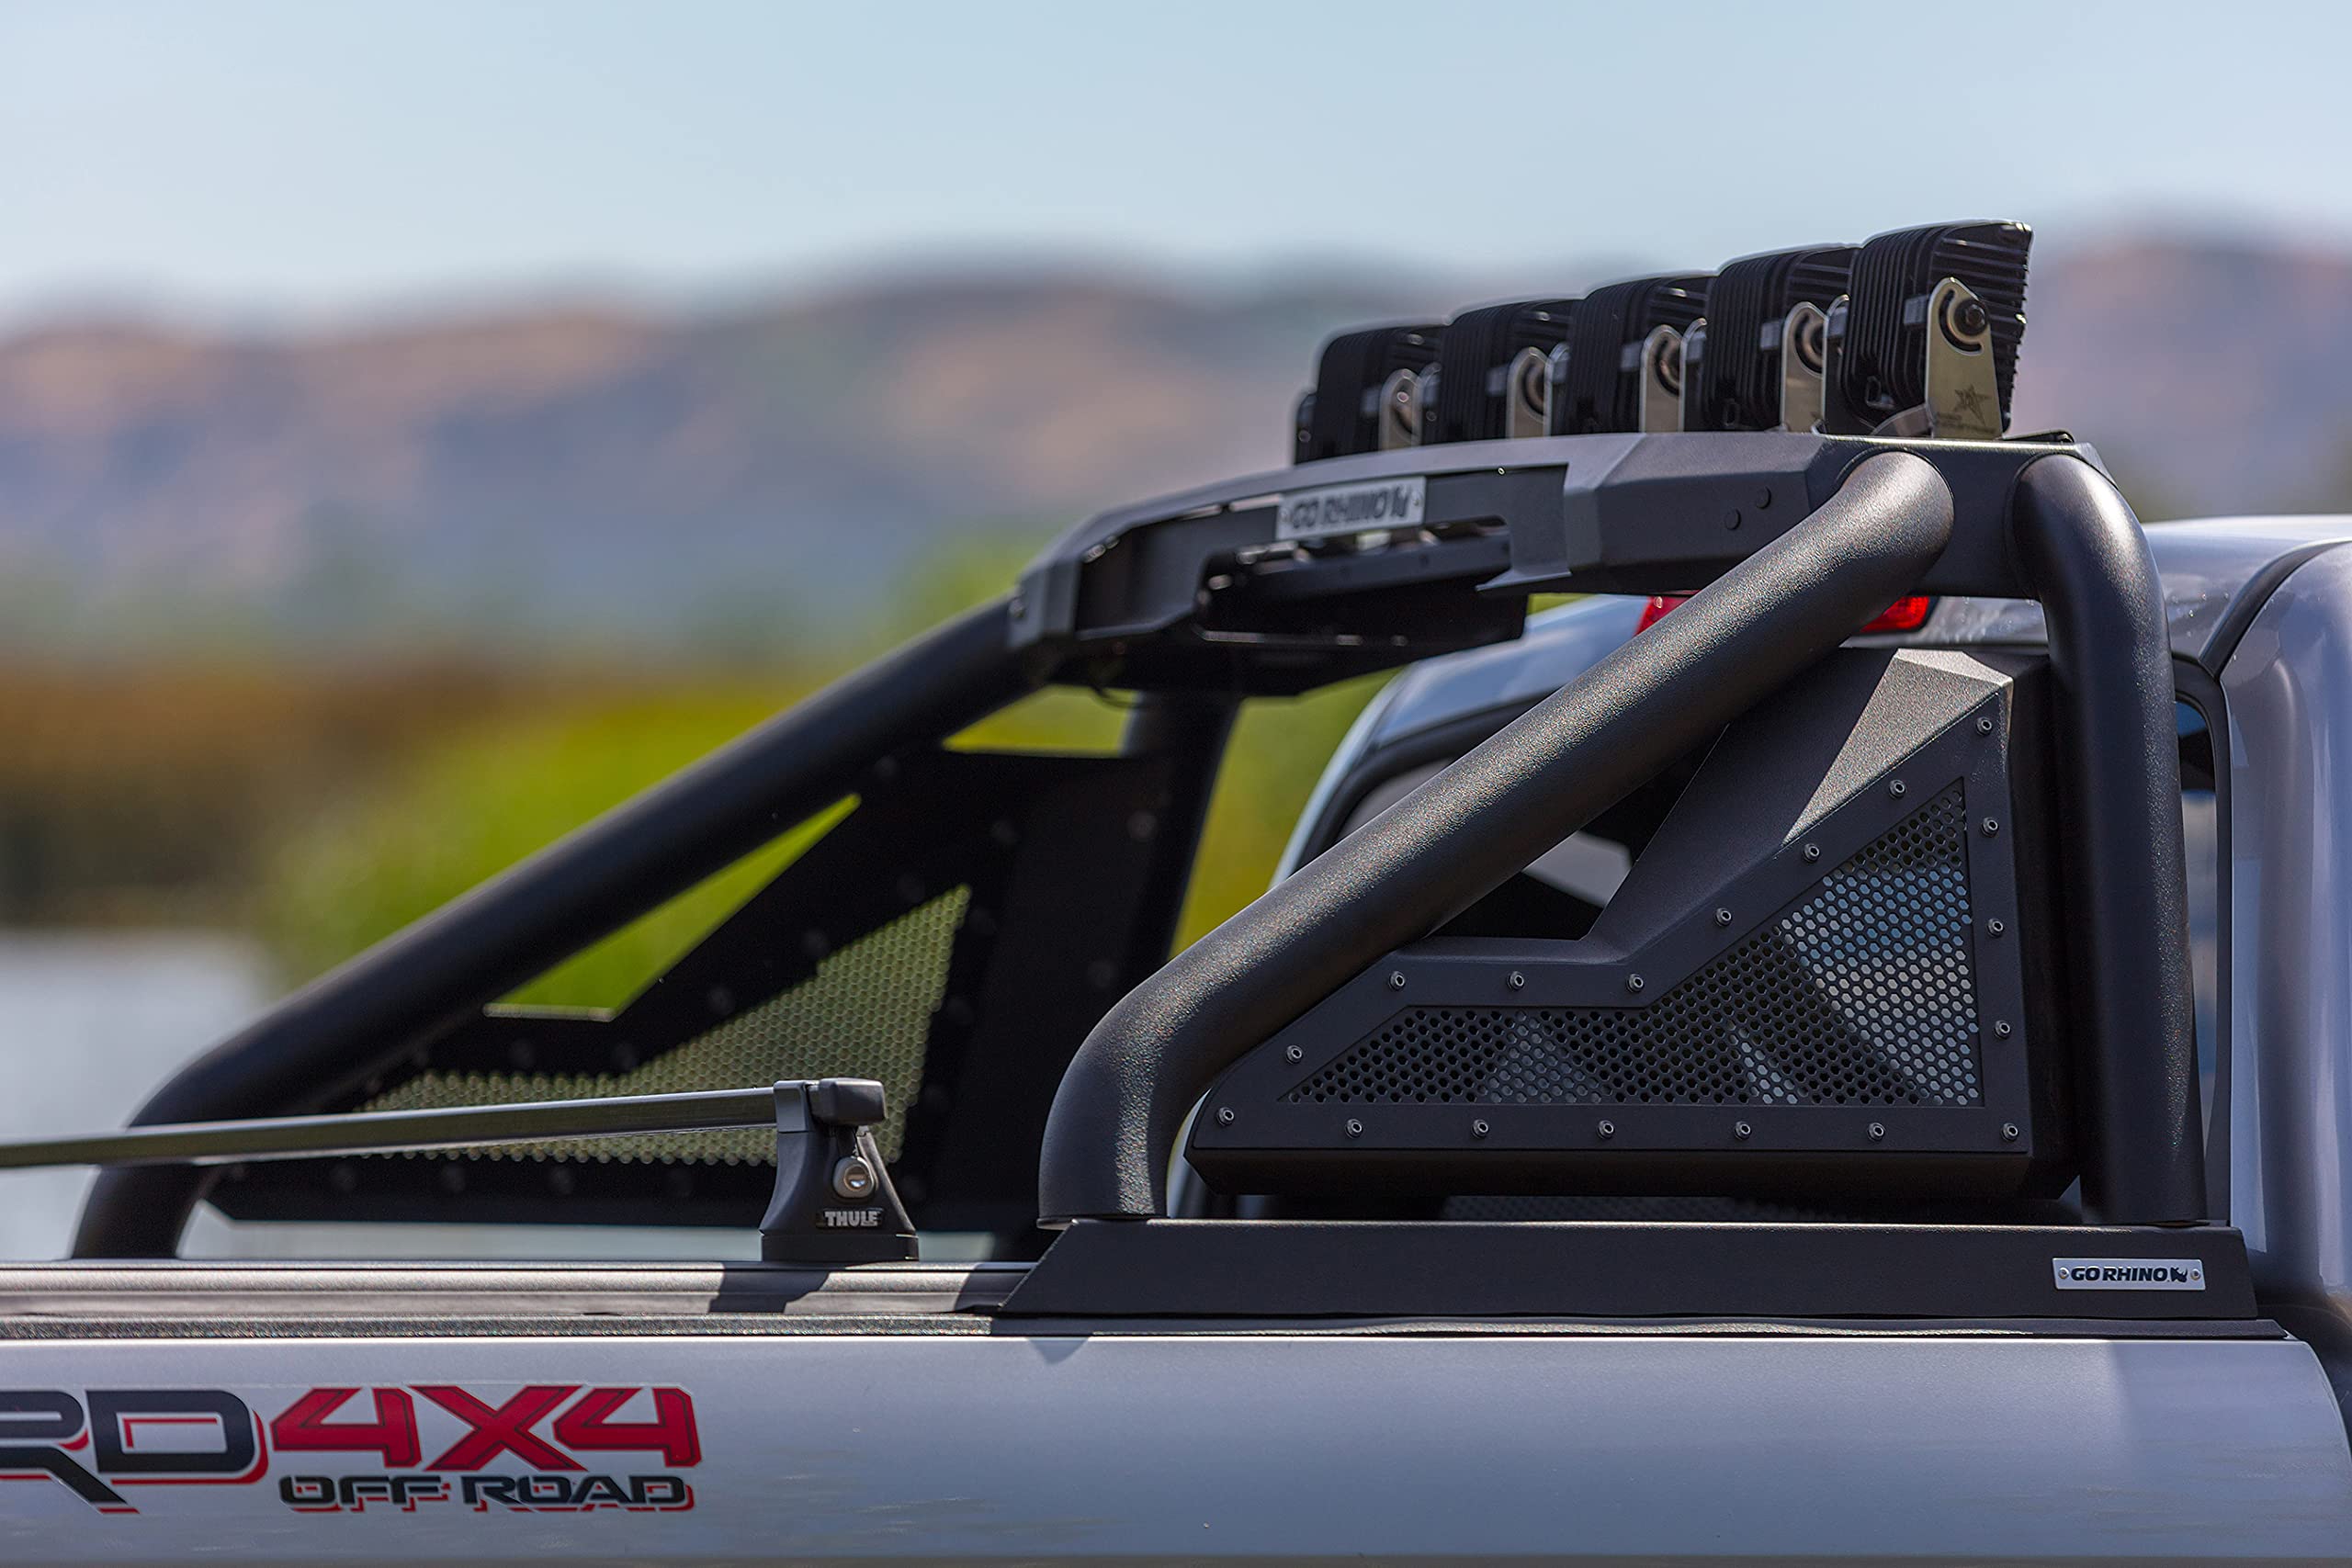
🚀 Elevate Your Ride with the Go Rhino Sport Bar 2.0!
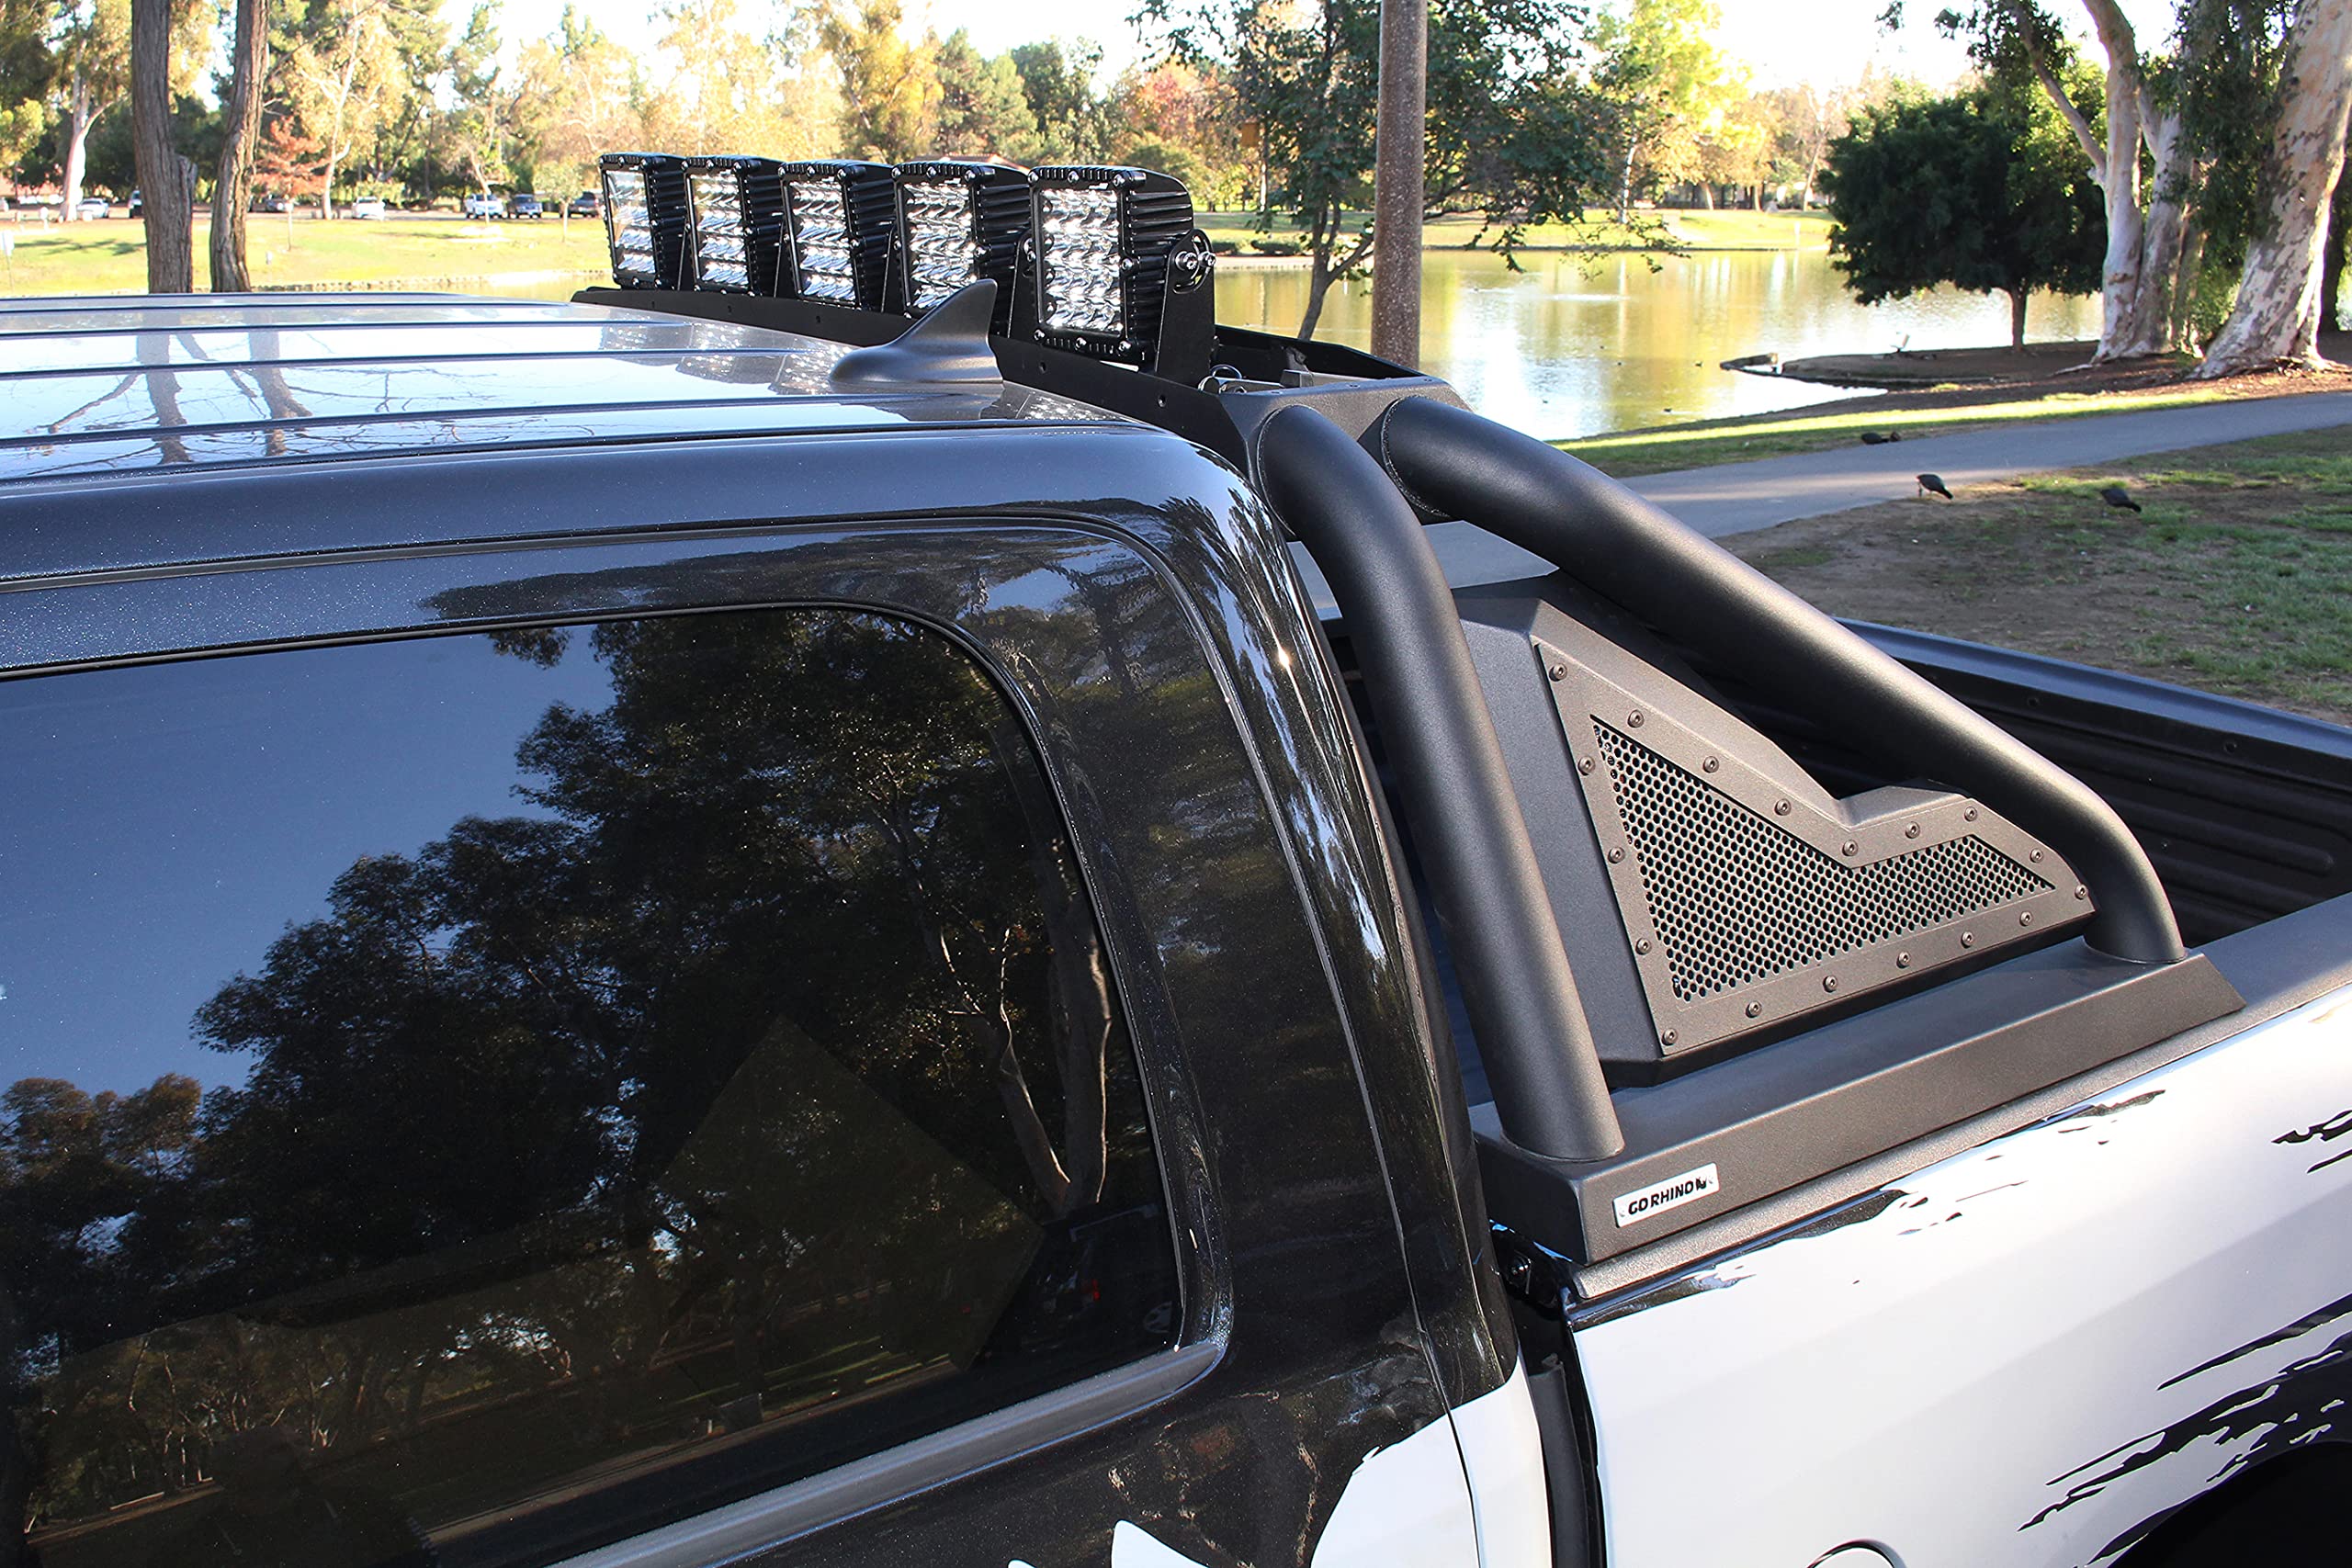
The Go Rhino Sport Bar 2.0 is a robust and stylish accessory designed for full-size trucks, offering a perfect fit for various models from 2007 to 2024. With the ability to mount up to 6 individual lights or a 40" LED light bar, this mild steel bar not only enhances your vehicle's aesthetics but also boosts its functionality. Weighing 92.6 pounds and featuring a durable powder-coated finish, it’s built to last while providing easy installation with a U-bolt mounting system.
| Finish Type | Powder Coated and Polished |
| Unit Count | 1 Count |
| Item Depth | 7 inches |
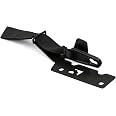
| Mounting Type | U-Bolt |
| Manufacturer | Go Rhino |
| UPC | 887753149206 |
| Global Trade Identification Number | 00887753149206 |
| Model | Sport Bar 2.0 |
| Item Weight | 92.6 pounds |
| Product Dimensions | 54.2 x 13.13 x 22.3 inches |
| Country of Origin | Mexico |
| Item model number | 911000T |
| Exterior | Black Powder Coated |
| Manufacturer Part Number | 911000T |
| OEM Part Number | 911000T |
| Position | Top |
| Bulb Type | Halogen |
K**G
Read for Installation Tips!Beautiful and Valuable Sports Bar. But Requires Expert Level Installation
This sports bar looks absolutely amazing on my Ram Rebel. It definitely gave her some personality and I received quite a lot of compliments on its looks. I can now install from light bar or pod add on in the future. With the correct amount of installation, it flushed very well on the truck bed. So the universal fit is true.Now for the installation part. If you are thinking about assembling this and install it yourself, forget it. Get yourself 1-2 friends with the right tools to get it done. We wasted 2 hours of time trying to hand rivet this thing and it did not work well. I will give you some tips on how it would save you a lot of headaches. Please read.The assembly took me 4 hours by myself (bad idea). Another hour and a half for installation once we figured out the drill process/rivet process. Keep everything loose until final installation. If you can, install the railing on the bed first and adjust from there.Throw away the hand rivet tool. I have read reviews of how the bar would fall off. You need a big boy tool to secure this crap.Now to the truck bed itself. You absolutely need to rivet screw. Don't expect to just drill a hole and use bolts/nuts. May vary by trucks....Follow the following steps. I would not advise you to assemble this first before installation. Leave space for adjustments1,First, I placed the railings on the bed and used a small crayon to mark the holes.2, Second, I used a 1/2 Drill bit to open up the hole. Try not to drill through the bottom of the truck railing3, I then used the Oscillating Tool to cut a square piece around the plastic around hole to expose the metal railing4,Then I use the rivet gun with 1/2 rivets to rivet the rivet nuts into the hole. *If it does not fit, use the drill to grind it open a bit more. Just wiggle the drill around. Repeat the riveting process 4-5 times to ensure it is tight.5, Once the 6 rivet nuts are tight, I had one of my friends put the side railing piece on for measurement. Screw it into the bed, but keep it lose.6, I mounted the center metal piece while a friend is holding it. This is the time you get the other railing piece to see if an adjustment is needed to make the side railing fit. ***Important, do not tighten anything until all of it fits together7, Once all 3 pieces are connected with everything flushed, I tightened it and DONE!Useful Tips:* Do not do this yourself. Have at least another person helping you with this project* Do not use the included hand rivet tools. Buy the rivet gun, it would save you a lot of pain*Make sure everything is lose before you tighten everything. Mark and plan before you drill!!*If you absolutely have no idea what you are doing, take it to a custom shop. I got quoted $450 and almost went for it.You will need the following tools.Power Drill with 1/2 Drill Bit CapacityRivet Toolhttps://www.amazon.com/gp/product/B07MVXN7LK/ref=ppx_yo_dt_b_asin_title_o00_s00?ie=UTF8&psc=1Larger Washershttps://www.amazon.com/gp/product/B074ZZCSNX/ref=ppx_yo_dt_b_asin_title_o08_s00?ie=UTF8&psc=1Allan Keys+WrenchOscillating Toolhttps://www.amazon.com/Dremel-2-5-Amp-Multi-Max-Oscillating-Accessories/dp/B00JZYQRE0/ref=sr_1_7?keywords=oscillation+tool&qid=1568688460&sr=8-7Drill Bit 1/2https://www.amazon.com/Champion-Cutting-Tool-BlackGold-XG12-17-32-Silver-Deming-1-2-34-Shank-Drill-MADE-IN-USA/dp/B001TREZEU/ref=cm_cr_dp_d_rvw_txt?ie=UTF8Good luck!
C**E
Gorgeous Once Installed
Installed on 2018 Ford Raptor.This review is a tough one because the final product after installation is gorgeous, but the installation is unnecessarily difficult.Take some time to search out and watch a couple of installation videos and plan on having some help once the initial assembly is complete.I saved several hundred dollars purchasing this from Amazon Vs. the competition but you should plan on using the savings to purchase a 17/32" drill bit along with a rivet nut tool, if needed, to complete the installation.You will need to use the supplied 3/8" rivet nuts to install the mounting base onto the bed of a Ford Raptor. But the supplied rivet nut install tool is a joke, purchase a proper rivet nut tool to securely install the nuts into the bed rails.I would also suggest replacing the supplied 3/8" flat washers with larger 3/8" fender washers to securely mount the round tubes.They packaged the sports bars very well, almost to well....but that is much better than damaged parts. Unboxing will take a while, and the initial loose assembly isn't bad. The drilling and mounting of the base plates onto the truck bed will take the longest. Once that is complete the rest went very fast, basically just aligning, leveling and final torquing.The plastic shims do not lock into place so they will take some additional time and patience to properly align during final torquingAdditional Tips:- I did not and would not use a hole saw or step drill to open up the plastic rail cover on your truck. I pre-drilled and than drilled my 17/32' holes once marked. I than used soap stone to mark around the top of the rivet nut on the plastic rails. Next, I used a small die grinder to open up the holes just enough so the rivet nuts fit flush with the metal surface on the bed rails.- Make sure you take into account stake pockets or indents in your truck bed before marking your holes for rivet nut installation.- Replace standard 3/8" washers with larger 3/8" fender washers.Prime-Line 9081488 Fender Washer, 3/8 in X 1-1/2 in, Stainless Steel, Pack of 20- Pre-purchase 17/32" drill bit because it will be difficult to purchase locally.Champion Cutting Tool BlackGold XG12-17/32 Silver & Deming 1/2" Shank Drill: MADE IN USA- Purchase a proper rivet nut tool if you will need to use rivet nuts to secure it to the truck bed.Astro Pneumatic Tool 1452 XL Hand Rivet Nut Setter Kit - 1/2" Capacity W/ 60pc Rivnuts
Trustpilot
1 week ago
2 weeks ago