
🎉 Unleash Your Inner Gamer with Zero Delay Fun!
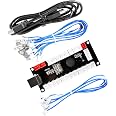
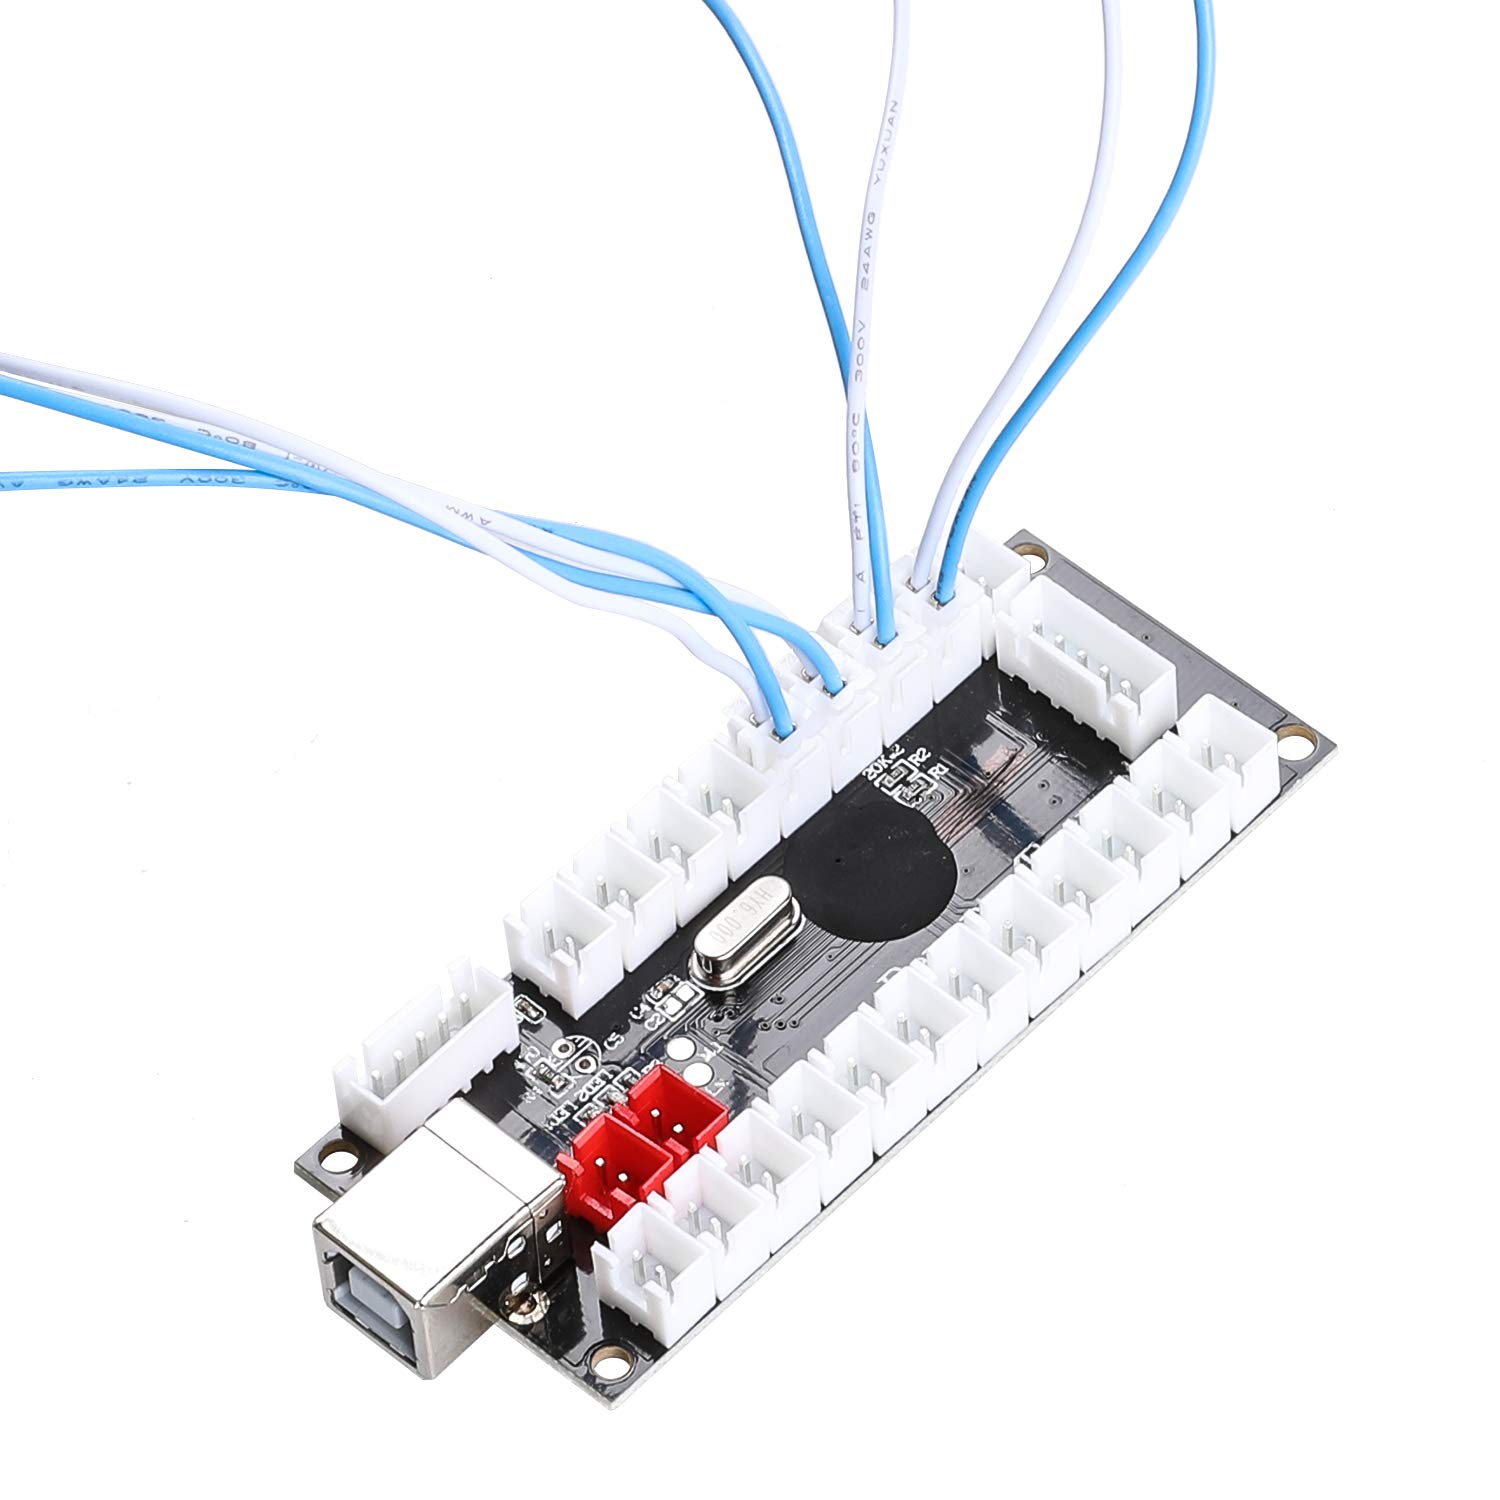
The Reyann Zero Delay Arcade USB Encoder is a high-quality, versatile solution for DIY arcade enthusiasts. It supports up to 16 buttons and is compatible with various joystick types, making it perfect for building your own arcade machine. With USB connectivity and a lightweight design, this encoder is ideal for both PC and Raspberry Pi gaming setups.
| Button Quantity | 16 |
| Power Source | Corded Electric |
| Hardware Platform | pc, Desktop |
| Controller Type | Joystick |
| Connectivity Technology | USB |
| Compatible Devices | PC |
| Item Dimensions | 5.12 x 1.77 x 3.15 inches |
| Package Quantity | 1 |
| Item Weight | 125 Grams |
| Color | Multicolor |
J**.
Works Great as a Replacement PCB for Older Fightsticks on PC & Some PS4 Games
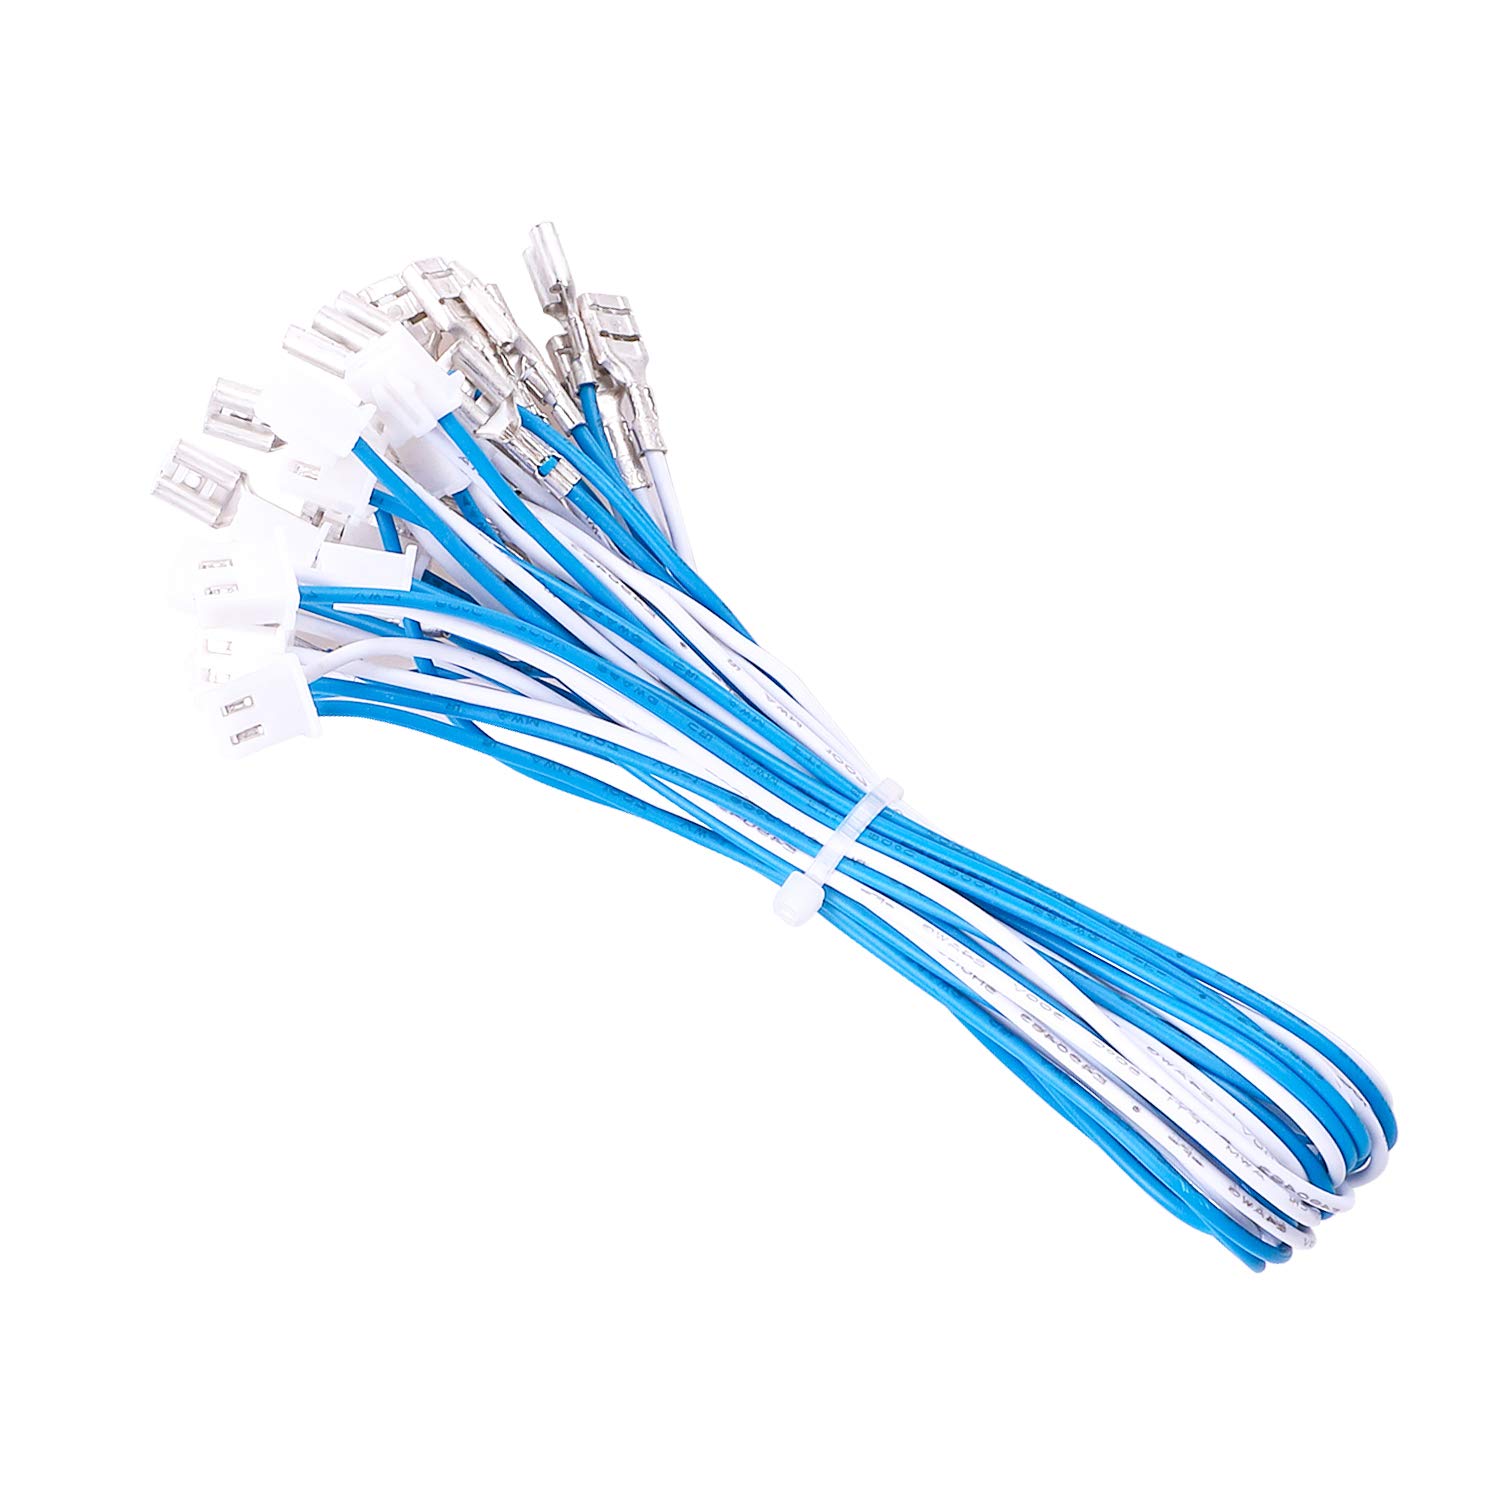
This was used as a PCB replacement for a Mad Catz TE Fightstick that was not working on my PC. The quick connects that this encoder came with were a bit wide for the Sanwa buttons previously installed, but they still work. The quick connect buttons are not insulated on the tips, but if you're working a plastic or wood case this shouldn't matter much. One weird thing is that my joystick movements were detected in reverse - Up was down, left was right, etc. I had to remount my joystick 180 degrees and then it worked perfectly.After installing the new PCB in my fightstick, I tested it on my PS4 with SF IV and it worked great, I'll test it with SF V later today and see if it has legacy support. I had to move some of the connections around and use the "gamma" Fightstick setting so that R1 acted as a heavy punch and everything mapped correctly. I did not test the turbo buttons and only wired the main 8 face buttons, as well as "start" and "select". I imagine that this works with the PS3 as well since it was working on PS4.I am unsure if the PCB for the Zero Delay has any markings on the rear that tell you what button should be plugged in, but after looking online I found the following button mappings: I'll cross reference this with my own wiring once I open up my fightstick again.Starting on the left of the bottom row of the PCB moving right:1. Triangle (Medium Punch)2. Circle (Medium Kick)3. X (Light Kick)4. Square (Light Punch)5. R1 (Heavy Punch)6. L1 (L+M+H Punch)7. R2 (Heavy Kick)8. L2 (L+M+H Kick)9. Select10. StartMy PC had no problem registering the fightstick and it worked well on MvC3 after using a custom button mapping.If I come across another cheap TE fightstick, I'll likely replace the PCB with another of these Zero Delay encoders instead of using a much more expensive Brook PCB.
J**B
Perfect little USB Joystick Encoder
This little USB Joystick encoder was a great find. I use it with Microsoft Flight Simulator 2020 to create a custom switch box for the planes that I fly. My switch box has buttons that allow me to do things such as lower the landing gear or set the flaps. I'm sure it can be used with many other simulation games.The setup for this board is a breeze when just using "momentary" button switches (a switch that is similar to a keyboard button, where it just goes down and immediately returns up). Here you can have up to 12 momentary buttons plugged in. Plug the board's USB cable into the PC and the game immediately recognizes the board as a "Generic Joystick Control". Using the game, I was quickly able to map certain game keyboard commands to each of the 12 buttons on the board. It works great! Takes just a few minutes to get it running.However, If you plan to use other types of buttons or switches, such as two or three way toggle switches, then you'll need to use a third party utility called "RSMapper". This software is fairly easy to use. I watched a YouTube video and was able to understand it quickly. The software allows you define how toggle buttons should function in their different states. You use this software to assign your game's keyboard events to the toggles (don't use the game to map them). It also has some cool features, like when you click a button it performs some keyboard event, and if you hold that same button down for more than a second it performs a different keyboard event.I'm very happy with this purchase. I know I've just scratched the surface on what this little board can do. I have not tried setting up a joystick. POV or dial switches. I'll try and edit this review down the road and share my results.
S**P
Good Drop in PCB
Upgraded an old Mayflash. Full Sanwa buttons and stick setup. You only get 12 wires so you need a 5 pin cable for a joystick or 4 more cables if you are connecting each direction switch separately. Easy install and works instantly in Windows. Remember ground is on the OUTSIDE of the PCB. Tested on Street Fighter Collection, SF 4, SF 6, Marvel Vs Capcom.
S**0
depends on your application
I bought this board to retrofit an old Mad Catz Street Fighter 4 arcade stick SE originally made for the ps3 that I previously upgraded with Sanwa hardware. Everything was plug and play without any soldering required. Worked with Mame on MacOs very well. If you want to use it for Retroarch emulators, then I don’t recommend this product. It can work, but you have to waste time editing config files to trick the emulator into detecting the joystick.Some minor issues I ran into added extra time to the install-Lack of 5 pin wire for the Sanwa joystick. Luckily I had an existing one.-Wires were all the same color, so it got confusing to tell which button was connected to which terminal.-Short wires. I had to place the pcb near the bottom left corner and the wires barely reached. Therefore, I had splice in a longer piece for the farther buttons.-No insulating sleeves for the terminals.I heat shrink wrapped all the terminals. I wouldn’t have to waste time on that if they had just included sleeves on the terminals for a small price increase.Other-Mame initially detected the joystick directions in reverse. For example, Up was down and down was up. It still worked fine if I remapped the controls. Eventually, I unscrewed the stick, rotated 180 degrees, and reinstalled. Now it detects the direction correctly without remap. ps3 and old PC that I played on never detected the joystick in reverse.
Trustpilot
2 weeks ago
3 weeks ago